

Welcome to Underwear Week, a whole week dedicated to your favorite bum-hugging clothesthings. As we said many moons ago, we feel a lady is at her best when she’s not wearing pants. And while our last adventure around this neck of the woods took us only as far as boyshorts, this time around we’re exploring the vast and many-flavored land of underwear. From edible panties to hoopskirts and history, we’ve got you covered. Just like your underwear.
It’s underwear week! Isn’t that fun? Why buy new underwear when you can make it, am I right? I’m actually incapable of calling my underwear anything other than “undapants,” hence, the title of this tutorial.
Undapants
Supplies Needed:
– fabric with some stretch (repurposing an old t-shirt would be perfect for this project)
– a small piece of 100% cotton fabric if your fabric is not cotton
– elastic thread
– fold-over elastic for the waistband (Important!: Regular knit elastic is scratchy, fold-over is soft and perfect for clothing)
– a paper bag or a piece of paper for pattern
– a pair of your favorite underwear
– sewing machine
Level of Difficulty: Beginner sewing knowledge would help you out for this, but it’s a very basic pattern, so let’s not get our undies in a bunch (oh you see what I did there?)
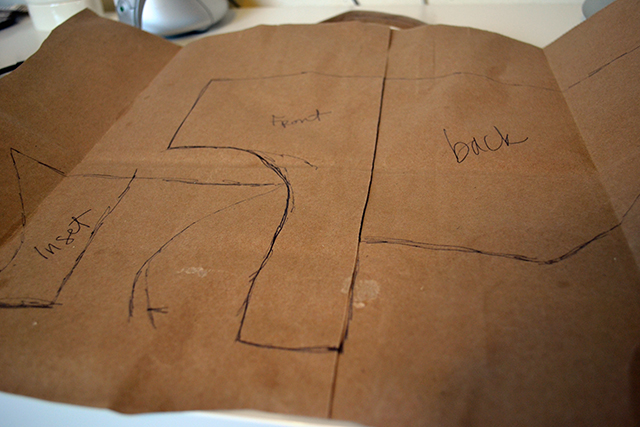
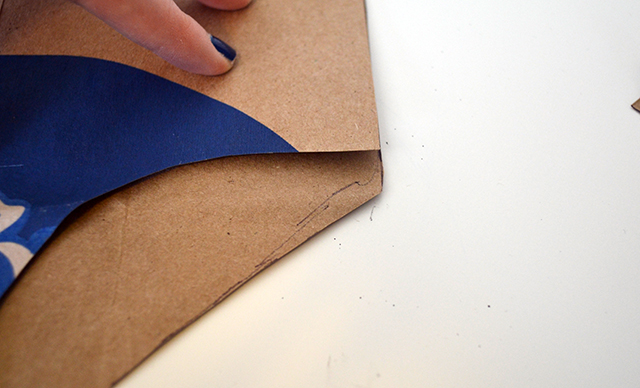
1. First, we’re going to make a pattern from our favorite pair of undies.
2. Lay down your underwear and trace around them. Yes, it’s really that simple. Fold them in half for the front and back to create a half-section to cut out. We’ll cut it on doubled-over fabric so we have a better chance of ending up with a symmetrical garment.
3. For the front, don’t make my first mistake and remember to curve out the bottom part of the sides so it meets with the side from the back.
4. Make sure your pattern edges line up properly. Pictured above is how mine ended up at first. That’s the beauty of making a pattern: you are allowed to entirely fuck it up because your fabric won’t be wasted yet.
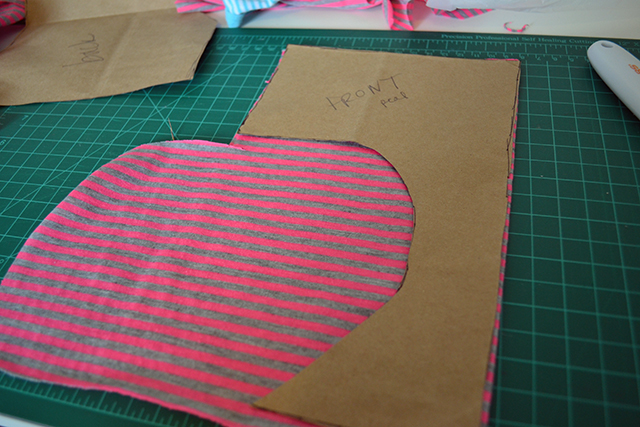
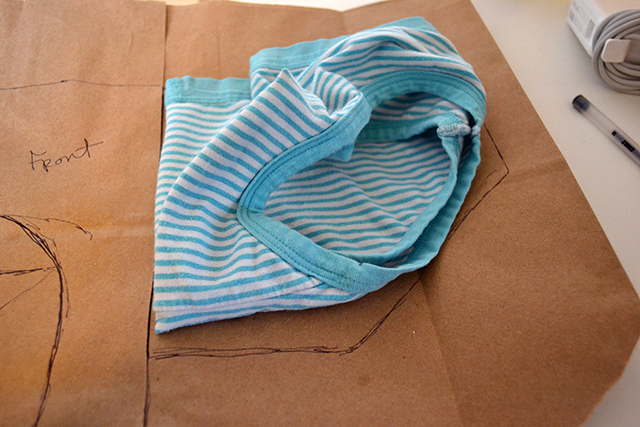
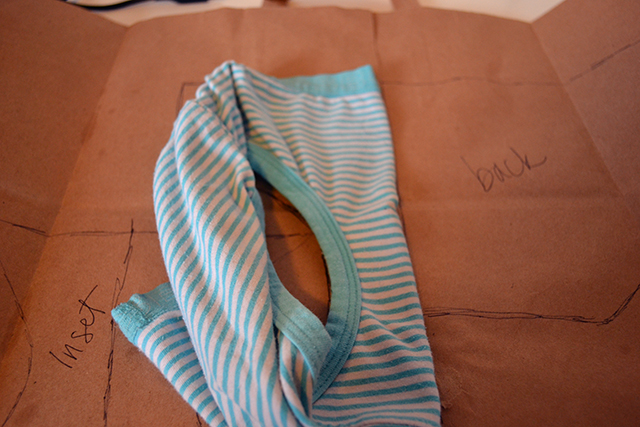
5. Line up your pattern piece with a doubled edge of fabric so you only have to cut half as much. I’m all for shortcuts.
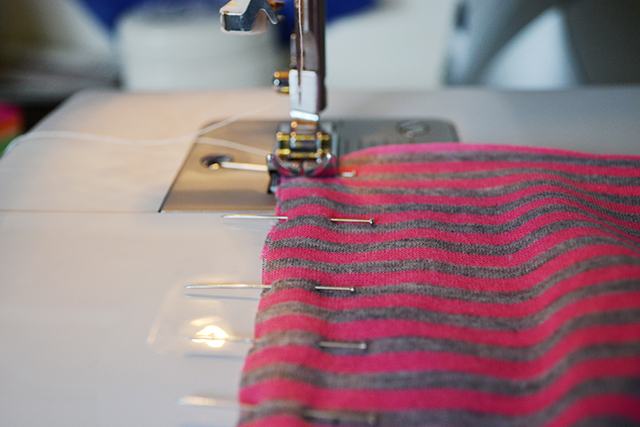
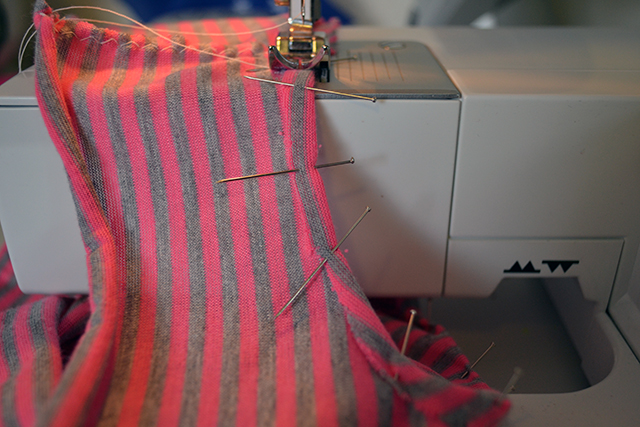
6. Alright, we’re going to start sewing. I used a loose zig-zag stitch because I wasn’t sure how the elastic thread would go, but this seemed to be the best way. Line up your sides and the crotch-seam of your underwear, but don’t worry about the liner yet. Use the smallest seam-allowance you can execute.
Tips: Be gentle! Don’t stretch your fabric or it will end up weird and wrinkled when it is done. Use five million pins. You won’t regret it.
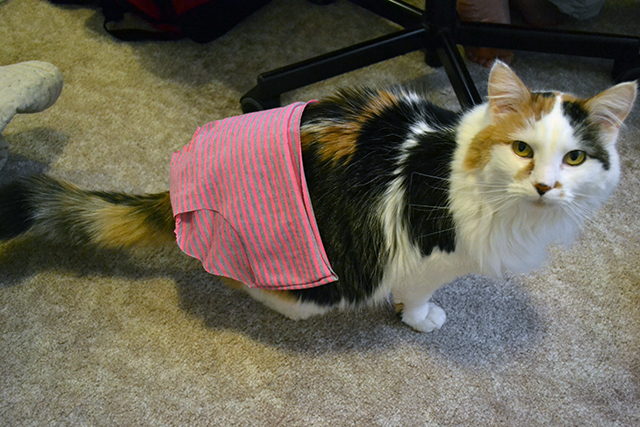
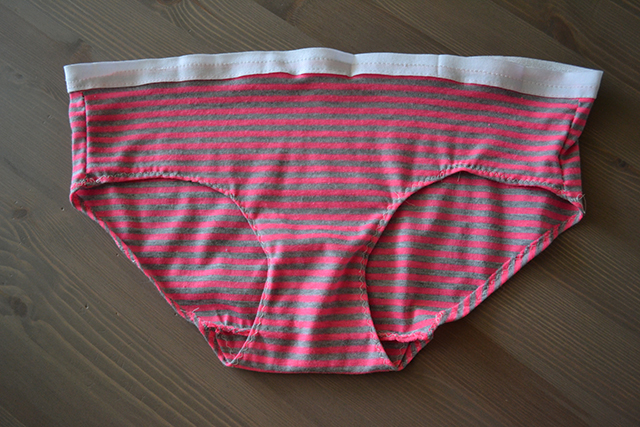
7. Try on your underwear. My cat is really excited to be modelling for you. Keep in mind that if your fabric edges roll, they’ll seem a bit small until you sew the leg holes and the top seam to keep it from rolling. You want to be comfortable in them. If they’re too big, take in the sides slightly, and if they’re too small, well, you might have to add a bit of fabric at the sides or start over.
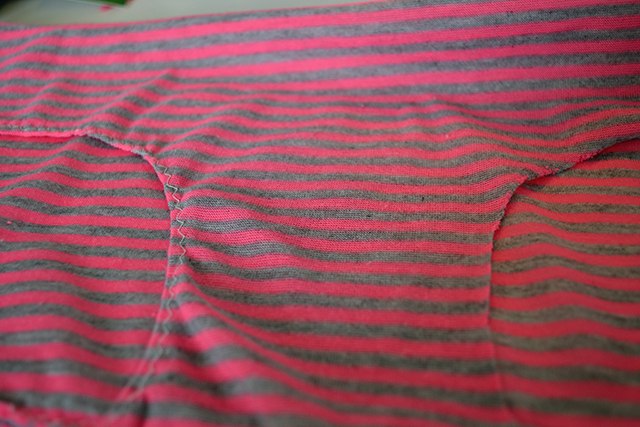
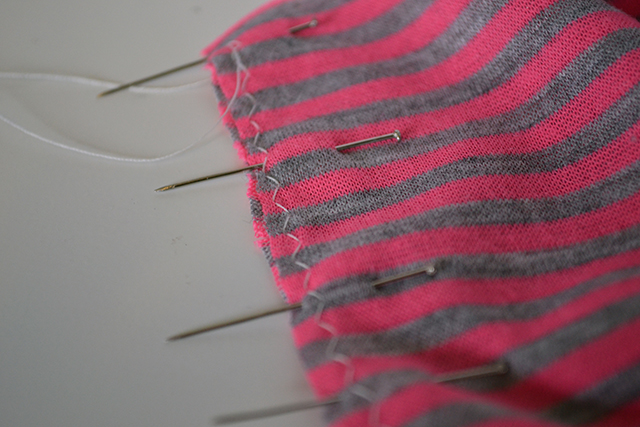
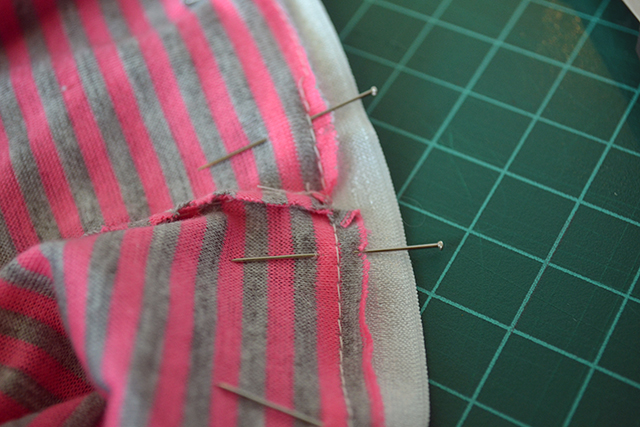
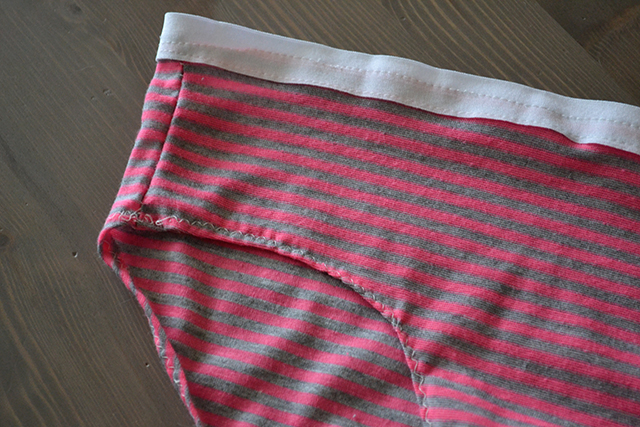
8. To sew the leg holes, I skipped adding a strip of elastic and just used the elastic thread. Pin pin pin pin. Use a very small seam allowance.
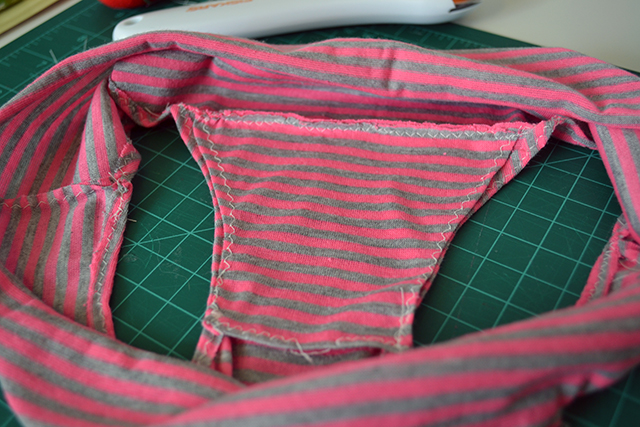
9. Sew the liner in. I hemmed it, then sewed it to the back and sewed a half-inch at the top of either side to tack it on.
10. We’re almost done! I pinned the fold-over elastic to the front of the underwear with the plush, soft side out. I used a loose running stitch to sew it on, purely for ease.
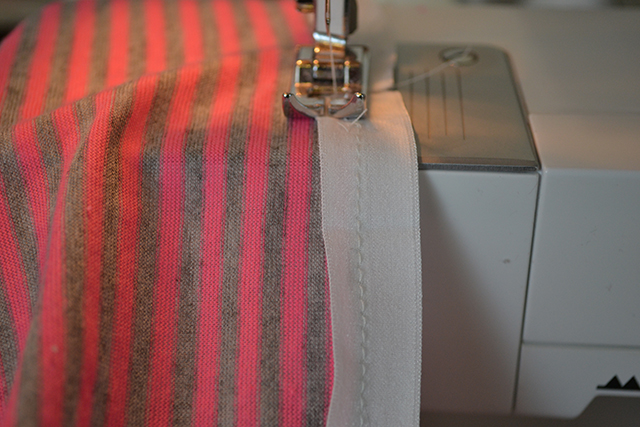
11. Sew two rows of stitches; the middle and then the bottom of your elastic. Finally, all done!


Comments
When the zombie apocalypse FINALLY happens, I call dibs on Hansen as a bunker mate.
OMG! I was thinking the exact same thing!
Three cheers for the Industrial Revolution. If I had to sew my own underwear, I’d be going commando everyday, all day.
I do that now.
omg I haven’t even read this yet but I had to comment about how happy/excited I am that you call them “undapants” because me too because I am from New England and that’s just what we say
Aha! excellent timing A-team. Since learning to crochet last week I have been threatening to make undawear. This looks much much nicer.
Your like…MacGyver!
If only I could have made these out of gum and a paperclip!
If you made that, I would wear them!
Hansen, you’ve officially blown my mind. Also I’d be way to embarrassed to post a photo of my undies on the interwebs so KUDOS to you for that.
*too
this is the cutest fucking thing ever. i feel like i always say that but this time i’m really serious.
Now I don’t have to go through the awkwardness of buying men’s underwear.
Ok now I can make an awesome fitting pair of underwear with a cool pattern from the amazing men’s boxers I found that had no penis pocket whatsoever and fit like a glove but are made of a nasty uncomfortable fabric.
Swimsuit bottoms are ridiculously expensive, and this pattern would work just fine with spandex.
i am super impressed. they look just like BONDS.
Oh man, I need a DIY underwear craft night, stat!
I need a wife who can sew and wants to make my underwear.
(I have tried, sewing and I are not buddies).
Oh man I really need a sewing machine.
Cute! Awesome! I have not made undies in a few years and now I want to again. I used to all the time make them from old teeshirts.
If you’re able to buy elastic lace (and are in to that sort of thing) or Fold Over Elastic, you can use it to finish the legs and waist of your unders, super fast. This is what it looks like at the fabric store:
http://www.sewsassy.com/LingerieProducts/stretchlace.html
http://www.sewsassy.com/LingerieProducts/lingerieelastic.html
And it’s super cheap.
I just reread the instructions and see you are using FOE! I have never seen it so wide and comfy looking and without a fold line/folding- I want some! Where’s it from?
Joanns, surprisingly. Online they have some really cute kinds, probs meant for babies.
http://www.joann.com/babyville-fold-over-elastic-yellow-green/zprd_11109105a/
I just put the wrong side out so that soft/not fold-line side was on the outside, I’m pretty sure.
Also, I read “And it’s super cheap” as “And it’s super cheat” because of your icon. I’m so glad The Cheat is not dead.
And no two people are not on fire!
Thank you for the link; so cute! So much nicer than the stuff I have found that is narrow and shiny. I actually found some at a random trims store that had VICTORIA’S SECRET stamped all over it, but I didn’t buy because it was uncomfy looking.
Holy shit Hansen you made underwear.
Yay! I’m taking a year off buying new clothes (ridiculously hard coz I love all the fashions this year for the first time in a while) but I thought underwear would have to be the exception. Think again, Rosalie!
And I made adult sized onesies last week, so I have a mountain of leftover fabrics.
I could make underwear for all my friends.
They would LOVE me. So much. And since this is the Internet, I will point out my sarcasm.
Bridgette looks awfully cute in underpants, though not very happy about it.
Better her than me, right?
Zeller models for us. Why haven’t you boarded the AS modeling train. I think underwear week is the perfect week for all of you writers to branch out as models ;)
Hey this is great. Though I sew lots of things, for some reason it never occurred to me to make my own underwear…even though my underwear pretty much never fit right, I swear. I have to do this now. Have to.
Went to the craft store yesterday, just before this was posted, to buy underwear fabrics. So excited!
My cousin once crocheted a pair of underwear.