

Welcome to the another installment of Make A Thing, where we make handmade gifts for people. Or ourselves. Who doesn’t need something special in their life? Join in on the DIY fun and avoid the unnecessary consumerism of the world (and I promise you’ll save a few dollars while you’re at it).
Header by Rory Midhani
Did you know Valentine’s Day is in less than a month? I don’t even want to think about it. Let’s think about it next week.
Instead, let’s make a hollowed out book. A hollowed out book seems like such an easy thing, right? Except then, after four million hours of exacto knifing, you start thinking crazy and just stabbing at the paper because good golly, this takes a long time. So, I’m going to put a big disclaimer on this one. Disclaimer: For the patient people of the world, only. Warning: Do not lose patience while holding an exacto knife.
Hollowed Out Book
Supplies Needed: A hardcover book, mod podge (or white glue that dries clear might work), exacto knife, pencil, PATIENCE
Level of Difficulty: Wrangling an exhausted toddler who doesn’t want to take a nap (seems a lot easier than it is)
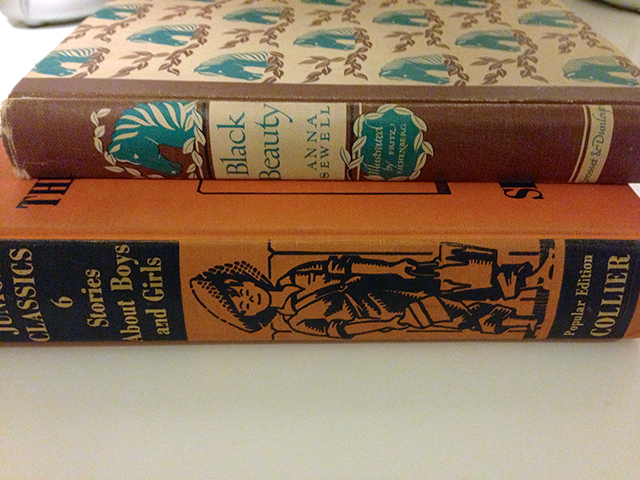
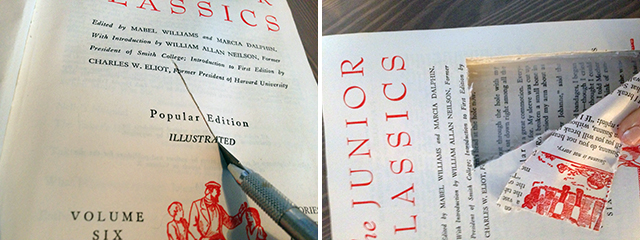
1. Find your book. I bought mine at a thrift store, where I stood in line behind a woman who scowled at me until I smiled uncomfortably and she said, “There’s your smile!” which is one of my biggest pet peeves. Hopefully your thrift store adventure goes smoothly. Find a sturdy book with a well-attached spine that doesn’t slide when you push the cover back and forth. Does that make sense? It should make sense if you’ve found the right book. Also, find a book you don’t care about destroying and also one that doesn’t have gorgeous pictures. I originally bought Black Beauty but I just couldn’t bring myself to cut it.
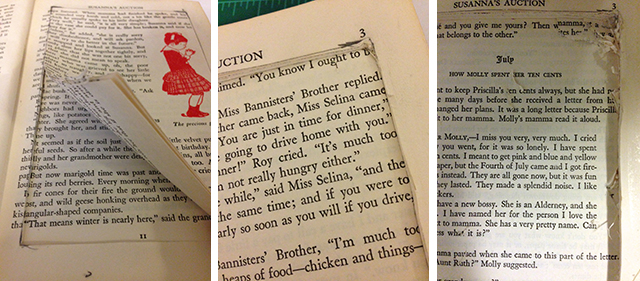
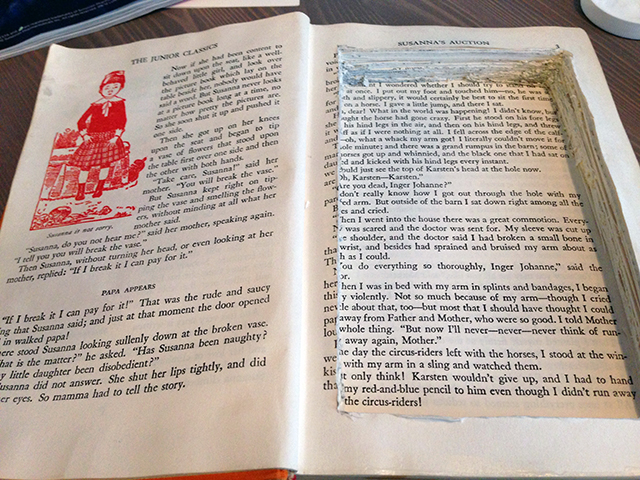
2. Open your book and flip to the third or fourth page. You’re not going to cut from the very first or second page, but instead keep them separate until the end so the top is pretty.
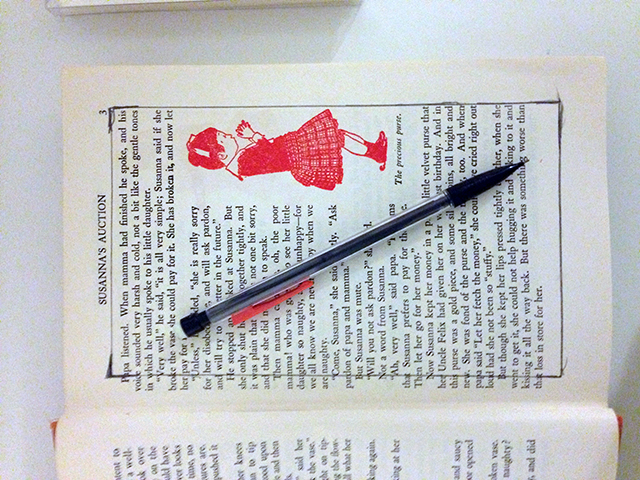
3. Line up all of the pages (without the top section) and find something that is the same size as what you’d like to cut out. You can also measure, but who has rulers these days? Not this guy, apparently. I just found some cards and traced around them.
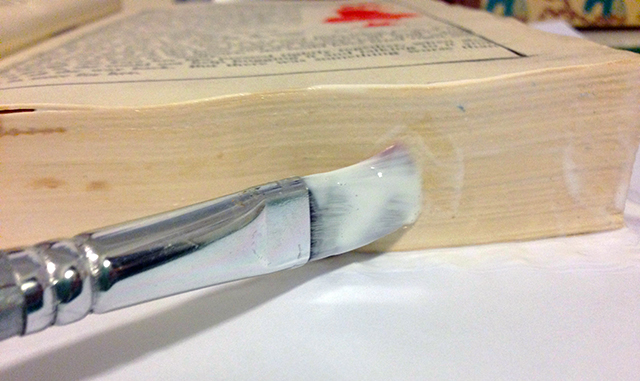
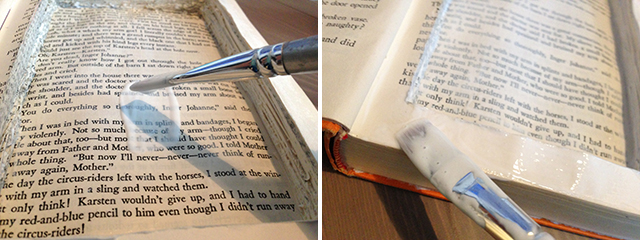
4. Start painting your mod podge or glue around the edges of the pages. Make thick layers so that the mod podge seeps in a tiny bit to keep your pages together while you cut. I did about three thick layers over the course of two days and let them dry completely in between layers, which might be overkill, but safety first. It would be so infuriating to be cutting and have your pages come apart. Just think of that. I put a piece of paper between the back cover and my pages, which ended up just sticking to the pages anyway, so don’t worry about that in the pictures.
5. At the same time, mod podge your first few pages together.
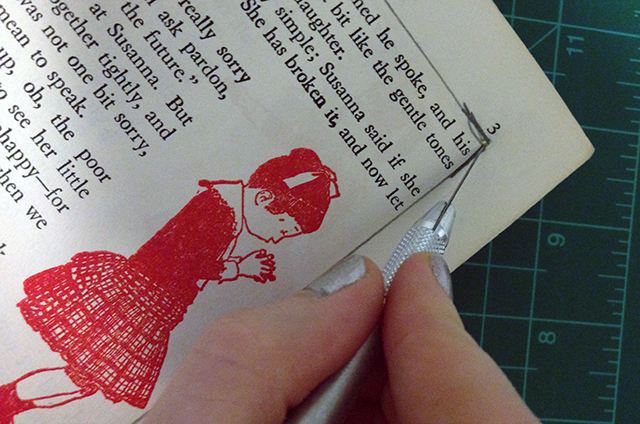
6. You ready? Let’s do this. Take your exacto knife and start cutting. At first, cut gingerly. You can cut deeper when there’s a wall of pages to cut against. I got through about three or four pages at once throughout. You can save the pages you cut out for other crafts, too.
7. Keep at it, tiger. Make sure you’re keeping your corners clean. Clean corners are going to save you a lot of time. Also, be prepared to have about six thousand million bazillion tiny paper scraps EVERYWHERE. Turn your book over and tap those out while you’re going.
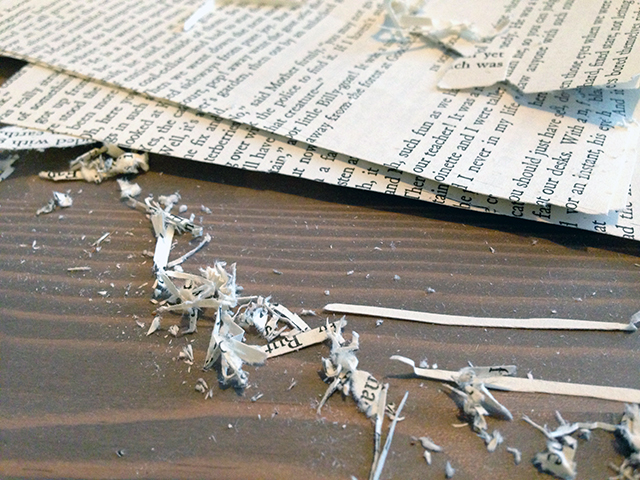
8. Once you’re satisfied with the depth, clean up any tiny mess-ups around the edges and make sure your stopping page doesn’t have cuts. Then, here’s my trick: vacuum. Yep. That’s right. Vacuum the inside of the book. It cleaned up my book really fast (and also my workspace that was making my partner’s eye twitch every time she saw my desk).
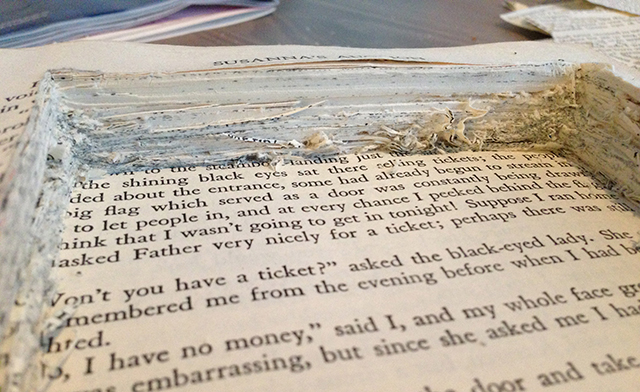
9. Put another layer of mod podge inside of the hollowed out section. Mod podge the bottom page and the sides, just to clean up the appearance.
10. Put a layer of mod podge around the top of the hollowed out section, then press your top section down on top. This will create a little ceiling on your hollowed out section.
11. Cut through the first few pages that are covering your hollowed out section. Be really tedious about getting these pages nice, because they will be the ones that show the most.
12. Mod podge some more. Why the hell not.

13. Let everything completely dry. When you think everything’s dry, let it dry even more because you’re probably wrong, and then close the entire book and put something heavy on top. Let that hang out overnight, preferably. This should flatten everything out.
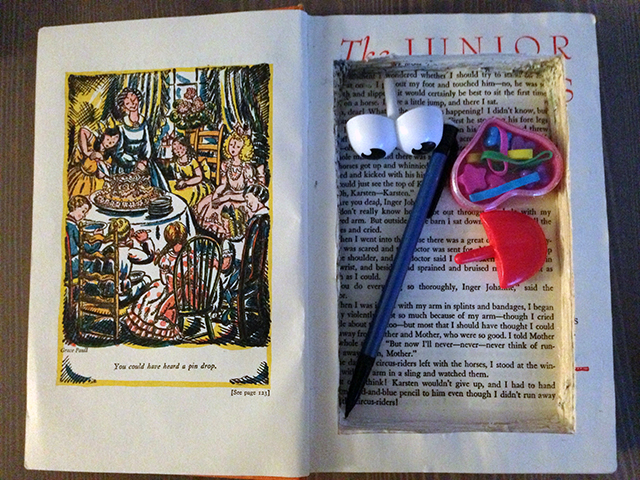
14. You are DONE. Hide some shit in there and no one will ever know.


Comments
A friend of mine did this with a crappy but huge copy of Shakespeare’s ‘Henry V’ specifically to keep their weed paraphernalia in, so their code for smoking is ‘hanging out with Henry’.
My Mom donated all of our old encyclopedias sometime in the late 90’s when we got the internet, but I kept the “M” book (it is my first initial) and it is now going to be where we keep the supplies. It is called a World Book of Knowledge and as far as I can tell that is all you really need to know.
Oh memories. I made one of these from a copy of Moby Dick to hide my cigarettes from my parents as a teenager. Must check if it’s still there when I go and visit them again
Something I never realized I needed in my life until now – a hollowed out book.
‘Mod podge some more. Why the hell not.’ is now officially my phrase to live by.
you really can’t go wrong there.
I made one of these once as a gift. it was supposed to be a nook case, because who wouldn’t rather hold a real book, amirite? Turns out it is indeed much harder than it looks. And I am not a patient person. I did finish it, but it turned out to be the wrong size. I was not a happy camper.
Oohhh… I guess I’m going to be a grumpy internet lesbian right now but you know in Mean Girls when she breaks the tiara and Damien does that flinch? Me right now. Please don’t destroy books to make something to post on Pinterest! :(
But, like… why not? Nobody is going to be using ultra-rare limited-edition old-as-balls books to make these. And if they bought them, it’s their property. :/
I flinch if the book being cut out is good.
If the book is something horrible, then I don’t mind.
Now I’m secretly imagining that every time I see a Left Behind book somewhere it’s actually one of these.
yo i love books as much as the next pretentious bibliophile but like
no one is going around wickedly slashing into some out-of-print limited edition boxsets. there are a bajillion mass produced books out there, and the printing companies are just gonna keep making more. hell, if you really want, contribute to the industry and buy two copies of the book – one to read, and one for crafts. idk, imo, there’s just no reason to pedestalize the paper as long as the story lives on.
?? Someone clearly doesn’t have a grandma with a basement full of old, musty ‘Reader’s Digest’ books nobody wants to read/buy. Recycling them keeps them useful. Anything less in that instance is, well, hording.
This reminds me: there should be a ‘Make a Thing’ about RECORD BOWLS! Those are the best!
yesss seconded, my bff made me one for my birthday and I use it at night to keep my jewelry that I wear every day
All my plants are in them! They are the best!
As an English major I was initially perturbed by this, but you have to admit it is kind of cool to combine books and crafts. And anyway, all the hep cats are using kindle now…
I’ve made lots of these. A few things I’ve gleaned, if I may:
I used a heavy-duty box cutter when I made mine–much faster than an Exacto.
If you don’t like the ragged edges of the interior, you can cut narrow strips from the removed pages and Mod Podge them to the ragged edges.
I’ve heard of people using a Dremel to cut really intricate shapes into their book pages, like a rock hammer for that Shawshank Redemption fan in your life.
<3 Love these articles.
good lord the dreams i could achieve with a dremel.
True life: My parents got me a Dremel for my 21st birthday, and it is the best thing ever. I seriously recommend that anyone who is even mildly crafty beg, borrow, or steal one. Dremels are basically like, the power tool of the apocalypse.
Using dremels for everything = genius
My gf made me one of these out of a HP book. It was actually the best gift ever.
I really want to do this to an Ann Coulter book and use it to hide sex toys/lube.
I’ve always believed that’s exactly what Ann Coulter does with her copy of Sarah Palin’s book.
My Great-Grandmother Rose sailed over from Ireland carrying a bible in which she’d hollowed out the pages to carry an Irish percussion pocket pistol…” ‘cuz ya never know..”.
Your Great Grandmother Rose is a BAMF and my new hero!
Yes, yes…We’re all rather proud of Nana Rose. By the by…How exactly does one “train” to be a MILF?
“We’re all rather proud of Nana Rose” <-- it's your casual hilarious turn of phrase that just kills me! i love you digger.
Digger, I am really tempted to answer you with, “like a motha-fucka” . . . but that seems to easy.
Kickass Roses FTW!
I love making these! I made one for secret santa and my person was crazy about it. Unfortunately, my desk area is perpetually covered in book lint.
For glue, I use about a 50/50 mix of Elmer’s glue-all and water and it works very well. My favorite books to use are Readers Digest collections because they’re pretty, but I mean really, who reads those? I have a purple one with gold trim on my shelf, and my glass pipe lives inside.
I did this with a really old textbook that the department was giving away for free.
If you want to hide super-secret things inside, I’d recommend using a boring-looking book, or something that nobody will ever look twice at or pick up while perusing your bookshelf.
Definitely cut only a few pages at a time at first, because that keeps the blade sharper.
I would add my old art proff’s advice to toss the blades often as well. Using dull blades means unnecessary strain/shards, and they are like, 5 cents each.
I dont know how but you guys have seemed to have read my mind today. I was at school and thought about how amazing it would have been to have a hollwed outh book for collge and stuff :D
This is amazing! I was thinking about giving this as a gift for my friend, paired with a flask inside! I don’t understand how you can read my mind..
The fact that I saw a hollowed out book and my first thought was “Finally, somewhere I can safely hide my vibrator.” says so much about my current life choices.
this is incredible. want. need. will make, soon. thank you as always hansen!
Once I get my hands on some mod podge, I am never leaving the house again.
My feelings exactly.
On a related note, did anybody ever figure out what book Emy Storey used to make the cover of The Con?
A couple of days ago I found the hollowed out copy of “Practical Science” from when I was 15. It contained two cigarettes, my ex girlfriend’s panties, and a healthy amount of finger cots. All of these things are related.
As an anal retentive gay man, I couldn’t leave the cut out looking unfinished, so I got some maroon velvet and cut strips to fit the sides of the cut out and used the first page I cut out as a template for the bottom. And then some piping around the bottom seams. Looks great.