

Welcome to the gazillionth installment of Make A Thing, where we make handmade gifts for people. Or ourselves. Or our cats. Mostly our cats.
Header by Rory Midhani
I feel like it has been a really long time since I’ve posted a craft tutorial. I’ve missed you, is what I’m saying. Why don’t we make something fun and easy to get back into the swing of things while I mourn that this is my last week of summer.
Constellation Pendant Necklace
I’ve seen these constellation pendant necklaces everywhere. I really like them, but every time I see them, I think “I could make that” which is my life’s greatest downfall. I attempted to make this pendant earlier this week and failed terribly. I figured instead of busting out my dremel, I could just make the holes in the metal pendant with a hammer and nail. Unfortunately, the nail wouldn’t go through the metal at all! I asked my brother what he thought I was doing wrong, and he laughed when I showed him I was trying to use a piece of cardboard under the pendant when I was nailing it. We found a block of wood and tried it under the pendant for stability instead. It worked! Hence the man hands in this tutorial. No shame in asking for help. Thank you, Kevin!
Supplies Needed:
+ Metal pendant blank (I found mine at Michaels in the bead and jewelry section)
+ Nail
+ Hammer
+ Stable surface, like a block of wood you happen to have lying around
+ Constellation of choice, astrological or otherwise
+ Wire or a jump ring
+ Chain necklace
Level of Difficulty: When I was younger, my brother convinced me that I was hatched out of an egg. This is easier than accepting that as truth.
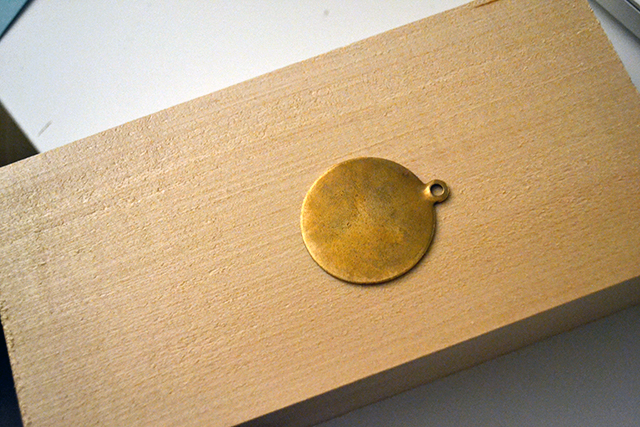
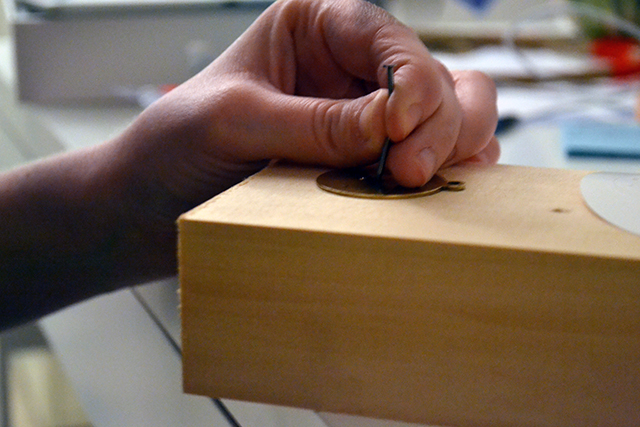
1. Important step: find a block of wood. Can you skip this step? No.
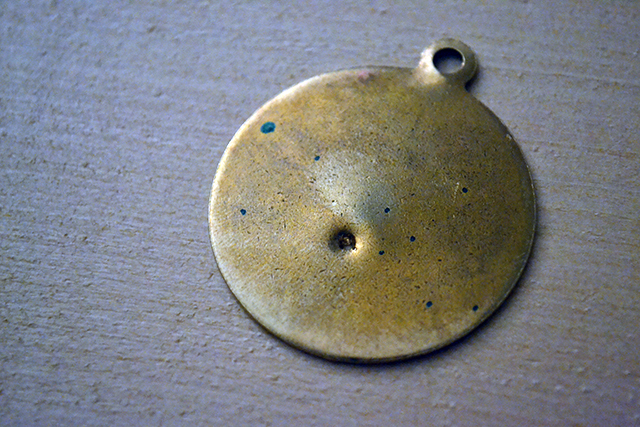
2. Draw your constellation onto your pendant blank. I did Taurus, because I’m a Taurus and I am keeping this pretty thing for myself. I also made a Leo for my best friend but she doesn’t know this yet. I freehanded mine onto the pendant in approximate locations, assuring myself that no astronomers would be reading this and rolling their eyes at me. Astronomers, I apologize in advance for my haphazard star placement and I have more respect for your star maps.
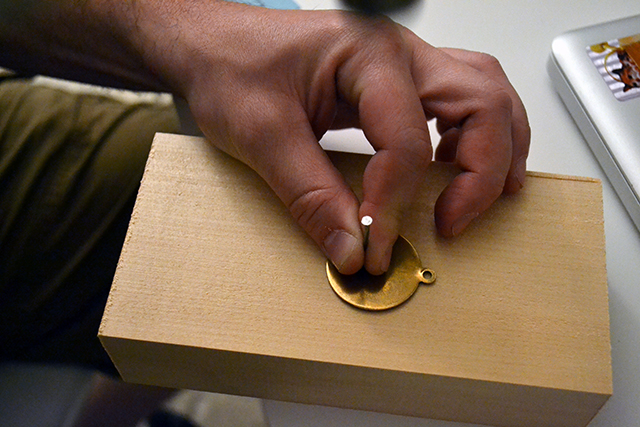
3. Okay, start nailing. I started with the biggest star in the middle of the constellation. Optional but not recommended step: keep your laptop really close to where you’re hammering on your desk.
4. Make sure you hold the nail super straight because, as you can see, if you don’t do that it bends and can hurt you. This is the only picture of my attempts for a reason, because then I bashed my thumb. Obviously I need more Butchin’ It Up classes.
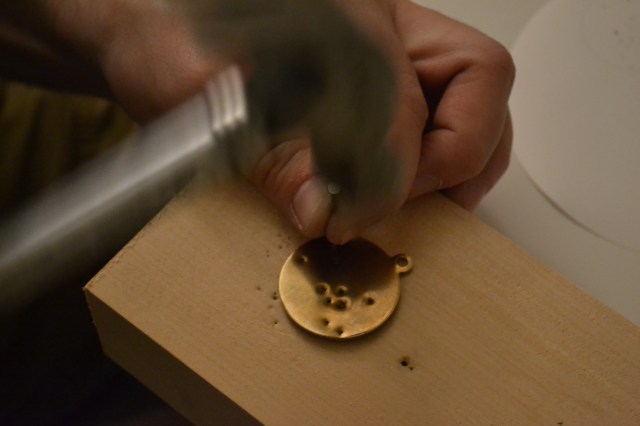
5. Keep on keepin’ on. Your pendant may warp a tiny bit, but you can just pound it back into place.
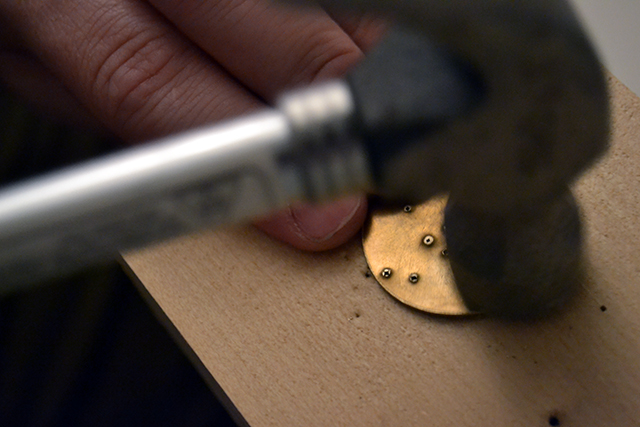
6. We also hammered the back of the pendant to push down the sharp edges of the holes from the other side.
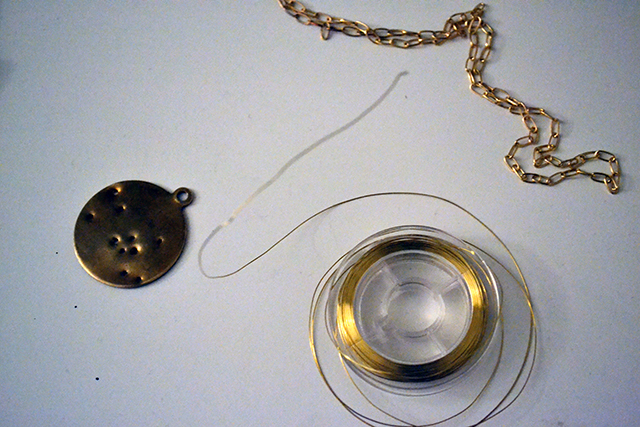
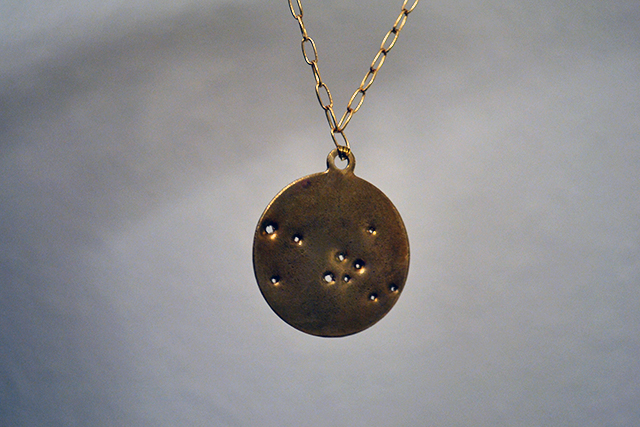
7. I lacked jump rings, so I connected my pendant to my chain with wire.
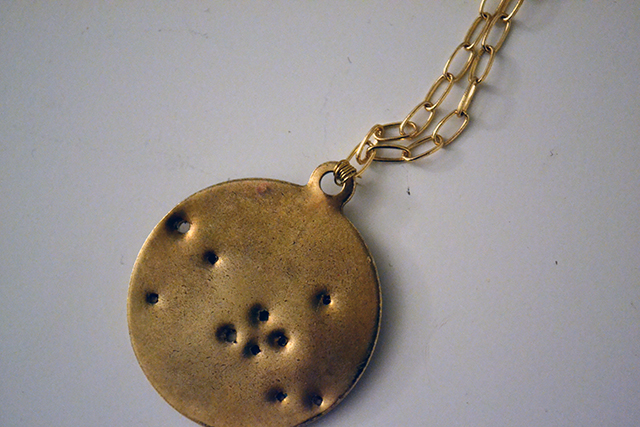
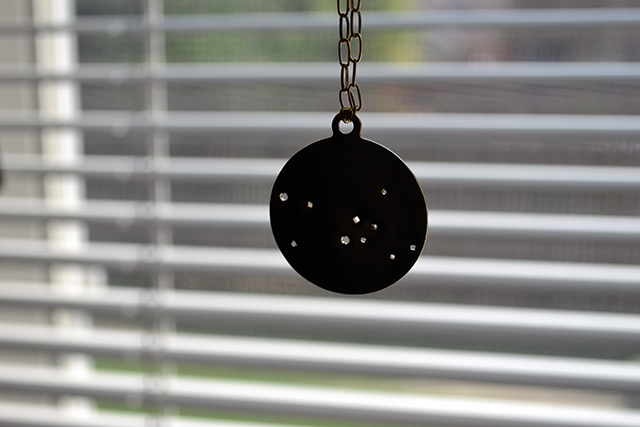
8. Tah dah! All attached and ready to be worn proudly by a Taurus!


Comments
So cute I will have to do to this.
I love this! I think the back would actually look kinda cool too with the hammered flat punctures..
I LOVE THIS SO MUCH. I can’t wait to make one. Or ten.
Eeee! I wanna make this! It looks awesome! :D
“I could make that” is also MY life’s greatest downfall! The question of whether I have time or will actually get around to making the thing is really beside the point. This is probably why I have SO MANY unfinished craft projects lying around. SO MANY, you would not even believe how many.
These pendants are really cute though, and look simple/quick enough that I could probably manage to actually finish one! I may just have to do that :)
Real talk: start writing a weekly craft blog. You’ll finally have a reason to get that shit done. Haha.
So pretty!
I should make a Cancer one so everyone knows I have FEELINGS.
Wait, is that something people don’t know already? Now that you’re Straddler famous it should be a known fact.
Nailing shit is just about the only crafty thing I can do, so I can finally make one of your things. Yay!
haha. nailing shit.
I second your giggle.
Knew I could rope you in with astrology and a hammer.
I’m not really an astrology person… BUT this is super cute and would look totally awesome with my autostraddle approved DIY galaxy/cosmos/universe jacket.
this is awesome!
i would make a sagittarius one for myself, but i would probably enthusiastically gather all the materials but then never make it because the idea of the thing is more exciting than actually tangibly completing anything ever.
I love this!! Although as a full-on Gemini, I’ll probably buy all the supplies and then just have them sit there yelling at me TO JUST FRIGGING FINISH SOMETHING.
Or whatever.
Nailed it!
So mad I didn’t use that line in my article. So mad!
Hansen, is that a cat sticker on your laptop? I APPROVE.
I know nothing about astrology except that I am probably the worst Capricorn ever (like, I’m supposed to be patient and mature? ha), but I absolutely must make one of these. Plus about a dozen more for gifts.
It is a metallic sticker of kittens in a basket. I approve of you noticing.
Whaaat this is perfect! cannot wait to make some of these. :)
Hi!!! Really interested in doing this! I found some pendants that are 20mm but now I think they are too small… I was wondering what size this was, as I don’t want to order mine and have them be tiny!!! Much appreciated!