

Welcome to the another installment of Make A Thing, where we make handmade gifts for people. Or ourselves. Who doesn’t need something special in their life? Join in on the DIY fun and avoid the unnecessary consumerism of the world (and I promise you’ll save a few dollars while you’re at it).
Header by Rory Midhani
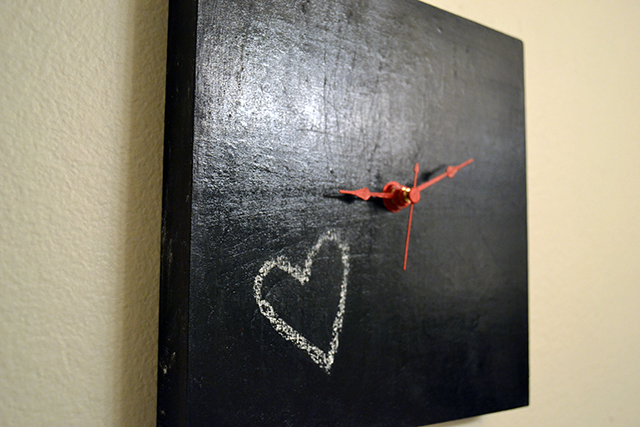
I have a confession. I love to look around the websites for Anthropologie, West Elm, Crate & Barrel, Pottery Barn… all of them. Sometimes I pretend it’s for craft/decorating inspiration, but mostly it’s just to plan out how I could spend $12,000 on designer candles (answer: easily, my friend). But alas, as a writer, I don’t have high hopes of ever earning enough money to pay rent, buy groceries, and shop at pretentious but expertly coordinated stores. In another lifetime, I would gladly pay $55 for a West Elm chalkboard clock. In this lifetime, I’d rather just make it for around $15.
I was wary to join the chalkboard obsession. In fact, I have mainly steered clear from the trend because I couldn’t trust myself not to put chalkboard paint on everything I could find. With this project, I ended up jumping in and I think it came out pretty cute. I did however have to buy a gigantic bottle of the chalkboard paint, so… excuse me while I go conspicuously eye other things in my house that need chalkboard paint.
Chalkboard Clock
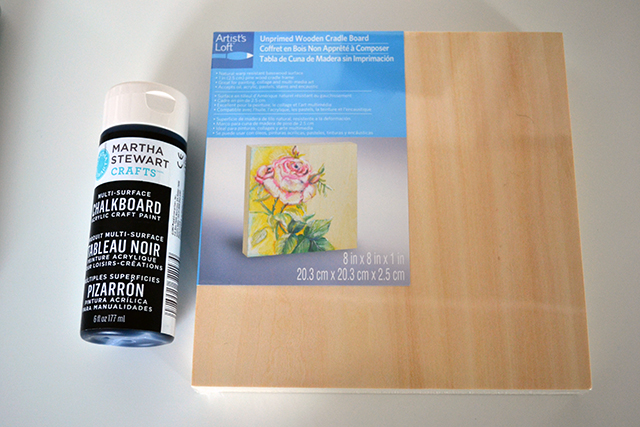
Supplies Needed: Unprimed wooden cradle board (find them in the canvas section of the store, I bought 8×8), chalkboard paint, paintbrush, nail/drill/Dremel, clock movement mechanism, chalk, optional: paint for clock hands
Level of Difficulty: Easier than the will-power I’m exerting by not eating this entire box of Girl Scout cookies in one sitting
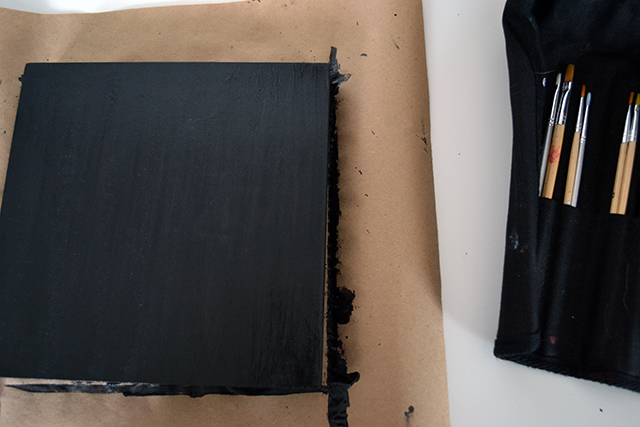
1. Paint the wooden cradle board. I think I honestly put on about 10 coats because I’m neurotic about paint layers, but if you buy a primed board you might be able to do less.
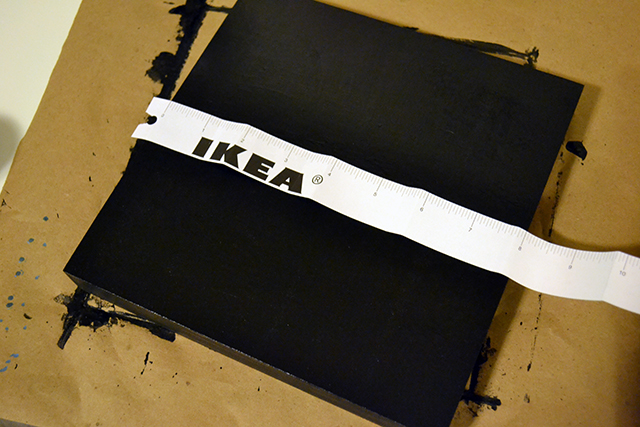
2. Find the center of your board.
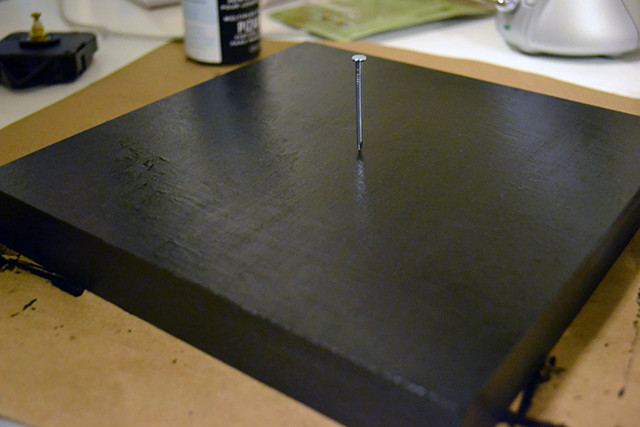
3. Wait for the paint to completely dry. We want to make a hole for the clock movement. You need a hole big enough for the large screw part (technical term, guys) to fit through. You can achieve this by way of nail, power drill, or Dremel. At first we tried the nail.
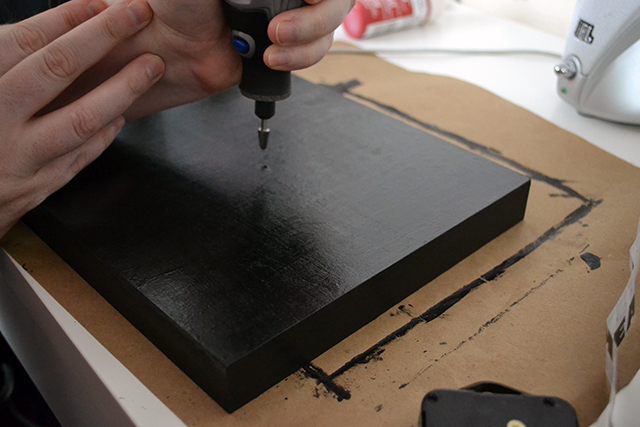
Then I got freaked out that the nail would split my precious board and so we used a Dremel. You could also do this part before painting if you had common sense but meh, what the hell. I craft on the edge.
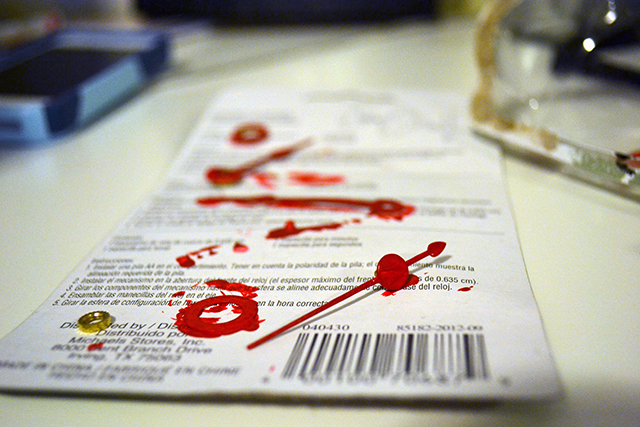
4. Paint your clock hands whatever color you’d like or leave them gold or do whatever you’d like because it’s your clock okay?
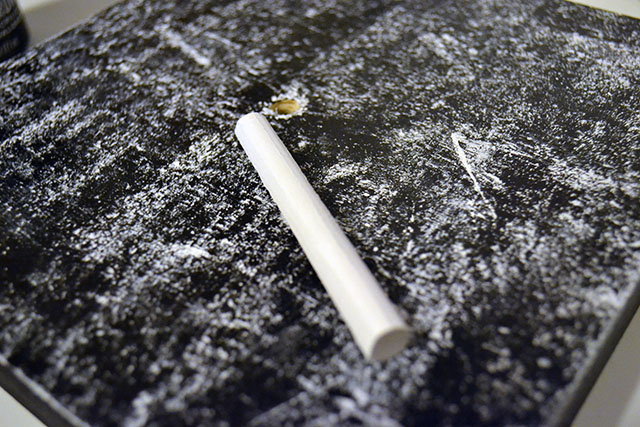
5. Prime your chalkboard. Do this by rubbing your chalk all over the board and then wipe it off with a dry paper towel. It shouldn’t be as shiny as before and will be easier to write on this way.
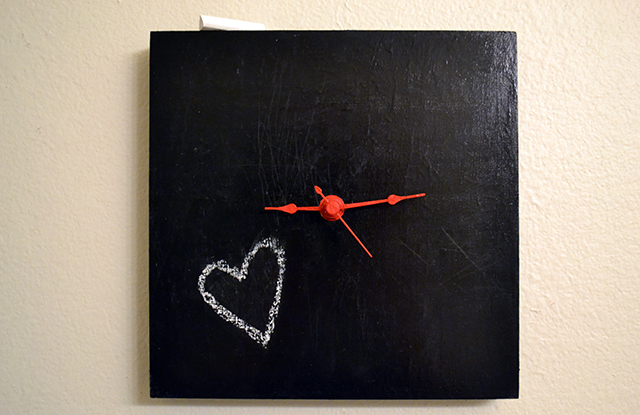
6. Put together your clock movement, set the time and voila, you’re done! Now go write something on your clock, and make sure to include Wine Time.


Comments
My OCD is suddenly seeing a clock I can customize with little scribble messages like “You have until THIS time (little arrow here) to figure out this or that, or get this AMAZINGLY important bit of minutia done.
Ok, I would never actually do that, but I would think about it. Alot.
And I want one of these now just because it’s adorable.
Quick Robin, to Home Depot! Nanananananana
Ooh, ooh. Or different place names so that it looks like the Whereabouts Clock that the Weasley’s had.
That would rock. I want to get a larger board now and sink 3 or 4 clocks into it, all set to differing times with different messages around it. :)
SO many possibilities.
Dear Hansen,
One day I will get you an actual ruler/straight edge all-in-one-object. Until then, I commend you for repping Homo Depot and IKEA in your crafts. As a challenge, if you manage to incorporate Subaru or Earth Balance as a means of measurement, you can have 400 points.
Kristen
Love this.
cuuuuuuute!!
I absolutely love this clock. We are going to make one and it is going to be an existential clock with no times, but only philosophical concepts and tasks, like “time to thank someone important in your life” or “time to find beauty” or “time to spend 10 minutes looking inward”
Its going to be AWESOME
This looks like something you can do with wooden wine crates!
If you’re feeling super adventurous, it’s fairly simple to make your own chalkboard paint! Any color paint your heart desires – I use the acrylic kind that you can get at the craft store (1 cup) + non-sanded grout (2 tablespoons).
REALLY? THAT’S THE SECRET?
That’s it! Make as little or as much as you want with a 8:1 paint to grout (non-sanded is the super important part there) ratio!
Also, for those of us who are SUPER lazy and/or over zealous, Homo Depot has chalkboard paint in spray paint form. Chalkboard everything!!!
My roommates and I painted a wall in our kitchen with chalkboard paint. We keep a giant calendar, grocery list, and cleaning schedule on it, as well as doodles and messages for each other. I’d like to make this clock, hang it above the kitchen sink and write things like, “it’s time to wash your damn dishes” or “make time to pick up your shit”.
Too passive/aggressive?
I love that we get new crafty things for our house every week.
I love this chalkboard clock!
I love chalkboard things. Like, seriously love them! We had a giant chalkboard on the playroom wall when I was a kid. Which is how we discovered I’m allergic to chalk. Now chalkboard things just taunt me.
This is the coolest thing ever! *runs to get supplies*
Just a tip for drilling holes into wood. If you’re afraid that your nail or screw will crack your wood, drill a pilot hole first. A pilot hole is basically a tiny hole that “leads the way” for your bigger nail/screw. I have no experience making cool clocks, but I do build robots so hopefully this tip is relavant! The rule of thumb pilot hole diameter is a 1/8 inch drill bit.