

Hello beautiful, and welcome to How To Own It, where store-bought fashion meets DIY crafts. Each week I’ll be exploring an aesthetic theme, showing you some of the best ways to wear it and how to make it for yourself.
Want to know how to own a look?
Email gabrielle@autostraddle.com or tweet to @Gabrielle_Korn.
Header by Rory Midhani
You guys, I have a problem. It’s about this column. You see, every week I spend hours making something to tell you about, and sometimes it’s an article of clothing which is great because it can fit in my closet, but other times it’s a huge necklace or a pin or a collar and I have no idea where to put it afterwards. Every miscellaneous accessory I’ve made so far is just kind of perched wherever I can fit it, which makes me sad because I don’t want to leave things laying around after putting so much feeling into them. Do you have this problem too? Not that I would wish it on you, but hopefully this will be relevant to your needs in some way. I mean unless you’ve been following Apartment Therapy’s January Cure, as per Laneia’s recommendation, in which case by now you probably have unlocked the secrets to organizing everything in the universe.
Anyway, I need a solution, fast. I already have a jewelry box, but my miscellaneous items are too bulky to fit in it. Ideally I would get something durable that I can hang things on but that won’t take up a lot of room. Something like, oh I don’t know, a tiny tree? One of these maybe:


I think these are all really cute, but I can’t bring myself to buy something that looks like a tree when there are actual trees with spare branches up for grabs (this was the same feeling that inspired me to make a twig collar pin). Plus if I’m being honest with you there’s not really room on my dresser for something free-standing, so I’m going to make a a version of a jewelry tree stand that can hang from the wall. For more ideas on where to put your sparkly surplus, there’s a good list of inspiration on Broke and Healthy.
DIY Wall Jewelry Branch
You will need:
A Y-shaped branch that strikes your fancy
Acrylic paint
Sand paper (optional)
Twine
Semi-bulky miscellaneous items to hang up
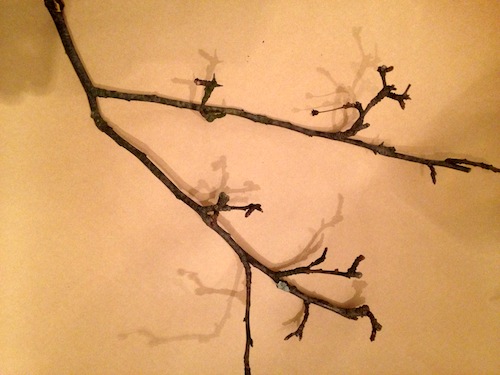
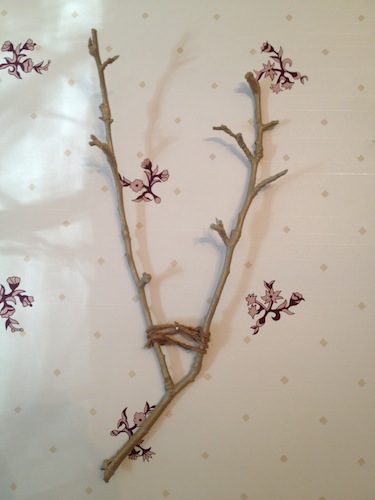
1. Go find a Y-shaped branch. It should be thick enough so that it’s not easy to pull off the tree, but you shouldn’t need to use something serious like a saw. I’m using my meat cutting scissors because I don’t use them for meat anyway. Now apologize to the tree. If your branch is dirty, sand it down a little bit. Depending on how smooth you want it to be, you can sand most of the bark away, or leave it as it. I’m actually not going to sand mine at all because I like all the nooks and crannies the bark provides.
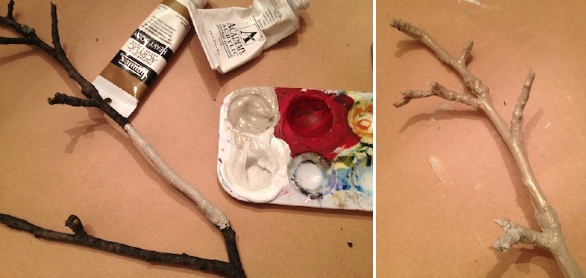
2. If the branch has twigs sticking out of it that aren’t sturdy, trim them down to just the nub. Those nubs are going to serve as your hooks, so make them big enough to hang something from. Now paint it! I mixed gold and white acrylic paint because I wanted it to be sparkly without taking attention away from the things hanging on it.
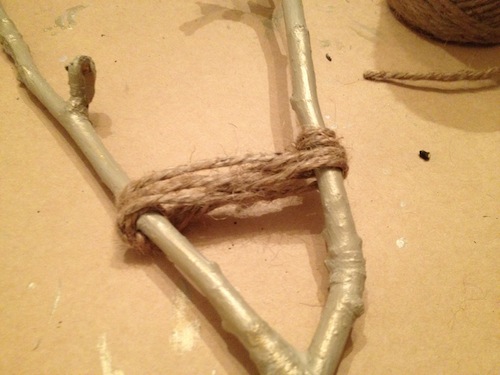
3. Securely tie piece of twine to one of the Y’s legs, about an inch or two up from the base. Then thread it like a figure eight between the two legs, repeating five times. Tie it down securely to the opposite branch. This is where you’ll be hanging it from, so make sure you knot it like you mean it.
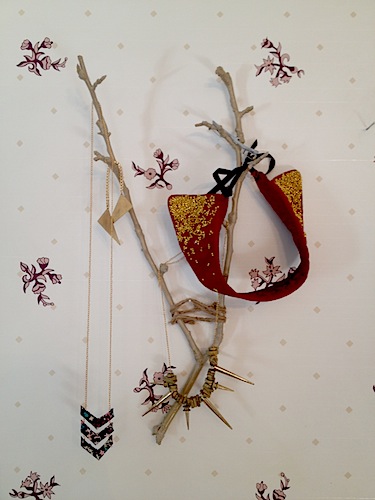
4. Now all that’s left is to hang it up and get organized.
What a relief!


Comments
I have one of those freestanding tree things but I don’t really have room on my dresser for it either, so it currently resides on top of my jewellery box and I have to pick the tree up (read: spill everything on it everywhere) whenever I want to open the box. Also, it’s too short to hold any of my necklaces properly. Sad times.
Basically, this is one of those so-simple-it’s-genius ideas and I want one. Although I don’t really have any wall space either, which could be a problem.
Also, does it really just stay hanging from that string like that? Because my physics brain is telling me it would just swing upside down immediately if I attempted it…
It really does just stay hanging! I also suspected that it would swing upside down, but the twine is pretty snug between the wall and the nail holding it in, so i think that helped a lot. That’s why I used twine instead of like string or something, so that it would be thick enough to be held in place. I don’t have a physics brain, but does that make sense as to why this worked? Maybe also magic.
Ah cool! Yeah that could definitely explain it… I guess it would also depend on how even the twigs are, but I’m sure if it did swing down you could just use a couple more nails or some blu-tack to hold it. I may have to try this!
Awesome! Let me know how it goes!
I thought the same thing. You could always just hang it “upside down”; I think it would still look great.
through the How to Own It column I am slowly introducing my mother to the joys of autostraddle :’) she may not understand me being gay but she thinks the jewelry that comes along with it is cute!
I hang my jewelry on my drapes and lamps. Adds little extra sparkle to my decor. Though I do already have branch décor, it never occurred to me to hang anything but hats and scarves on my sticks.Great idea!
This is super gorgeous, and I’ve been wantin to make a jewellery stand for a while. I reckon I have room for something freestanding though, so I will give it a go. Maybe in a sort of teepee shape?
I think multiple smaller versions of this in a nice bottle/mason jar would look really cute. Like a sparkly bouquet.
Those jewelry stands look so pretty if you have like TWO necklaces (see photos!) If you have more it looks like a jumbled tacky mess of color and pattern. I always get tricked in the store thinking I’ll have this amazing sculpture to look at on my dresser and have to back away.
This is a good minimalist alternative. I may try it.
This is beyond brilliant. I want to go make everything out of trees now, (but only in sustainable ways of course)
Where was this three months ago, when I set out on a two-month long quest to find something at a thrift store that would hold my necklaces? I kind of have a…problem…buying jewelry at thrift stores (as in, I go to thrift stores several times a week and almost always leave with jewelry), and everything was getting into jumbled piles in my jewelry box. The necklaces were especially bad, to the point that for I’d ceased to wear any because getting one untangled took way too long. Since it was Christmastime, thrift stores were totally picked over, and I ended up getting this metal thing that probably is made to hold like a little novelty decorative lamp only after TWO MONTHS of searching. But I knew that wasn’t the most effective jewelry-holder (it’s pretty small), so I’ve kept looking. This is PERFECT. I already have everything but the branch, which should be easy enough to remedy!