


Did you know MacBooks come in gold now? Definitely out of my price range, but it got me thinking about accessories that could at least make me feel like I’d made the upgrade. A metallic (faux) leather laptop sleeve coming right up! I decided to make two envelope-style sleeves — one gold, and one silver with pink accents.
You will need:
- 1/2 yard metallic faux leather (I used this gold and this silver)
- A sewing machine with a leather needle
- Sewing pins or clips
- Scissors
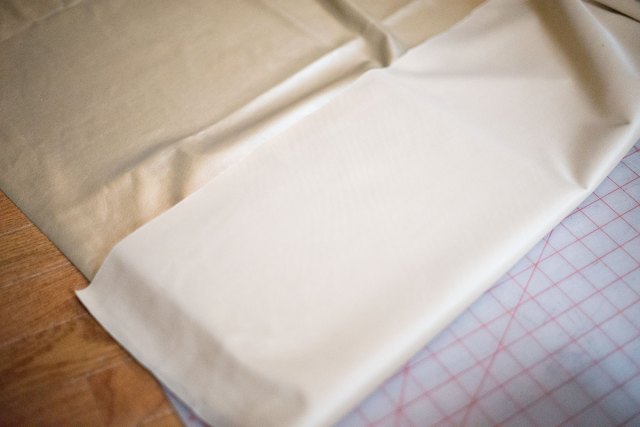
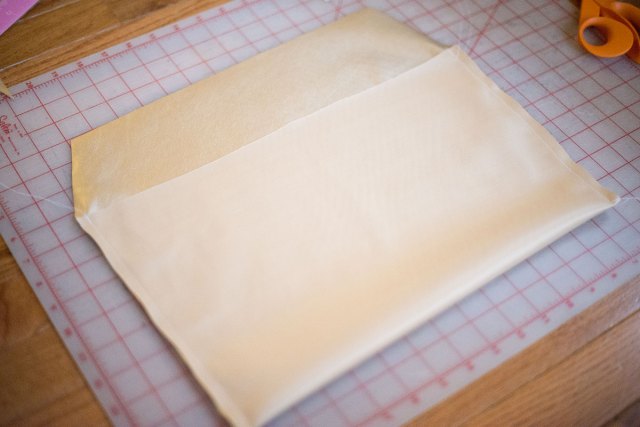
1. Spread out the the leather right side up.
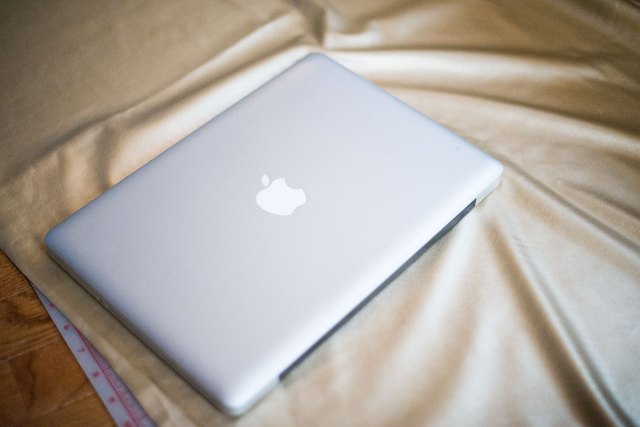
2. Place your laptop on it, and fold the leather over it.
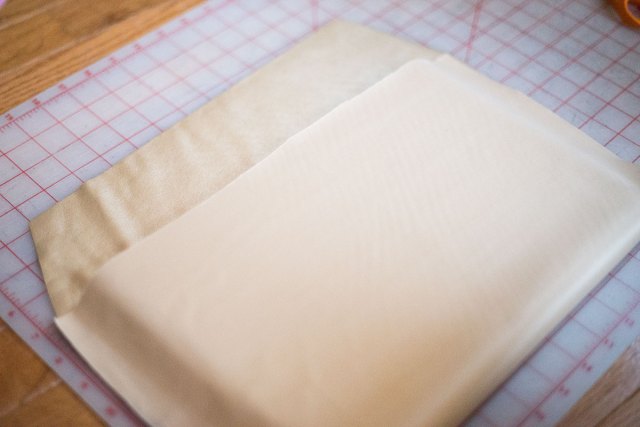
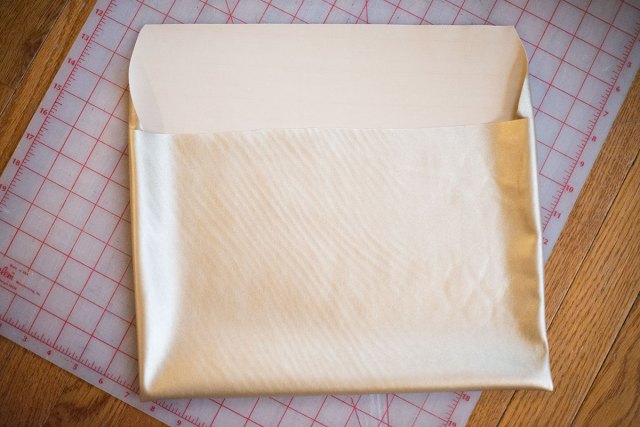
3. Cut out the leather, giving yourself a 1″ seam allowance on both short sides. Make sure one side extends by 4.5″. I trimmed this section diagonally; this is the flap that will fold over the sleeve.
4. Remove the laptop, and pin or clip the short sides together (right sides should be facing in).
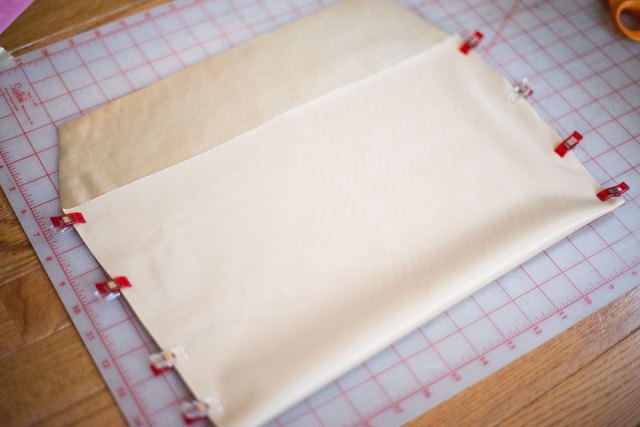
5. Stitch across the short sides, 1/2″ in from the edge of the fabric.
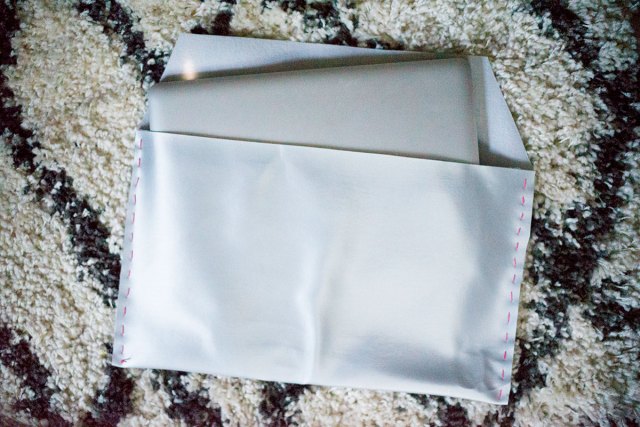
6. Turn the sleeve right side out.
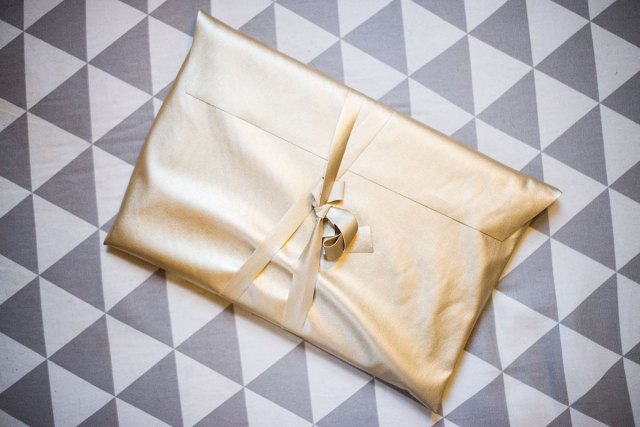
7. I also freehand cut a strip of leather 60″ by about 1″ and used this to tie the sleeve closed.
Want to try version number two?
You will need all of the above, and:
- A leather awl
- Embroidery thread
- A sewing needle with a large eye
1. Spread out the leather, right side facing down.
2. Place your laptop on it, and fold the leather over it.
3. Cut out the leather, giving yourself a 1″ seam allowance on both short sides. Make sure one side extends by 4.5″. I trimmed this section diagonally; this is the flap that will fold over the sleeve.
4. Remove the laptop, and pin or clip the short sides together (right sides should be facing out).
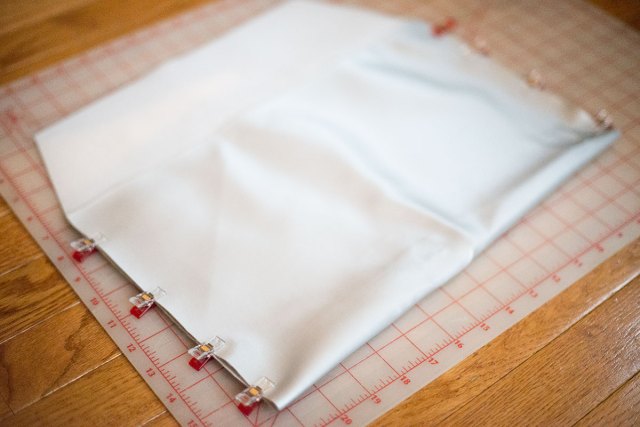
5. Carefully use your leather awl to pierce holes through both pieces of leather (1/2″ in from the raw edge), spacing them about 1/4″ apart.
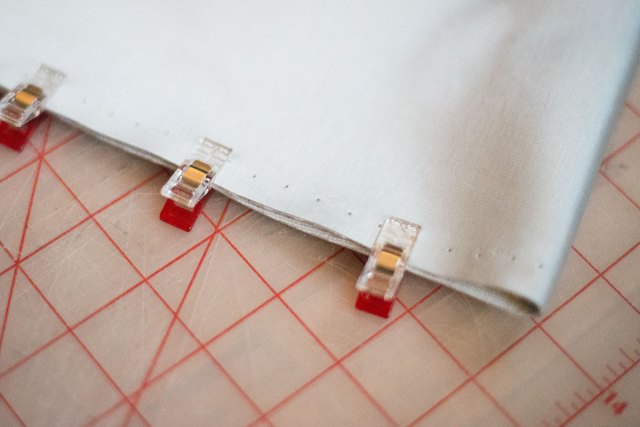
6. Thread the needle with embroidery thread, and stitch through the pre-pierced holes, removing the clips as you go.

7. Knot the ends of the embroidery thread securely, and trim.


Comments
Just a heads up, don’t use a leather needle on vinyl/synthetic leather. Use a heavy ballpoint needle, because it’s actually a knit fabric with a plastic coating on it. A leather needle has a knife point on the end, and will slice holes in synthetic leather that will weaken it big time. Also, don’t try to use the ballpoint on another project, as it will be too dull.
You’re right, Steph! Good catch
Love the pink stitching, I wish the laptop sleeve I got today used. Similar color for the stitching.
I like this a lot!
This is so cool! My girlfriend made me a leather laptop sleeve for Christmas and it’s the best thing ever – here’s a pic (she tanned the hide herself from a roadkill deer – yours is definitely the classy version!!)
Thanks for sharing this project! (Also – gold laptops?! Bleeeh.)
Oh I would love to make a gold case for my tablet. I mean, I know myself and I know I’m far too lazy to actually ever do it. But well, I know where the instructions are if I ever get around to it :-)
Looks gorgeous. I especially like the last bit -the freehand leather tie.