

Right now and for the past five years, my wife and I have shared — are you sitting down? — one closet. And it’s so tiny! A challenge for any relationship, but especially a marriage in which one individual enjoys organizing her clothes by color and sleeve length (ahem) and the other — not so much. It’s just packed.
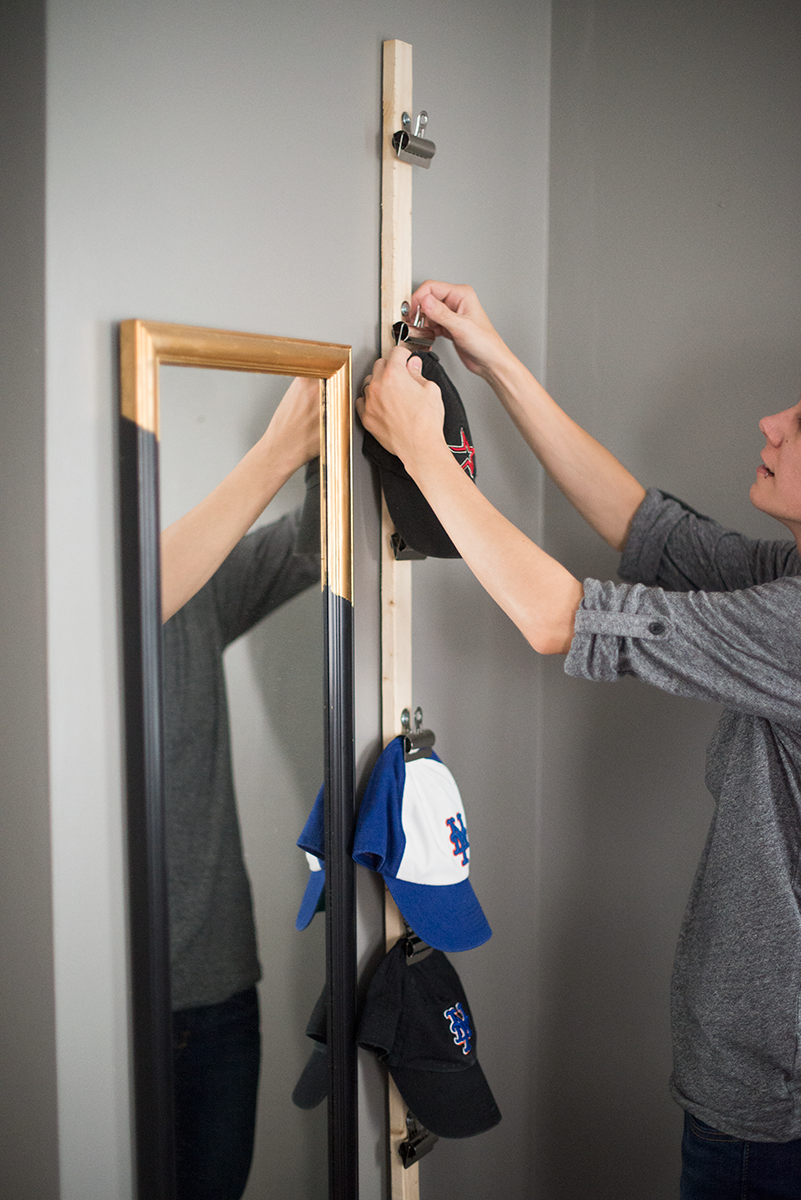
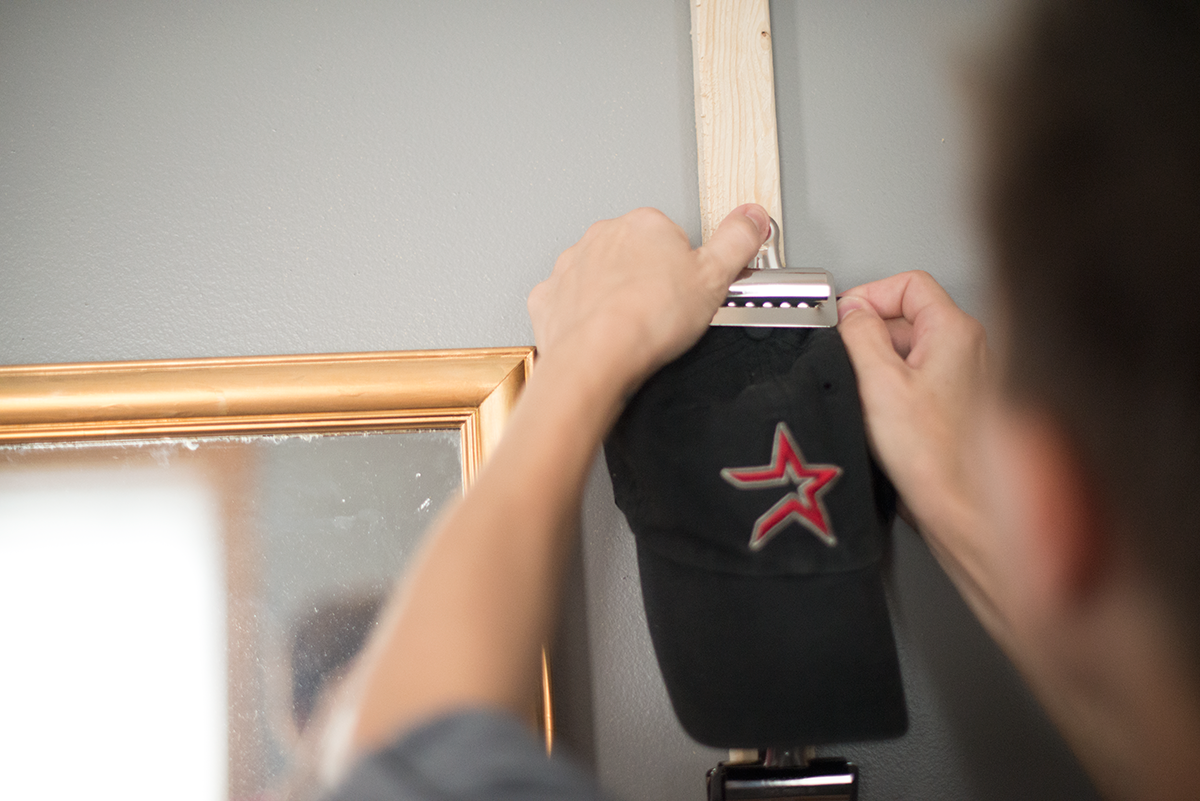
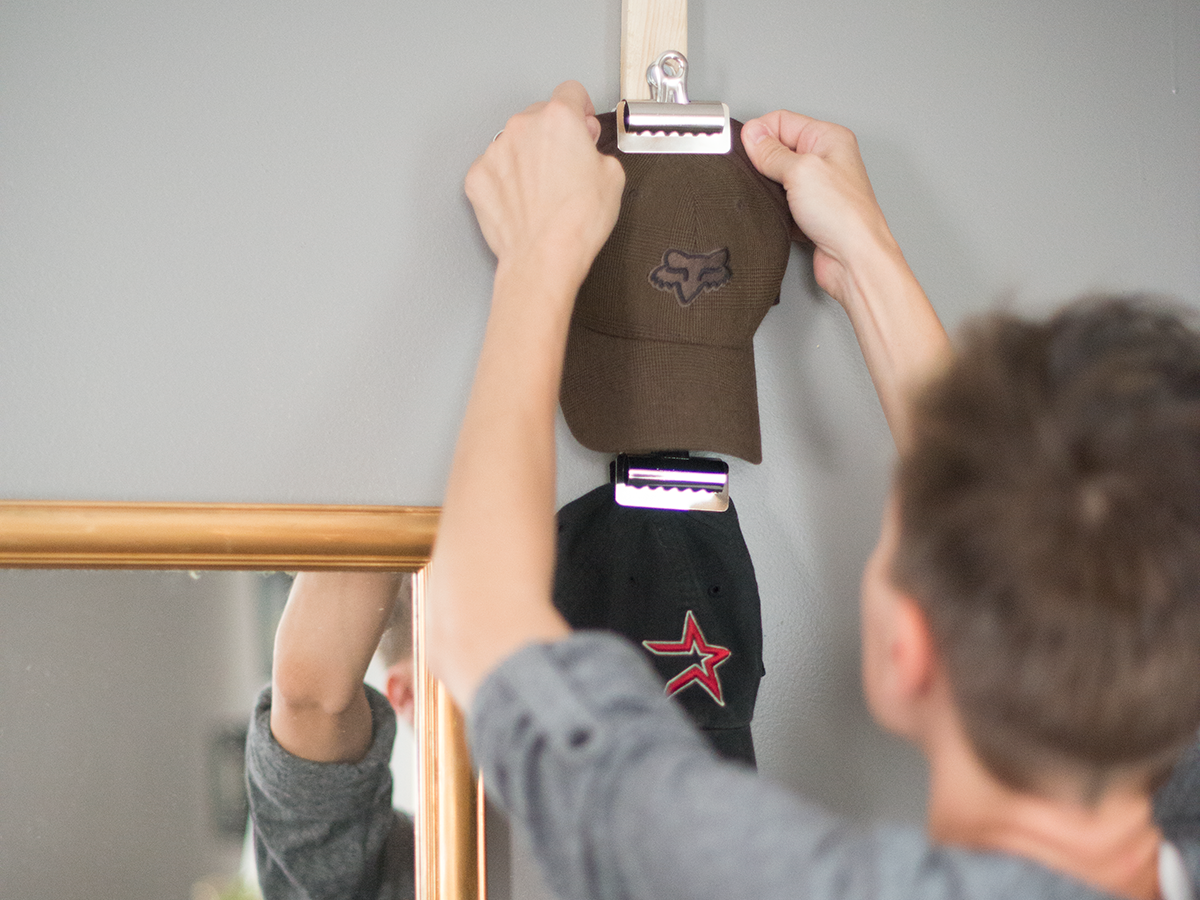
My wife’s extensive baseball cap collection also lives in our closet, perched precariously on hooks that are too small. So whenever one of us reaches for a sweater, a few hats fall down too. This DIY has been a long time coming. The bulldog clips are strong enough that bumping into a cap won’t knock it down, and it’s secured very well to the wall, but still renter-friendly and easy to remove. Plus, it’s easy and cheap to make. (I am totally wishing I’d done this when we first moved in!)
You will need:
- A 5′ section of 1″x2″ wood
- Bulldog clips, size #3
- Flat washers, size #10
- 3/4″ flat-head Phillips screws
- Command large strips
- A drill

1. I left the wood raw, but this is a good chance to customize it by staining, or painting with your favorite team’s colors.
2. Use your drill to attach each bulldog clip, with a washer in between the screw and clip. This can be a little awkward because of the clip’s style, but try inserting your drill through both holes and drilling that way (see next picture).
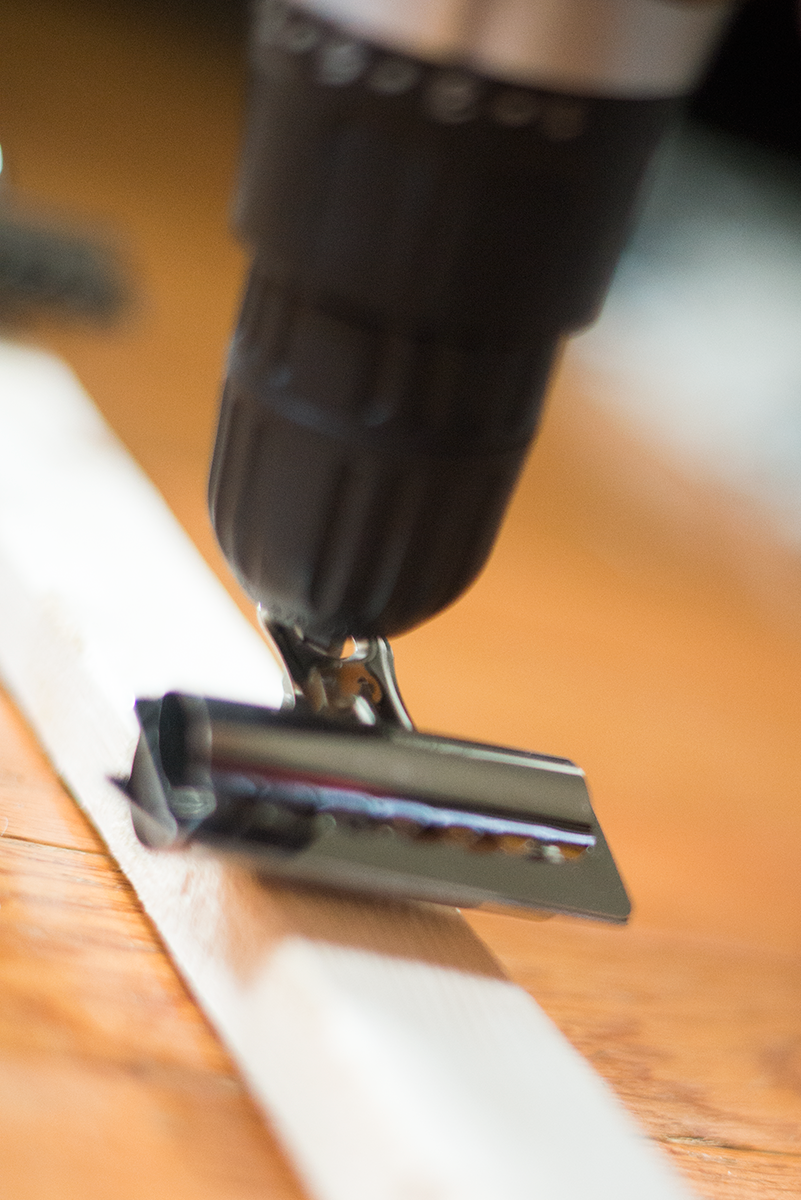
3. Attach as many clips as you’d like this way, evenly spaced.
4. Follow the instructions to attach the Command strips to the back of the wood. I put one on the top and one on the bottom to really anchor it to the wall.
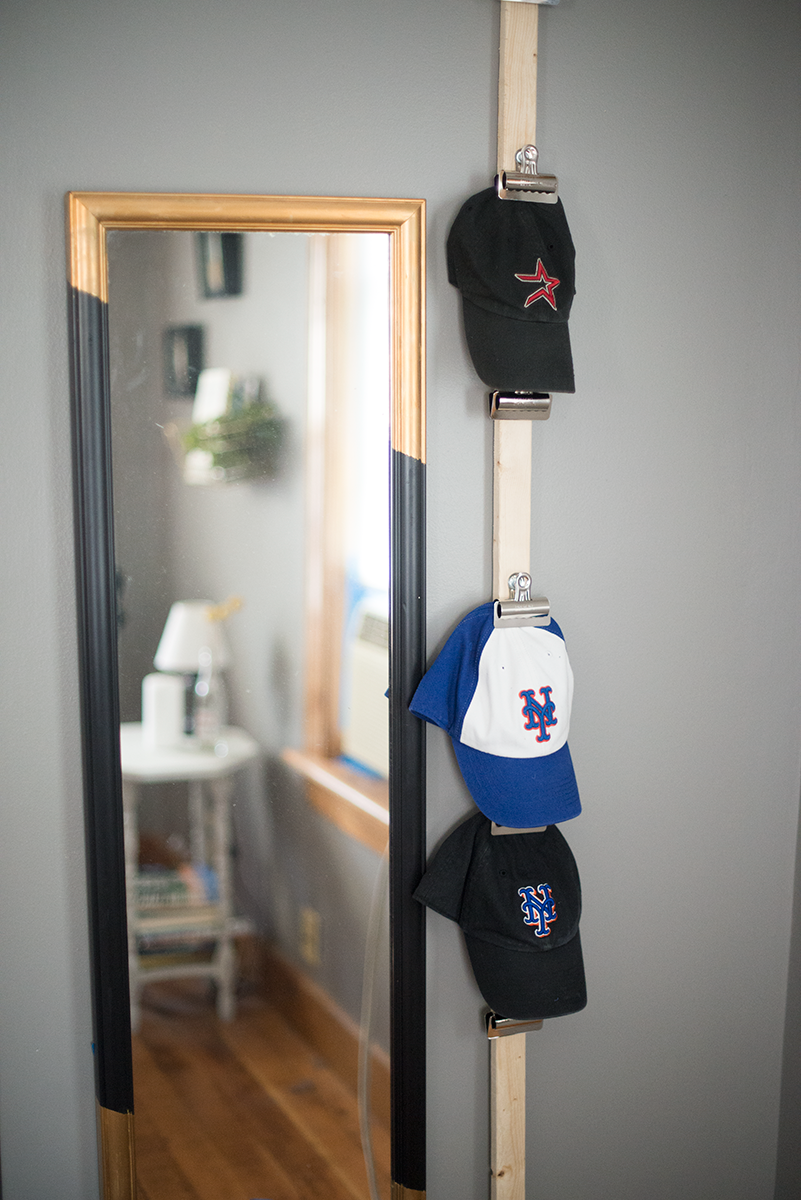
Kristie really likes it, and I really like things that are organized and make sense. Oh, and I mounted it in our bedroom for these pictures, but rest assured, it is in our closet now. (That little space is just so horrific, it can’t be on the internet.) But changing its location was a great test of the Command strips, and they worked beautifully.
Check out the mirror DIY too!


Comments
this is clever! what would you suggest for hats you can’t bend like that? I have a few crisp new snapbacks and a greek fisherman’s cap, for example, that I wouldn’t want to fold up.
I think something charming about this design is that it could be easily modified: e.g., just tap nails into the board instead of using the clips, and you can hang literally anything off of it. :D
You could clip them on by the bill or edge of the hat somewhere.
I have had a set-up like this in the past for my snazzy snap backs, but it makes them very dusty :( I recommend keeping your prized hats in a box or closet to protect them from collecting dust from being on display. (If you actually wear them regularly)