

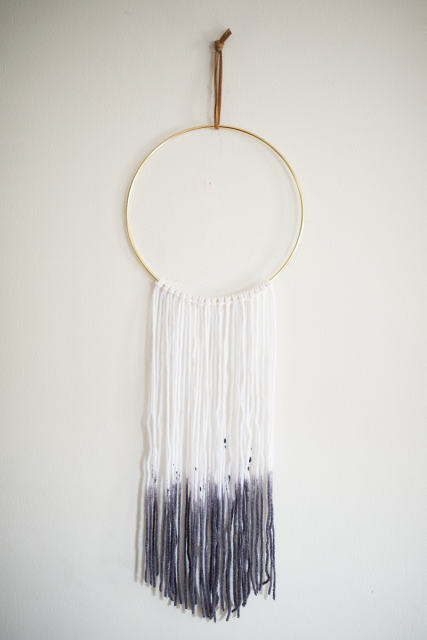
When minimalist style and an easy DIY cross paths, you’ve gotta pay attention. This dip-dyed yarn wall hanging only requires a few items and about 15 minutes of hands-on work, but it makes a big impact.
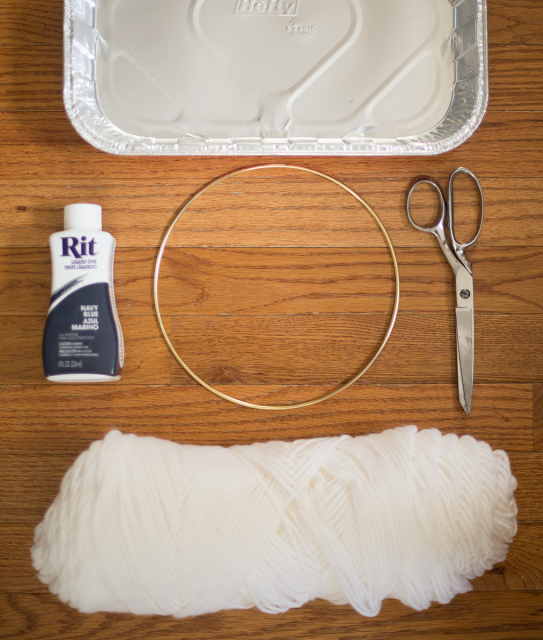
You will need:
- White yarn
- A bottle of liquid dye (I used Navy)
- An 8″ metal macrame ring
- Scissors
- A disposable foil dish
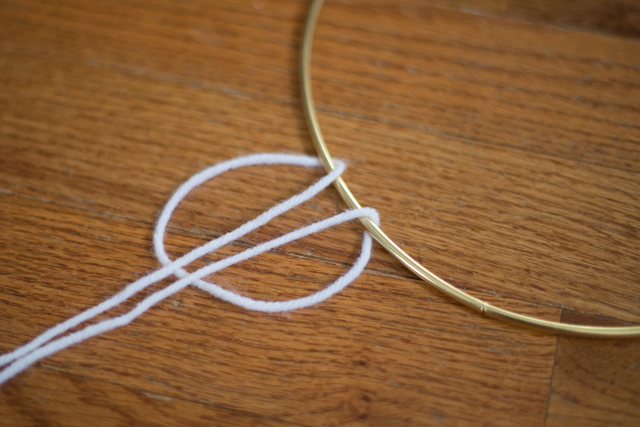
1. First, cut 20 pieces of yarn, about 45″ each. They don’t have to be perfect; we’ll trim it later.
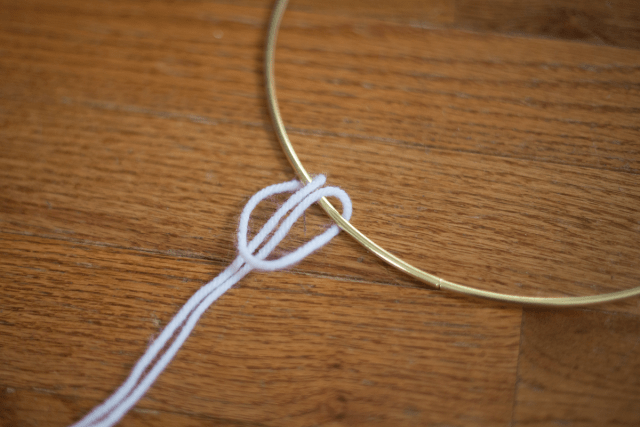
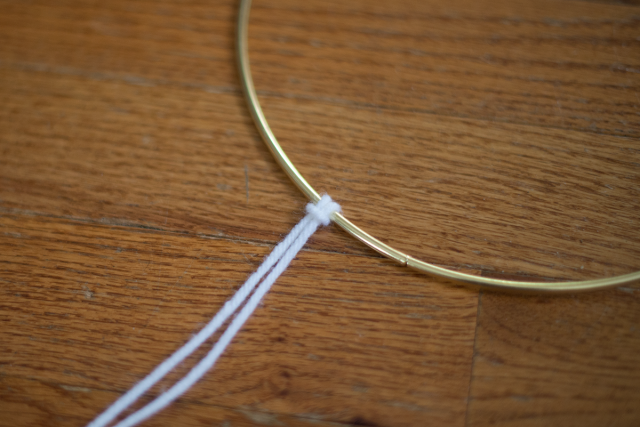
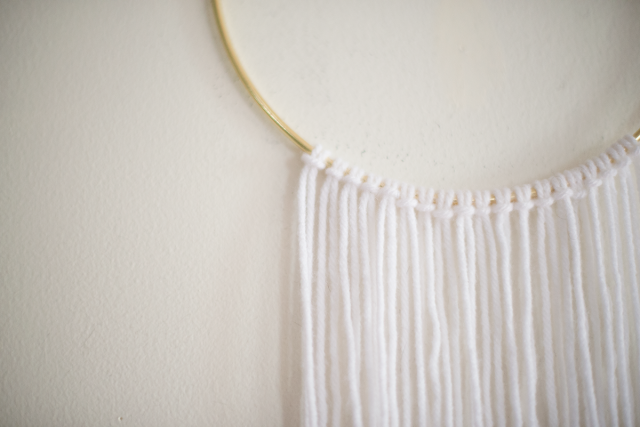
2. Loop a piece around the macrame ring and thread it through, pulling it tight. Add all the yarn pieces to the ring like this.
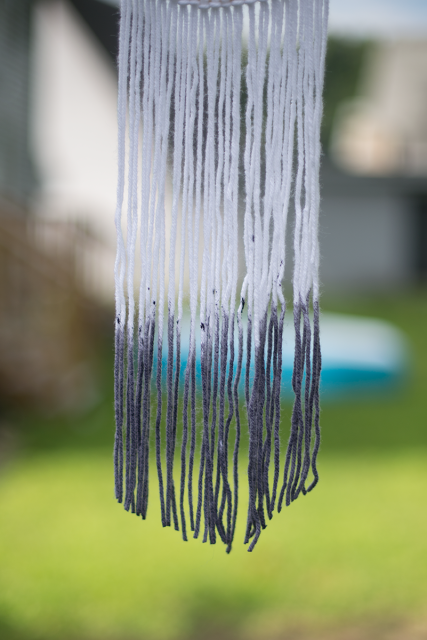
3. Pour the bottle of dye into the dish. (I added some water to dilute it a little bit, but this is optional.) Carefully dip the ends of the yarn into the dish, a few inches at a time. (If you want an ombré look, wait 30 seconds to 1 minute each time you lower the yarn further.) I used a straw to help make sure the yarn was getting nice and saturated with the dye.
4. Carefully remove the yarn from the dye bath, and hang it either in on an outdoor laundry line or in your shower, with the foil dish underneath to catch drips as it dries.
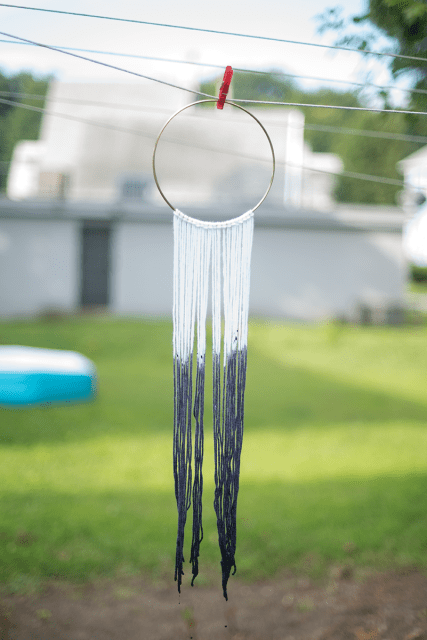
5. Once the yarn is completely dry, trim the ends in whatever shape you’d like.
I added a loop of leather cord at the top to hang it on the wall. Is it just me, or does this look like something totally expensive you’d find in your favorite home goods store?


Comments
I love this! I’m super into the instant gratification that this will give me!
I have most of these supplies already!
crochet fanatic + tie dying phase = endless project opportunities!!
Love it! Thanks for this fab idea!
THIS IS SO FUN AND CUTE! I will be doing this ASAP. When you summon the desire the craft, the craft will come to you.