crafts & diy projects DIYke Club: Making Personalized Lighters and Flaming Dr. Peppers A craft project to set your hearts and alcohol on fire! Liz — Apr 10, 2014
crafts & diy projects DIYke Club: Etched Glass Tumblers and Whiskey Neat I mean really – who doesn’t feel like a baller sipping whiskey out of a personalized glass? Liz — Dec 12, 2013
crafts & diy projects DIYke Club: Washer Necklaces and Blackberry Margaritas What says, “I love Home Depot, but still care about my hair” better than a necklace made out of washers? Liz — Nov 7, 2013
crafts & diy projects DIYke: Hanging Flower Vase and Iced Chai Latte Spice up your vases and your lattes. Liz — Nov 1, 2013
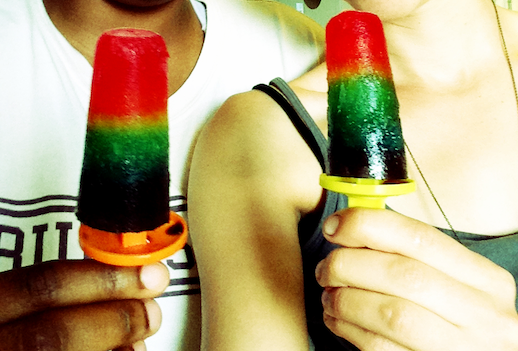
crafts & diy projects DIYke Club: Rainbow Boozesicles and Vegan Candles Somewhere over the rainbow, candles are gay and popsicles are boozy. Let’s make fun things together! Liz — Oct 17, 2013