Welcome to You Brew You! A series dedicated to all things homebrewing. Have you ever wanted to make your own beer? You probably will by the end of this post.
By this point, you’ve gotten your equipment squared away and have cooked up the wort. Now it’s time to pop the lid on that fermentation bucket and siphon the shit out of it.
As always, first we start with some beer. Not the makin’ kind. The drinkin’ kind.
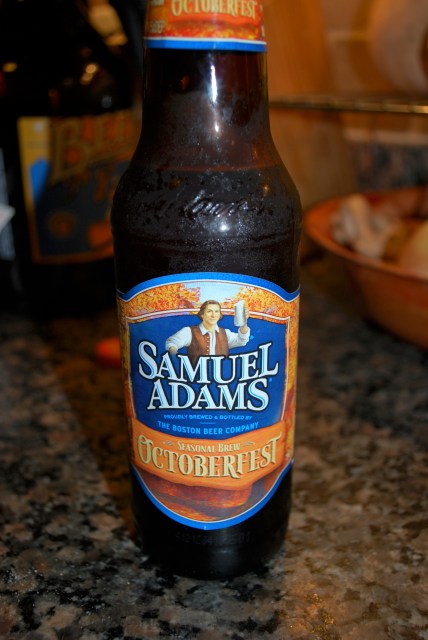
Once you’re sipping, it’s time to rack. That’s just a fancy way to say transfer your beer from one vessel to another. Make sure to thoroughly sanitize your siphon, your carboy and all other equipment. I like to sanitize a few shot glasses inside and out, dip them into the fermented wort, and taste.
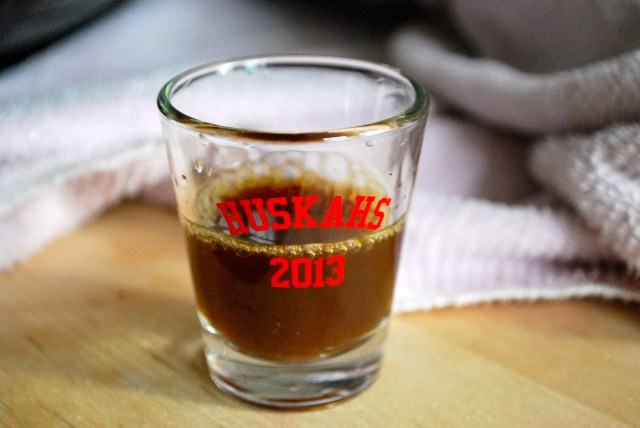
At this point, your proto-beer will be cloudy and warm. Taste it anyway. This will give you a little glimpse into how the beer will actually taste later on. Keep in mind that the flavors need time to fully develop.
Secondary Fermentation
Siphon the beer into a glass carboy for secondary fermentation. This will allow the muck to settle out of your beer, leaving it clear and yummy.
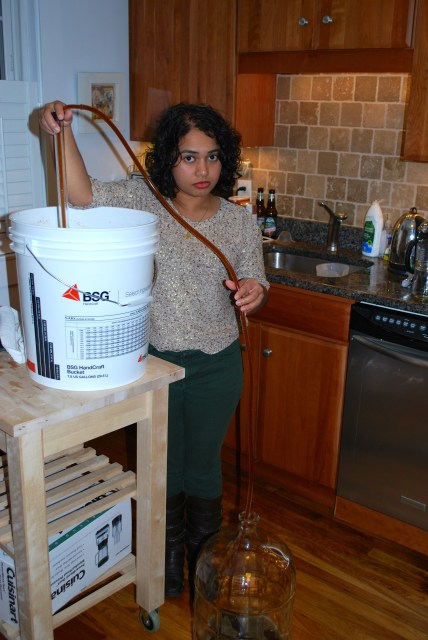
Not everyone is into secondary fermentation, and strictly speaking you don’t HAVE to do it. But the gunk from your wort has now settled to the bottom of your primary fermentation bucket, and leaving your delicious beer on top of that gunk for another week will make it more bitter. (Also, this is for top-fermenting yeast, a.k.a. ale yeast. Lager yeast is another ball game all together.)
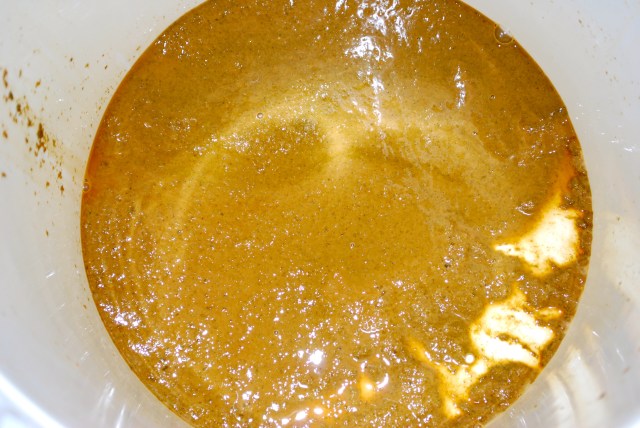
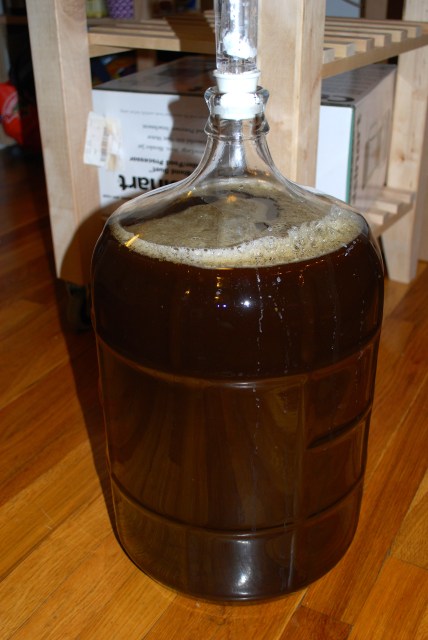
Keep the carboy in a dark place for 7 – 10 days. After that, it’s ready to taste again. (If you’ve been paying attention, every step is really just another reason to drink more beer.)
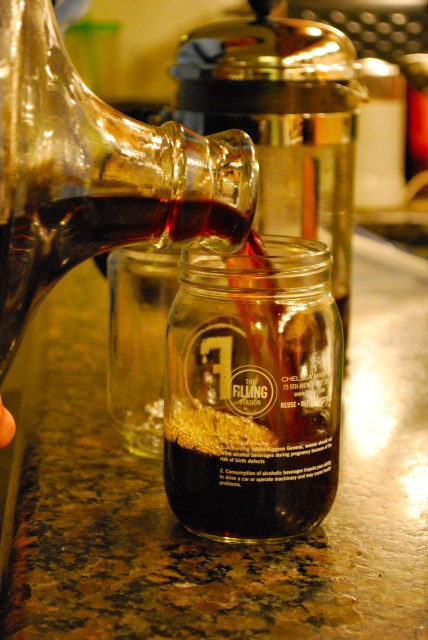
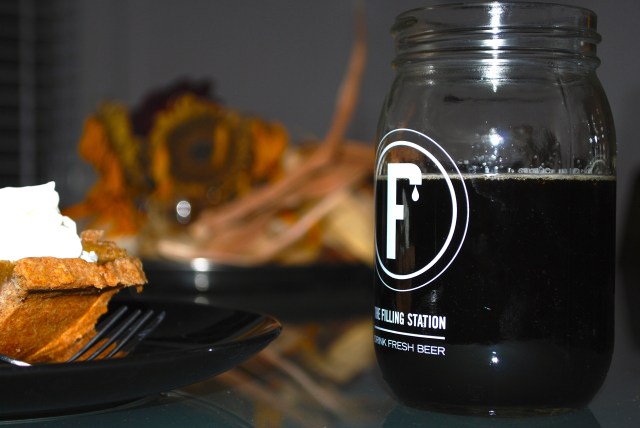
Now is also the time to measure your final gravity. Technically, your final gravity will tell you if your beer is done or not. But since the fermentation time on this beer is 10 days, and since we’ve let it sit in secondary fermentation for an addition 10 days, we can be pretty damn sure it’s done. Still, measuring the final gravity will allow us to calculate ABV (alcohol by volume).
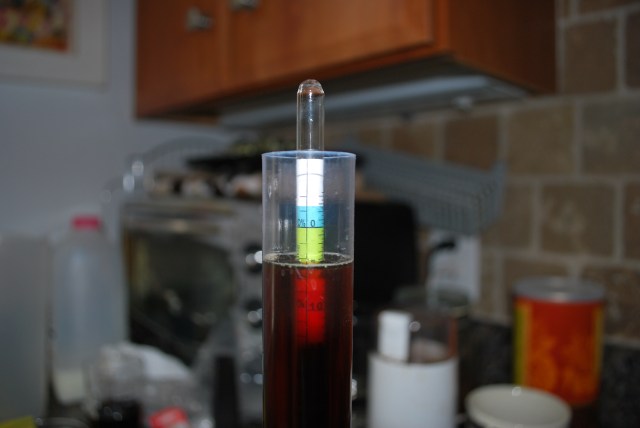
Using our handy dandy calculation, with a starting gravity of 1.044 and a final gravity of 1.01, we get an ABV of 4.46%.
![]()
Don’t put the beer from the test jar back into your carboy. It may be contaminated. Better drink it to be sure.
Bottling
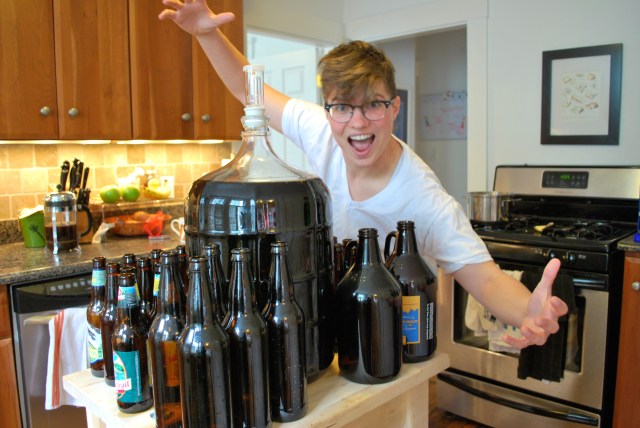
Wash out and sanitize all bottles, growlers, spoons, siphons, tubes, bottle caps and the capper. Make sure to sanitize some plates to put all of your sanitized equipment on. Wash and sanitize your bucket. We’ll use this to mix the beer with the priming sugar.
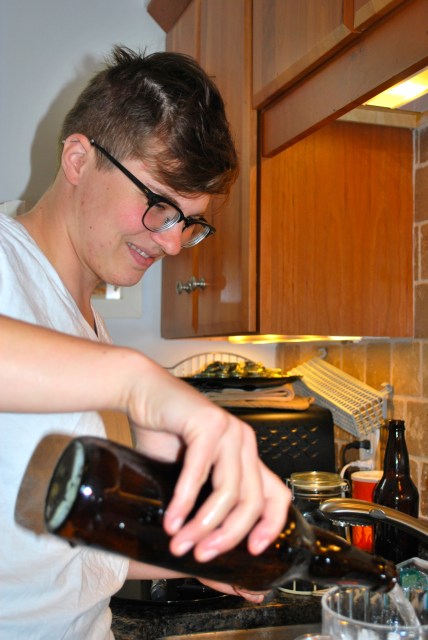
Rack the beer from the carboy to the bucket. This method is called bulk priming, meaning we’re mixing the sugar in with the beer BEFORE bottling. You can also bottle prime, which means putting sugar directly into each bottle and then siphoning the beer into it. Bulk priming, if you don’t mind the extra step, makes sure that each bottle of beer is carbonated the same.
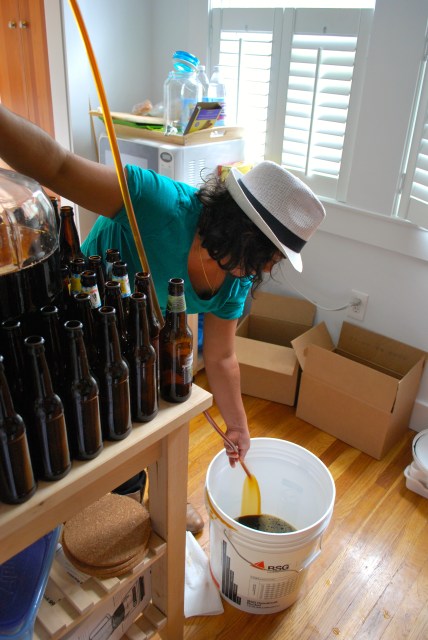
Put the priming sugar (or just regular sugar; no need to get fancy) into the bucket. For a 5-gallon batch, you want about 2/3 to 3/4 cup of priming sugar. Err on the side of 2/3. Over-priming your beer will lead to unnecessary explosions and wasted beer.
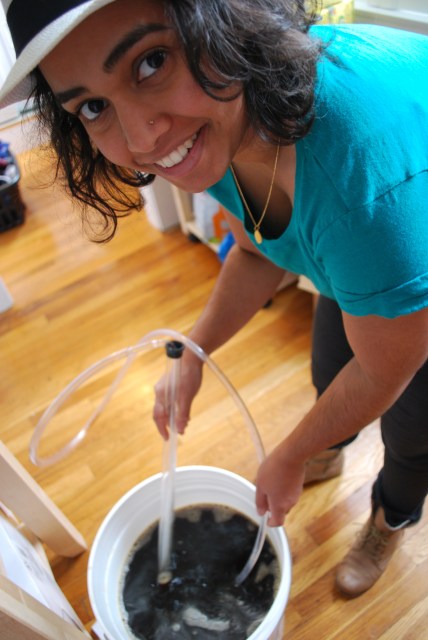
Rack the beer into the bottles.
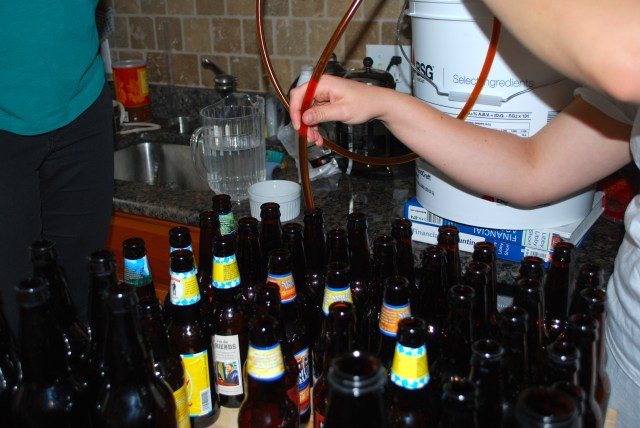
Cap those bottles.
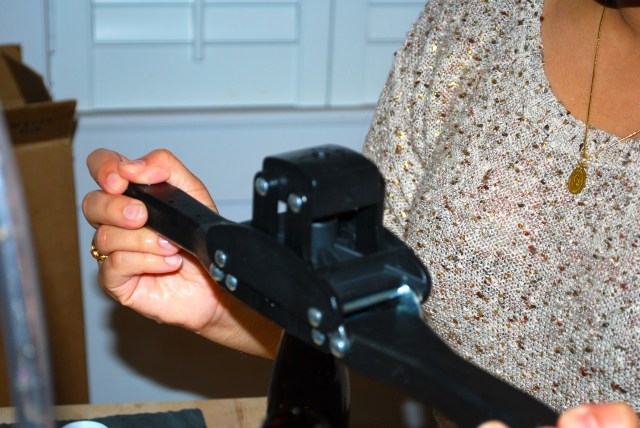
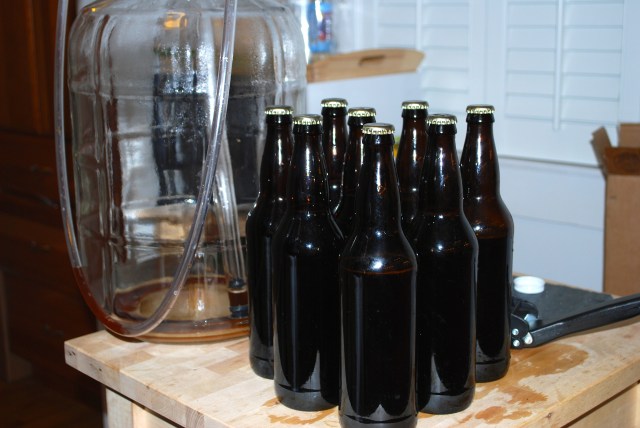
Now we just wait. Carbonation will take about a week, maybe two. The beer will taste ok after that point, but I’d recommend letting it bottle condition for 1 – 6 months. This is a dark ale, so we let it condition 2 months before drinking.
Labeling
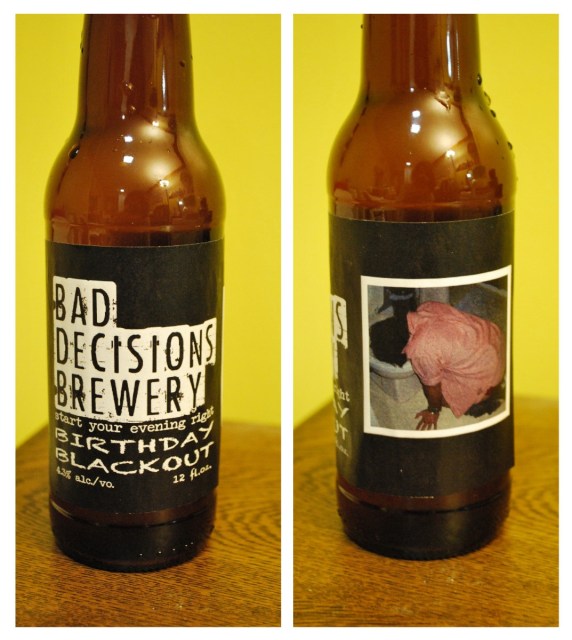
This step is clearly optional, but if you want to feel legit in your beer brewing, you can make your own labels. Print them on a laser printer, dip them in milk (trust me on this), and carefully brush them onto the bottles.
Thanks for tuning in and brewing with us! It is our honor to present you with our first brew here on Autostraddle: Bad Decisions Brewery’s Birthday Blackout.


Comments
Very interesting, thanks for this great series! Looking forward to more (especially all malt home brewing when you have a chance). I’m in and around the craft brewing industry all the time, but haven’t found the courage to try a brew myself, so this will let me live vicariously until I find some brewing buddies :)
Hopefully, there will also be some future posts on recipe developments and considerations?
Cheers!
“The beer flows swift as a coursing river.” Truer words have never been spoken.
I love this column! You brew you.
There are definitely those who will tell you that using regular table sugar for priming is no good because it doesn’t work as well or introduces off flavors, and you should absolutely always use priming sugar (corn sugar, usually). I don’t know how true that is, but I get paranoid and so I’ve always used corn sugar.
I’d also recommend dissolving it in something else first! Boil a small amount of water – just enough to get the sugar dissolved into – let it cool (or you’ll kill your yeast and they won’t carbonate!) and stir it in gently (because you want to introduce as little oxygen as possible to your beer).