PSU (aka Power Supply Unit)
This is a straightforward bit of kit that will power all of your components. You can quite often get PSUs bundled with or built in to the PC case, especially if you’re going for a smaller media-PC type case, so you don’t need to buy one separately.
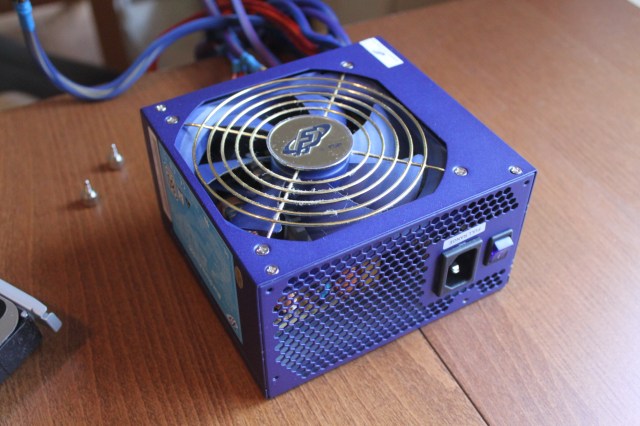
The essential things to look for here are the wattage your PSU can pump out, and its connectors. Also, every PSU will be rated for power efficiency.
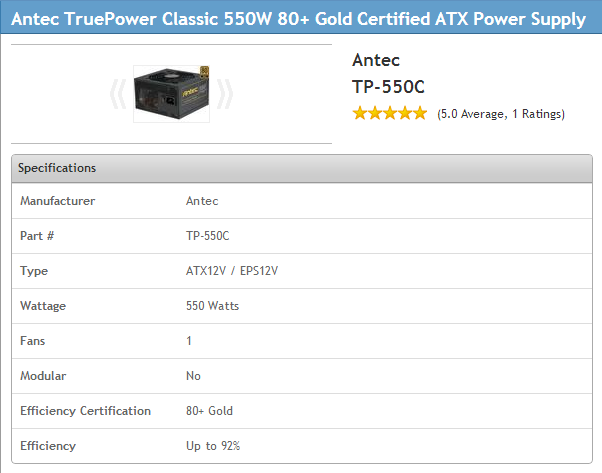
Your PSUs will pump out a certain number of Watts, and each component will have a maximum amount of Watts they can draw, which will be listed in their specs on sellers’ websites. Tally up the total draw of all your components and make sure you get a PSU with ample output to cover it. As you build up your system using PCPartpicker, it will show an estimated wattage in your part list.
While all PSUs will come with enough standard connectors for the average setup, if you’ve got any extra kit in your PC, you should double-check your PSU will be able to connect everything. This is mainly a concern if you have multiple graphics cards, which will require several PCIe power connectors. PCPartPicker doesn’t provide a summary of this, so look it up on the seller’s or manufactuer’s website to ensure it has enough.
Buying Recommendations
There’s a fairly direct correlation between PSU wattage and price. If you’ve got a high power gaming rig, you’ll need to spend a little more to get enough juice. Antec, Corsair and Enermax are top-notch brands that will do the job well.
If you don’t have such high power requirements, there are lesser brands with 350W supplies for as little as $10, but I recommend you spend at least $30/£20 on a more reputable name with better surge protection features, because you really don’t want your PSU going pop and potentially damaging other components in your PC.
Cooling
It’s important to keep the innards of your PC nice and cool; overheating puts your components at risk of damage and can reduce system performance.
Fans are the cheapest and most common method of cooling.
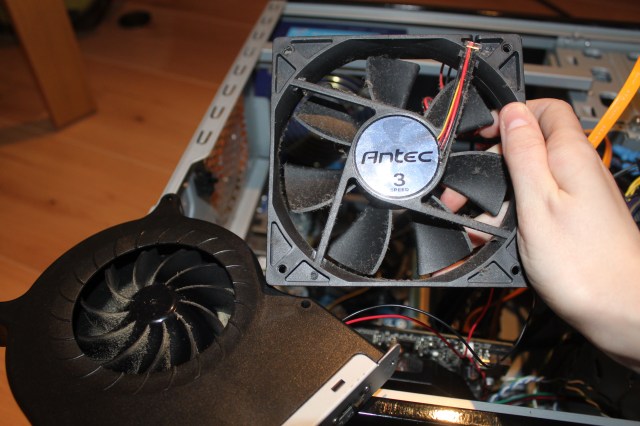
These are attached to your PC case to control the air flowing in and out, with the aim of drawing cool air in one from one inlet and blowing hot air out through another. You’ll need at least one case fan to exhaust hot air out the back of the case (your case may come with one).
Individual components that generate a lot of heat will also need their own dedicated cooler, primarily the CPU. Many CPUs will come bundled with a unit that comprises a heat sink and fan. This will do the job fine unless you are planning on overclocking your CPU — then you’ll need more cooling capacity. You might also want to use a different cooler if you’re trying to keep the noise down.
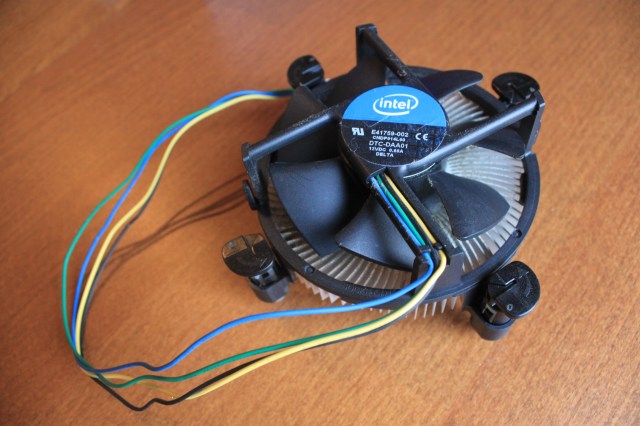
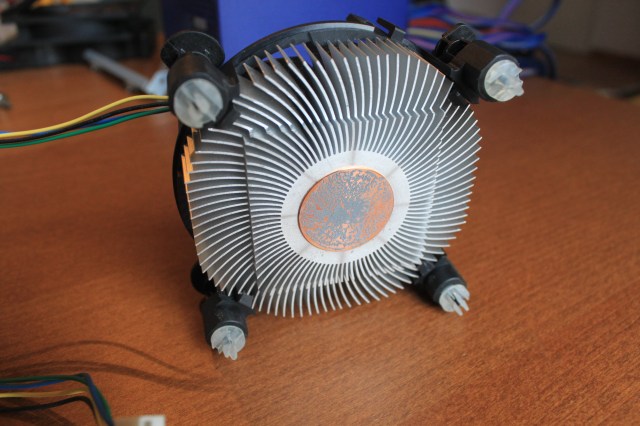
Heat sinks absorb heat from the component they are in contact with, which is then carried away by the airflow generated by the fan.
If you are buying a separate CPU cooler, you’ll need to find out what the heat output of your CPU will be (often listed as Thermal Design Power or TDP), and get a cooler with sufficient cooling capacity, rated in Watts. Also check the description of the cooler on the seller’s website to see if it comes with thermal compound pre-applied. This is a thin layer of goop that helps conduct heat from the CPU to the cooler. If you can’t see any mention of it, you’ll need to buy a tube of your own, which is relatively inexpensive.
If you want to go all-out on building a super-quiet PC, there are low-noise options that will utilize more complex heat sinks or liquid cooling instead of (or in addition to) fans. Using PCPartPicker, you can sort both case fans and CPU coolers by fan speed and noise level. Any with a listing of n/a indicates some sort of fan-less tech.
Buying Recommendations
You can pick up really cheap case fans that will do the job for just a couple of dollars/pounds. The only thing it might be worth spending more for is a fan with an in-built control switch, so you can manually alter the speed, and hence noise.
When it comes to CPU coolers, Coolermaster’s Hyper 212 EVO is an extremely popular, great value choice, around $30/£25.
Expect to pay substantially more for ultra-quiet cooling options — look at Thermaltake and Corsair’s Hydro series for water coolers. Zalman specializes in quiet coolers that require little or no fan cooling by virtue of their fancy heat sink designs — and they’re a little cheaper than water coolers.
Case
It’s time to find a home for all your components!
Although cases will all have varying dimensions, they’re grouped into broad size categories, according to what size motherboard you can fit in there.
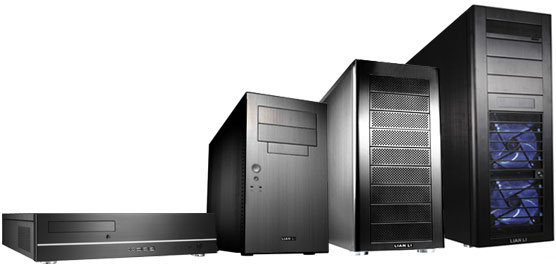
Even small cases should have space to fit at least one of each drive type: 5.25″ bays are for optical drives, 3.5″ for hard drives, and 2.5″ for SSDs.
You can check what motherboards will fit in a case, and how many of each bays it has in the specs:
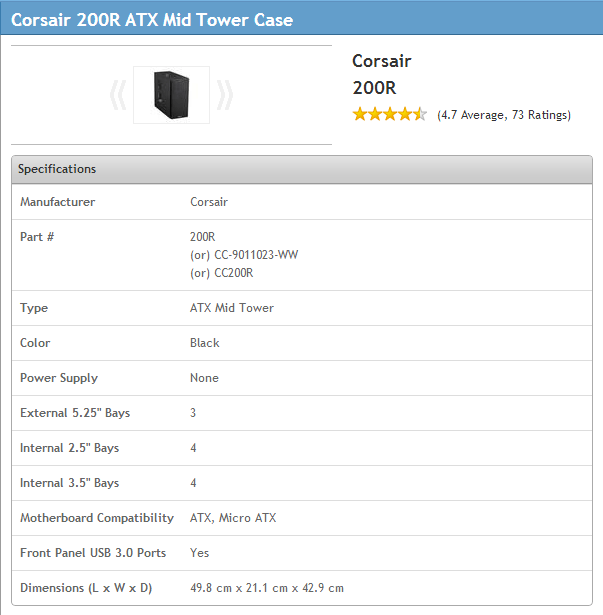
For convenience, a lot of cases will have USB ports on the front, possibly other ports like audio/microphone jacks too. Also check if a case is classed as “toolless” in its description — this means it uses thumbscrews and other neat design features that make it easy to assemble and take-apart your PC without a screwdriver.
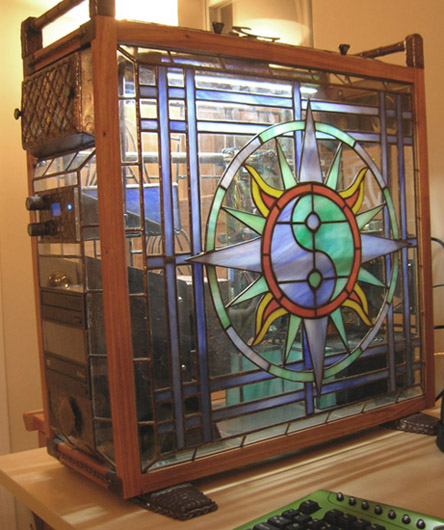
With most PC cases being pretty aesthetically bland, some pro-geeks will build custom creations to house their computers. The end results can vary from the pretty cool to the frankly bizarre.
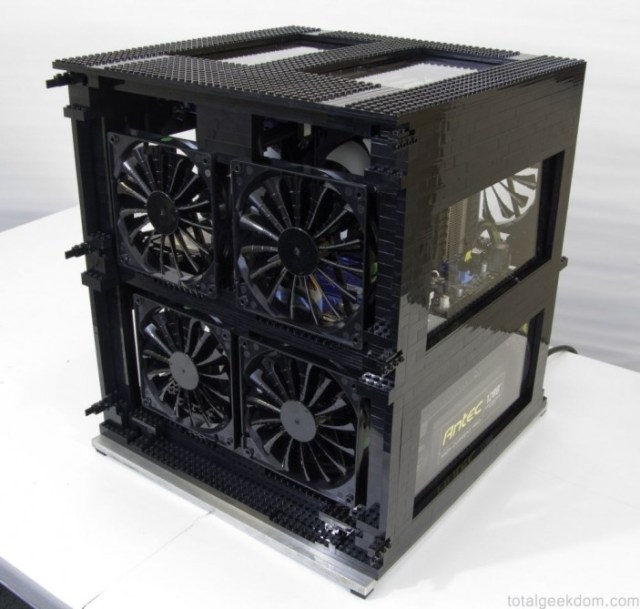
Buying Recommendations
I often feel like picking a PC case is an exercise in ugliness-limitation. I recommend looking directly on seller’s websites rather than PCPartPicker, because you’ll get bigger thumbnails to view/shudder at. For a good value boring but inoffensive choice, try the Corsair 200R Mid Tower, at around $60/£50. For something pricier designed to limit noise, look at Fractal Design‘s cases, or Antec’s Sonata range.
Optional Components and Peripherals
We’ve covered all of the essentials you need to get your PC up and running, but there’s a whole bunch of extra stuff you may want to install into or attach to your PC. Remember to factor in a display, keyboard etc. into your overall budget.
Operating System
When you’re building a PC from scratch, it’s down to you to load it with all the software you need. While this is great at ensuring your computer doesn’t get filled up with crappy bloatware, it means you’ll need to install an operating system.
If you want to install Windows, you’ll have to pay for it. Home editions of both Windows 7 and 8 can be had for around $100/£75. Make sure you go for the 64-bit edition to ensure you utilize your hardware to the fullest; 32-bit software will only be able to utilize up to 4GB of RAM.
The zero-cost alternative to Windows is Linux. This freeware OS has been teetering on the edge of mainstream for what seems like forever, but it’s still held back by its lack of support for many programs, and steep learning curve. Game platform Steam is putting a lot of effort into encouraging development on Linux, but mass support is still a way off.
If you’re looking to experiment with Linux, the most popular distribution is Ubuntu, which has a slick Windows-like interface to ease you in, and its popularity ensures there’s a huge amount of info and support for it.
Technically, it’s possible to run various Mac OSs on non-Mac PC hardware using Hackintosh. This requires some fairly advanced tinkering to get a Mac interface while shelling out less for the hardware. Personally I think the hardware design is part of the reason you’d want to get a Mac so I don’t really see the point!
Where To Buy All This Stuff
If you’ve been using PCPartPicker, it will provide prices and links from several reputable online sellers in your selected country. Beyond that, if you have any recommendations for other places, then shout them out in the comments – especially from countries the site doesn’t list. My personal recommendation for those in the UK would be Microdirect, who are based in Manchester and therefore awesome. You can also click through the links in this article if you want something I specifically mentioned.
I’m going to give you some time to recover from the information overload now and to acquire all the techie toys you need to build your own computer — come back in a few weeks to find out how to put your PC together!
This has been the seventy-fifth installment of Queer Your Tech with Fun, Autostraddle’s nerdy tech column. Not everything we cover is queer per se, but we talk about customizing this awesome technology you’ve got. Having it our way, expressing our appy selves just like we do with our identities. Here we can talk about anything from app recommendations to choosing a wireless printer to web sites you have to favorite to any other fun shit we can do with technology.
Header by Rory Midhani

