Welcome to a hijacked installment of Make A Thing, where we make handmade gifts for people. Or ourselves. Who doesn’t need something special in their life? Join in on the DIY fun and avoid the unnecessary consumerism of the world (and I promise you’ll save a few dollars while you’re at it).
Header by Rory Midhani
Today’s a Very Special Episode of Make A Thing where we make our own chandelier! This is great because seeing is up there in my top five for Things I Like to Do. So let’s take down our nasty-ass broken shades or cover up our naked bulbs because when you’re crafting, you better make sure you can see your results.
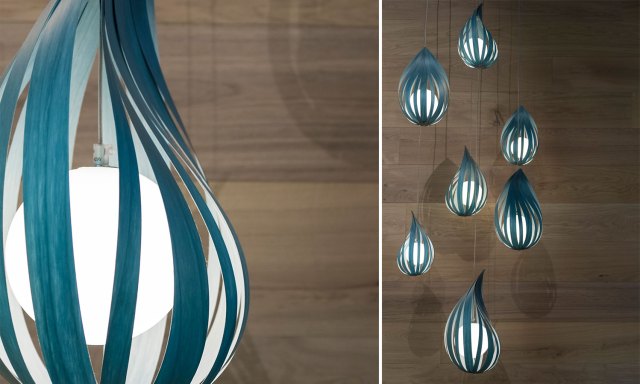
I’m a huge fan of wood grain, my girlfriend’s a huge fan of warm diffuse lighting and our cat is a huge fan of anything vaguely yarn-like. I’ve fallen in lust for LZF’s sculptures, but I am not exactly loaded nor do I have a woodshop in my 3 1/2. But do you know what I do have? A Homo Depot within spitting distance of my house. So why not just head on over and pick up a package of preglued Melamine & Wood Architectural Grade Veneer! Like say, 250 feet of it?
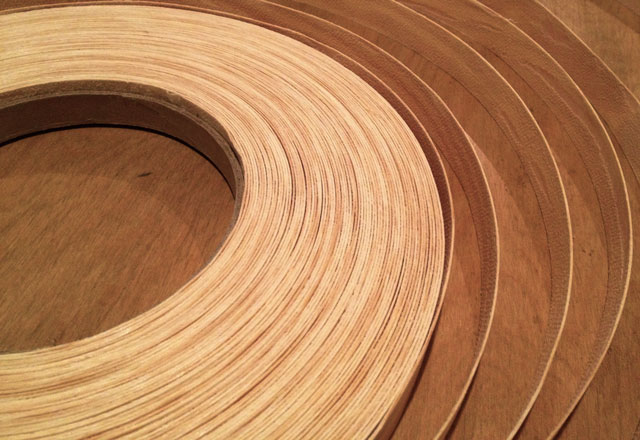
Today we’re going to use all of your mad crafting skills that you’ve built from all of the previous times you’ve made things. Can you use scissors? Can you measure things of the same approximate length? Do you know which end of the glue gun to touch and which one not to touch? Excellent.
Things You Will Need to Make Your Thing
+ Veneer. It cost about 35 bucks but it’s still cheaper than a BÖJA, plus I managed to make two shades!
+ Scissors
+ Glue gun and glue sticks
+ Paper clips, bulldog clips, bobby pins or some type of binding object
+ A bucket, garbage can, globe stand or other contraption to support your artistry
Difficulty Level: Easier than assembling a rubber band ball or at least, more rewarding. Unless you’re a rubberband ball building champion, then I have nothing for you. Sorry.
Figure out what circumference lamp best fits your space/lifestyle/arm width. Add on an extra half inch before cutting. You might as well just make a giant pile of strips to move the whole process along. You might want to enlist a cat for QA.
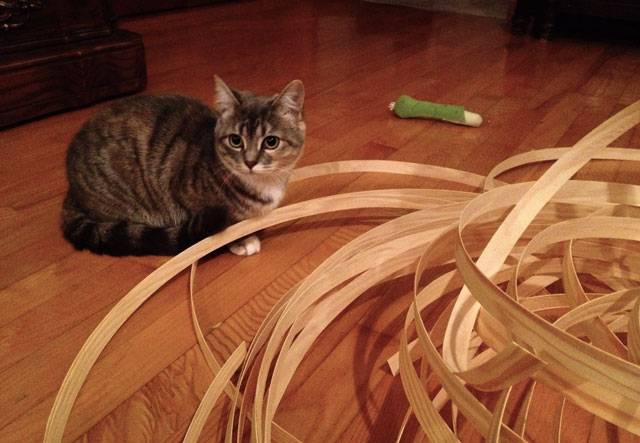
Moebius strip lamps are for another day, so align your pieces with the adhesive facing in, add a dollop of hot glue and secure with a paperclip.
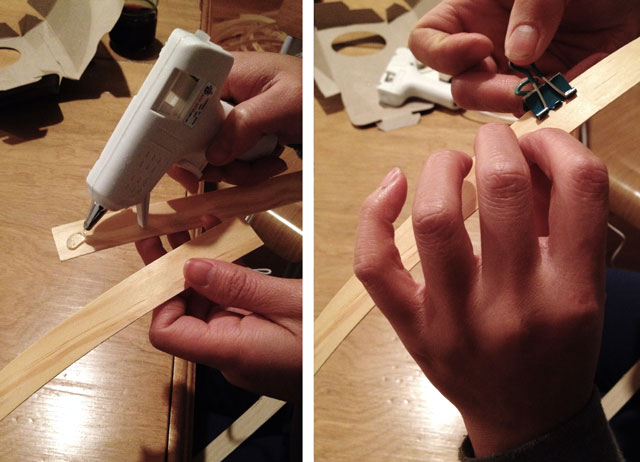
We’re relying on the tension from each added strip to support our chandelier so make sure you build from the outside in. This way all of the loops can still move around, making it easier to squeeze around giant lightbulbs or to jiggle back into a vaguely spherical shape. No extra glue for us! Cut another length of wood and use a paperclip to secure it to the first loop at a 90° angle. Overlap the ends within the first loop, gluing and paperclipping as before.
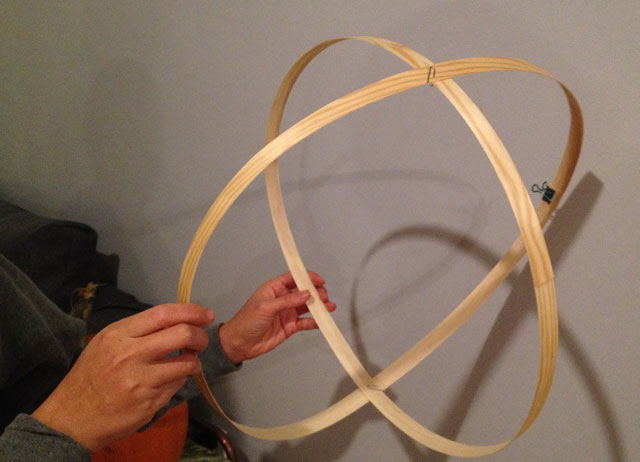
Keep in mind that the seams will show up darker than the rest of your sculpture, so if you want your lamp to be blemish free, designate something as the “top” and try to secure all the seams there. Or you could rotate everything after the fact, but who the fuck has time for that?
At this point you might become angry and disappointed with your floppy lamp and its poor life choices, but like all things, it just needs a bit more support and time. Secure your new loops to the existing skeleton to make sure your lamp has a shape.
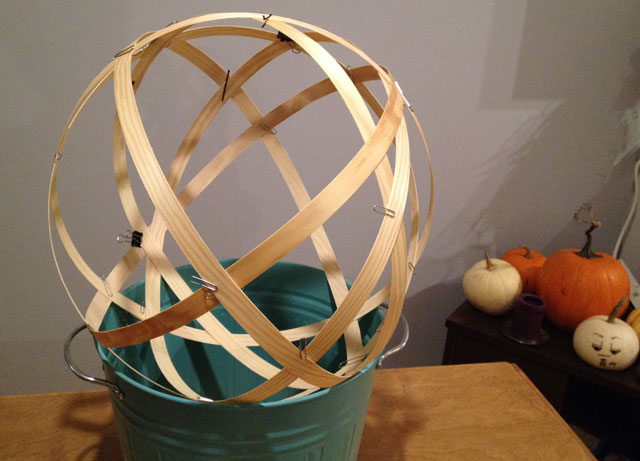
Cut, cram, clip. Keep adding more loops to your chandelier and it will start to support itself. Eventually you won’t even need to add extra clips to secure your loop to the frame! You will be able to shimmy the loops out of the way to secure your piece around a light bulb, but if your spaces are getting a bit cramped, mark a No Wood Zone with a reminder post it.
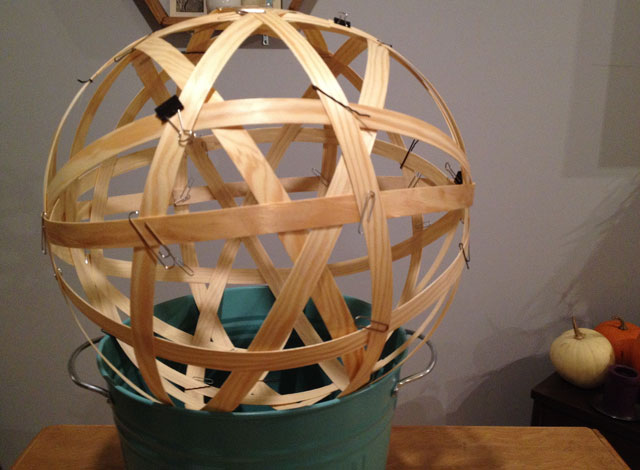
Continue feeding in strips of wood, paperclipping and gluing until one of the following things happen.
- You like your lamp
- You don’t have enough clearance to add more strips without the veneer snapping
- You run out of veneer, glue sticks, paperclips or patience
- Your cat attacks your glue gun cord mid-squeeze and you have to stick your hand in water for half an hour
If you’re undergoing 2, 3 or 4 without the benefit of 1, take a moment to have a drink until 1 happens. Or run back to Homo Depot until 1 happens naturally.
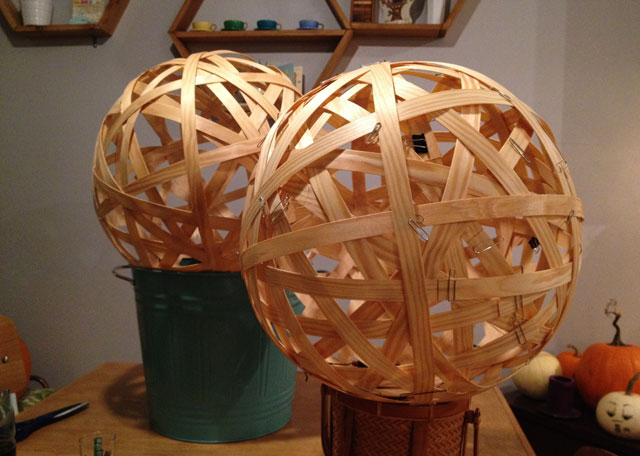
Let the lamp set up for half an hour and start the satisfying task of removing all of the paper clips. When it comes time to hang, shimmy the loops out of the way to enclose your otherwise naked bulb.
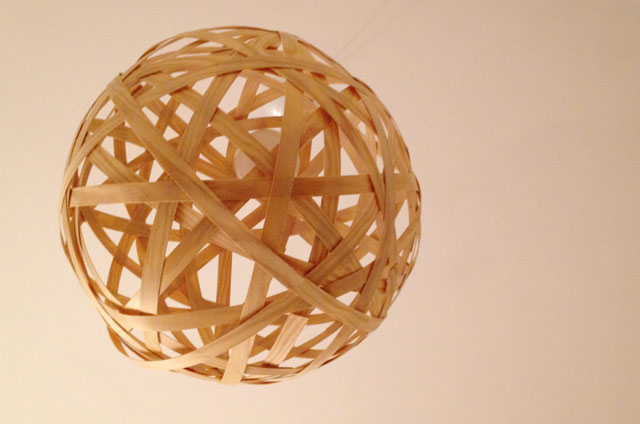
Blammo. Insta-light.


