

Welcome to yet another crafty installment of Make A Thing, where we make handmade gifts for people. Or ourselves. Or our cats. Who doesn’t need something special in their life? Join in on the DIY fun and avoid the unnecessary consumerism of the world (and I promise you’ll save a few dollars while you’re at it).
Header by Rory Midhani
Hello thing-makers! Wasn’t Kristen’s Scrabble tote bag the best way to hijack Make A Thing for week? We need to have her make things more often, I say.
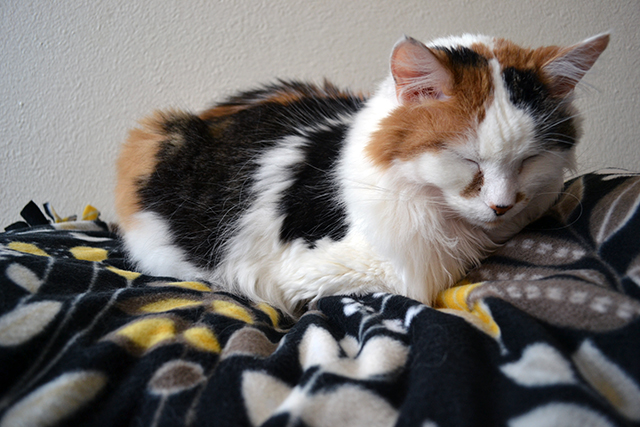
Last week, my kitty, resident Make A Thing model, had some bad health issues. She went into full kidney failure and we had two vets telling us contradicting things on whether she was going to make it or not. I thought for sure it was the end, but then she turned a corner and is doing so much better. I thought to reward her miraculous recovery, I’d make her a thing. She’s basically just been sleeping through her recovery, so I thought that making her a comforting bed would be the best present. This week, I’ll show you how I made her a new soft bed stuffed with old clothes to comfort her while she’s feeling under the weather. You can make it whatever size you’d like, adjusting the fabric size to fit even your gigantic dog. Plus, it involves no sewing for you sewing machine phobics out there.
No-Sew Pet Bed
Supplies Needed:
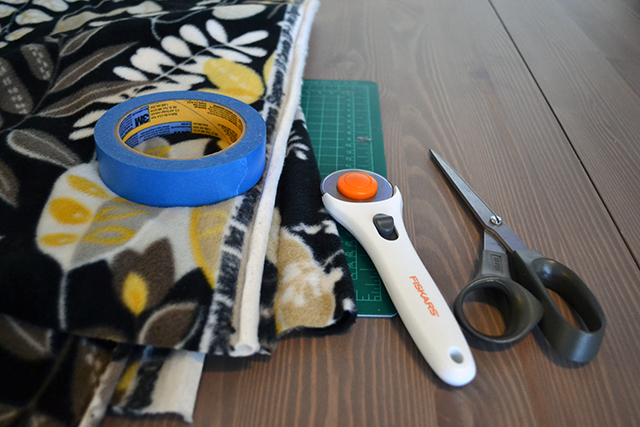
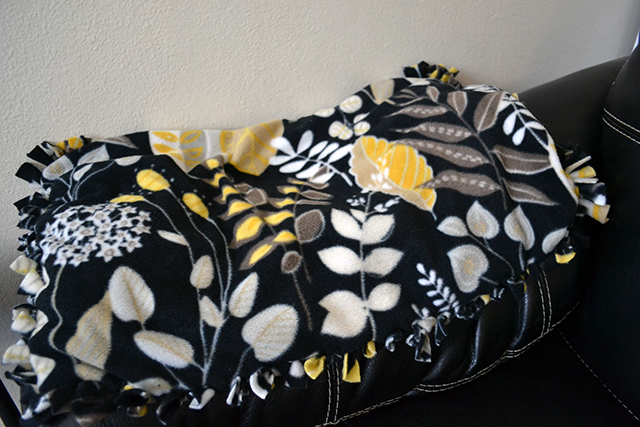
+ Anti-pill, fleece fabric (I used less than 1 yard for this bed)
A note about fleece color: Try to coordinate the color of the fleece with the color of your pet. Although black, white and yellow match our living room, the mostly black background means every white hair on my cat’s belly shows up. Whoops.
+ Rotary cutter/scissors
+ Painter’s tape
+ Old t-shirts that don’t fit, have holes, etc (we cleaned out our closets and had a ton of sleep shirts that were too worn to donate or you can use poly-fill stuffing if you don’t have t-shirts you want to cut up)
+ Cat nip (optional)
Level of Difficulty:
Easier than trying to get your cat out from her sleeping spot under the bed to take pictures of her on the new no-sew pet bed
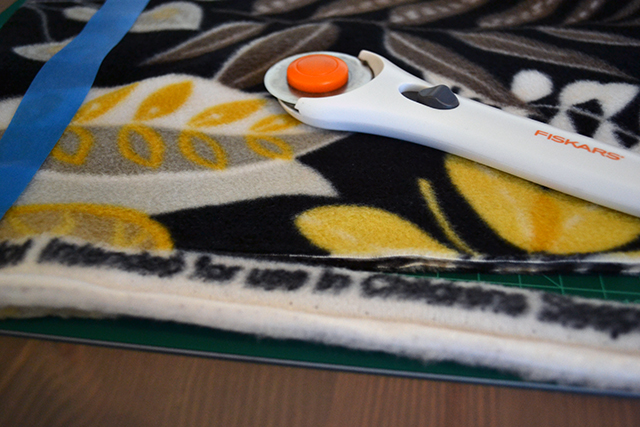
1. Cut off the selvedge part that tells you not to make clothes for children.
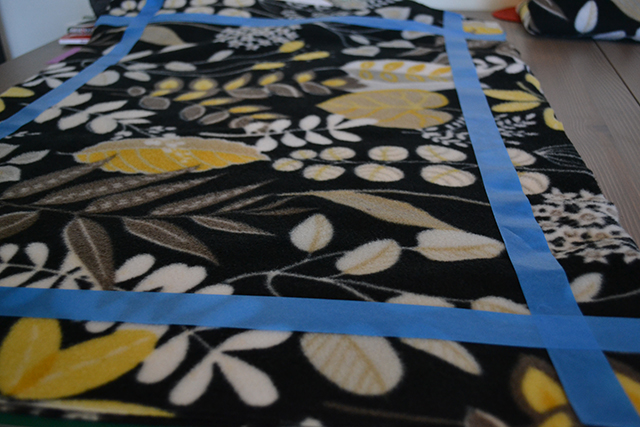
2. Trim your fabric to two inches bigger on all sides than the size you’d like your bed. Tape a two inch border around the outside of your fabric with your painter’s tape. I liked the painter’s tape because it was one inch wide and it didn’t leave sticky residue behind.
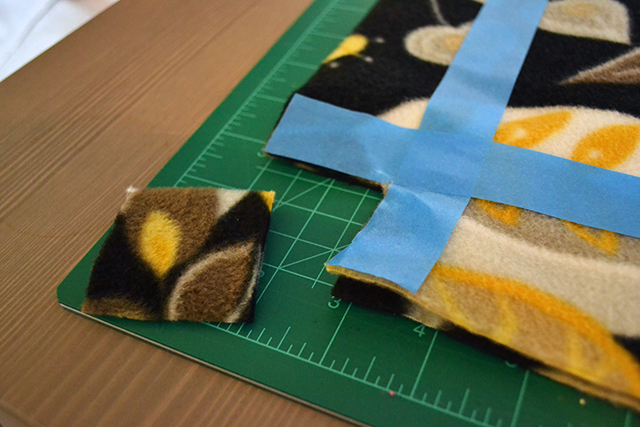
3. Cut out the corners.
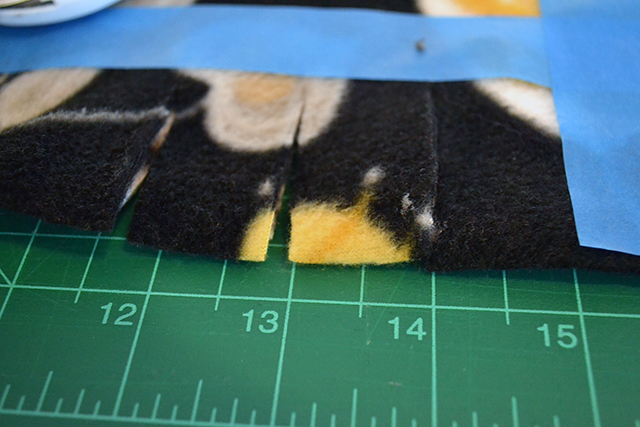
4. All around the outside of your fleece, cut one inch strips, using your tape as a border and buffer. This went so much faster with a rotary cutter. Why don’t you own one of those yet?

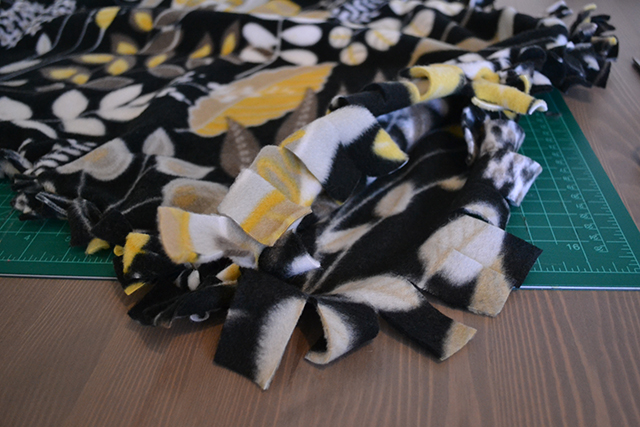
5. There are fancy ways of doing this and easy ways of doing this. I took the easy route. You just knot the top and bottom fabric together, like so. Simple and fast. You can also crochet/braid the edge if you’re feeling really overzealous or if you’re sure your pet would probably just eat anything not tucked in.
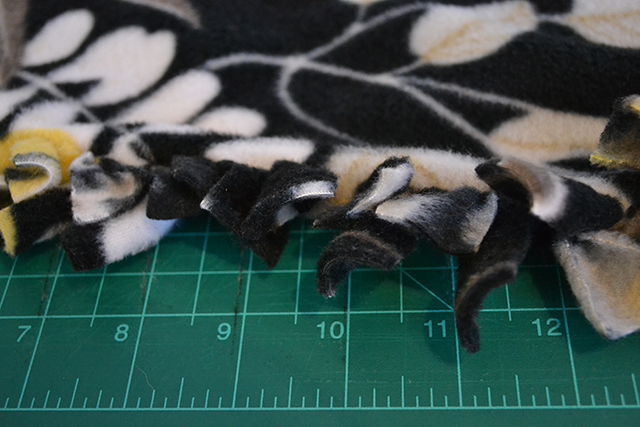
5 1/2. Knot knot knot. I trimmed down some of the strips because the smaller knots looked better but you do whatever you want.
6. When you get to the end, leave about a six inch opening. That’s where we are going to insert our stuffing. You could also just stop here if you wanted a blanket for your cat but my cat has needs and those needs are fluffy.
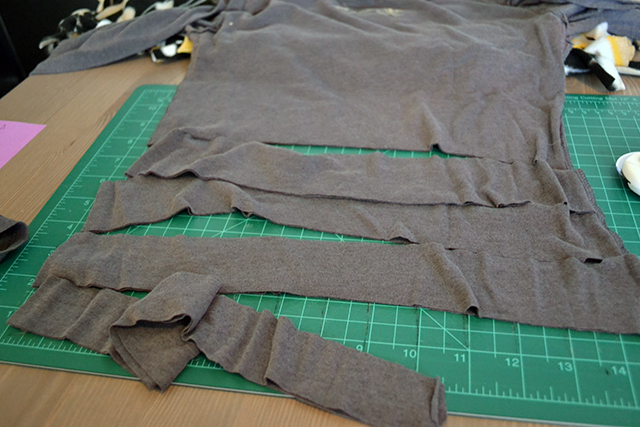
7. Cut your shirts into strips. No need to be precious about this part. Just cut ’em. As far as edges and seams went, I decided based on how they bunched. If they are hard as a rock when you crumple them into a ball, toss them out. If they’re still pretty soft, use them.
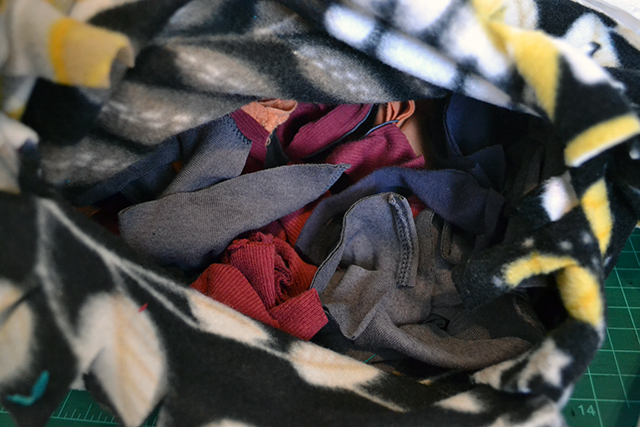
8. Stick those t-shirt scraps inside of the bed.
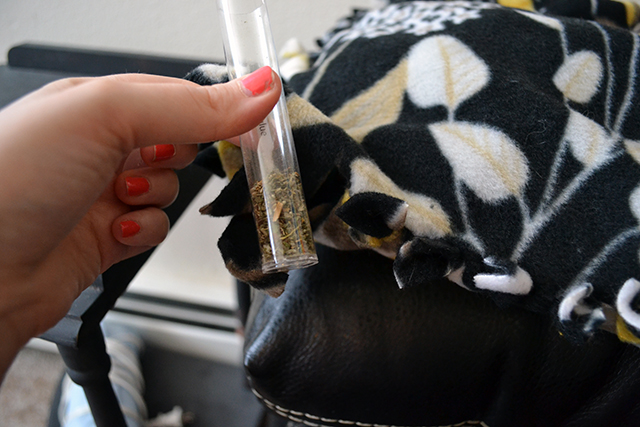
9. Optional: sprinkle some cat nip inside. I did this mainly to lure my cat to actually lying on her new bed, but use a tiny amount so they don’t go bananas.
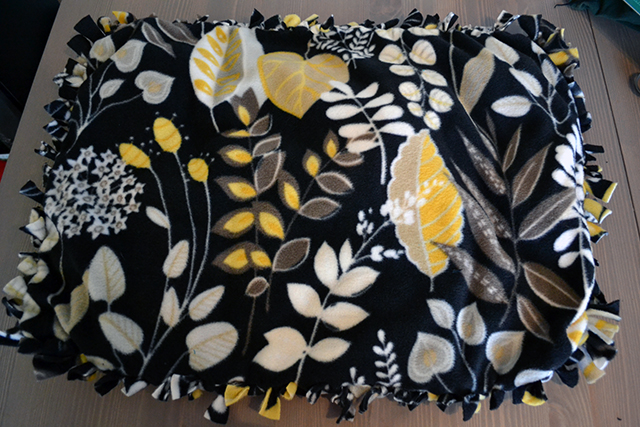
10. Yay, it’s done!
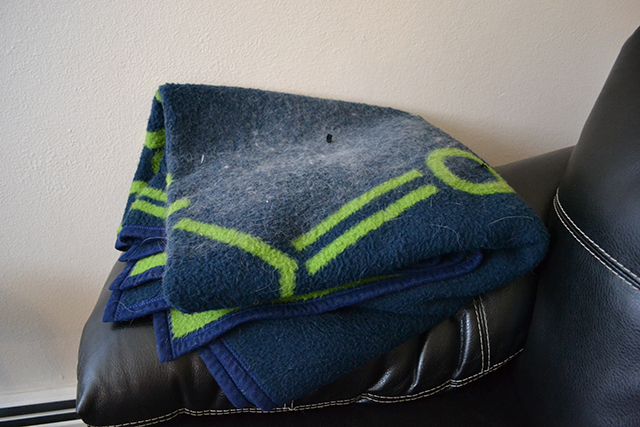
This was my cat’s bed before. I know, we’re really classy over here at the Hansen household.
And now after! Way better, right?
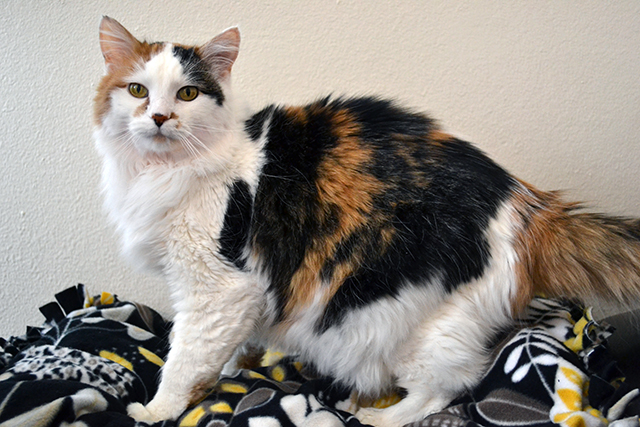
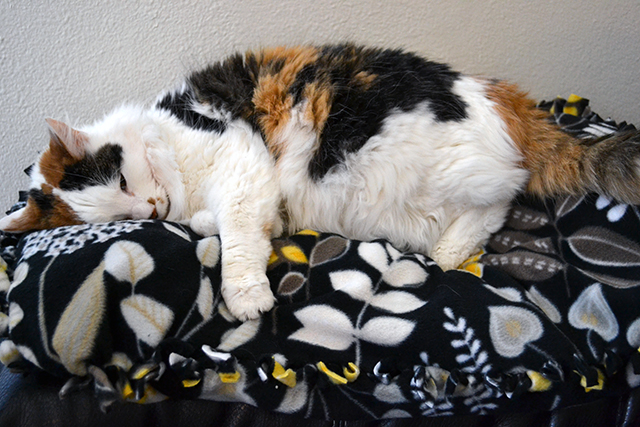
I think she’s a fan, too. That might just be the cat nip talking, though.


Comments
AHHH your kitty is adorable and so fluffy!!!
That’s exactly what I was coming here to say. Cute cat!
i’m glad kitty is feeling better and i love how she flops onto the bed. i imagine it makes a gentle “doof” noise.
Adorbs! Congratulations to your kitty on her recovery.
I imagine this would be machine washable, yes? Maybe not with catnip in it, but otherwise …
I’d double knot the ends if you were going to toss it into a washing machine, or you could take the entire thing apart. Alternatively, you could use an old pillow for stuffing (good idea, Digger!) and it’d be a lot easier to machine wash.
Bernie could use a new bed. I may try this!
Taught my 4H kids this! They make them and sell them for a pet charity! So easy! I also stuff them with old pillows.
YAY FOR HEALTHY KITTIES!
The last pic really sold it for me (and the one where you dosed your kitty). If I manage to get my hands on some fleece, I’ll make this for my roomie’s cat so she stops feeling up my sweaters.
My girlfriend just g-chatted me from work to tell me how cute the last picture in this article is. This is a thing I thought you should know. Kitty is that cute.
This is so true. She really is the cutest.
We posted something very similar – a step by step video of how to make a no-sewing-needed dog bed:
http://losangelesdogs.net/how-to-make-a-dog-bed-by-yourself/
I just want to reach through the computer screen and pet that kitty! (Is that creepy? Oh well.)
No-sew pet bed…I thought that was the laundry pile.
at my house, it’s a shoebox. or my jacket.
Your kitty is so FLUFFY!!!!!!!!!
My dove Wendy Loves this bed. unlike other birds she likes to have a soft spot to sleep. Such a cutie
I’m so glad your cat is getting better, you had me worried at the beginning! My last cat had kidney trouble and he lived way longer than the vets estimated he would — I wish the same for your (very beautiful!) cat.
Also, I will be making at least one of these, since fleece throws are on super sale everywhere right now. I guess it’s because it’s spring, but luckily my lazy cat needs a bed all year round :)
Now I just need a way to get my cat to actually use her cat bed since she’s immune to the charms of catnip.
Your kitty is adorable, I audibly awwww’d at the last picture. I’m so glad she’s feeling better.
I was honestly expecting this to be “Throw your nicest jacket onto a chair. Instant cat bed.” Cute idea though, and oh my gosh that kitty is adorable!!
Aww this is lovely! And kitty’s coat matches the bed! :)
Hi there, I would like to subscribe for this blog to obtain hottest updates, therefore where can i
do it please assist.