

Welcome to the millionth billionth installment of Make A Thing, where we make handmade gifts for people. Or ourselves. Or our cats. Who doesn’t need something special in their life? Join in on the DIY fun and avoid the unnecessary consumerism of the world (and save a few dollars while you’re at it).
Header by Rory Midhani
You know those crafts you used to make as a kid? Things like elaborate paper clip sculptures, terrible origami renditions and the like? Those were seriously the best. I was planning out some crafts to make with my niece and couldn’t help remembering all of the awesome crafts my mom used to amuse me (read: keep me from drawing on the walls) with. I was feeling a bit nostalgic and decided to rediscover my love for collages and hand-carved rubber stamps.
These crafts are super easy to make, but that doesn’t mean the end result has to look childish. Adding some grown-up twists to your favorite kid’s crafts makes all the difference.
Lyric Collage
Collages are so soothing. I used to keep a notebook when I was in high school filled with collages with my favorite lyrics. My friends and I would stay out all night and work on our “emo” notebooks and listen to Bright Eyes and feel angsty. What rebels, right?
This particular lyric collage came to mind to brighten up my partner’s new work desk and cheer her up since she won’t be working from home anymore. Giving meaningful lyrics to a significant other or best friend makes an easy, sentimental gift.
Supplies Needed:
+ Canvas or thick paper
+ Magazine clippings
+ Mod podge
+ Paintbrush
+ Paint pen (this makes life so much easier, but you can just use regular paint, too)
+ Optional: washi tape in corresponding color
Level of Difficulty: Easier than getting the My Little Pony theme song out of your head.
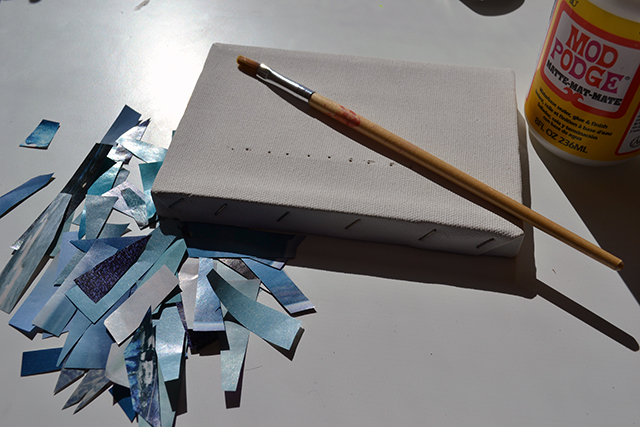
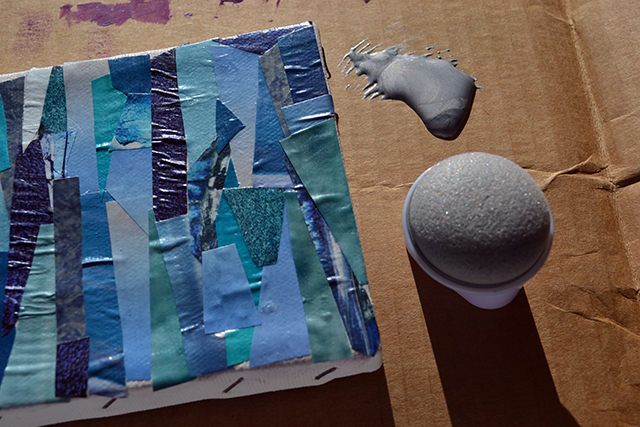
1. Cut out some magazine clippings. I chose to do blues. You don’t have to be so exact about the shapes of your clippings. Do hearts/trapezoids/circles. Go. Nuts.
2. Start mod podging. Paint your mod podge onto the canvas, then stick on your paper. Then more mod podge! When in doubt, just put more mod podge on. I didn’t worry about the paper crinkling up. It really isn’t that big of a deal.
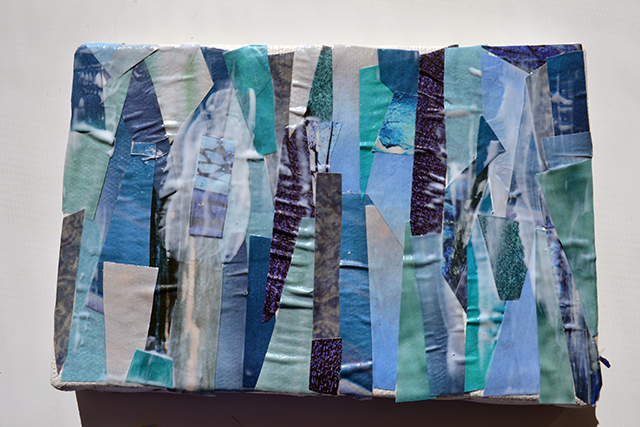
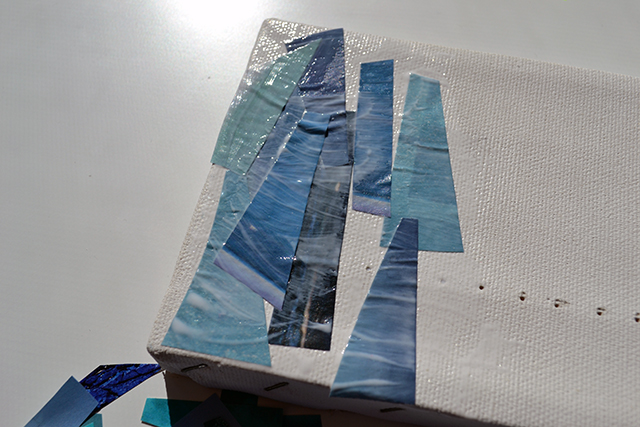
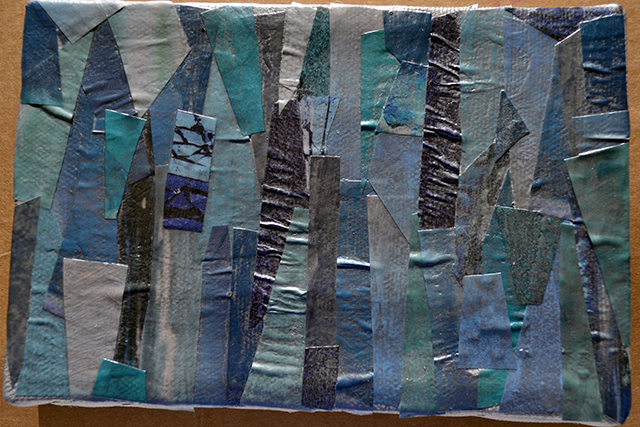
3. Cover the whole thing, then fill in any holes that might have shown up. Again, this doesn’t have to be an exact science. You can choose to collage onto the sides, or you can paint/decorate the sides later.
4. This is an optional step: I chose to daub a thin layer of metallic silver paint so that my white paint lyrics would pop a bit more.
5. This is the difference with a thin layer of another color paint.
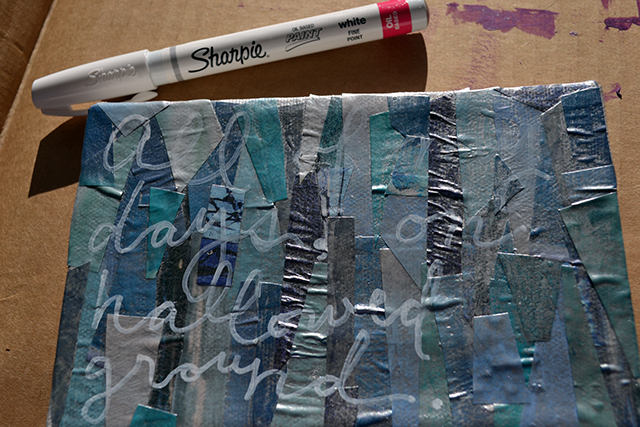
6. It’s lyrics time! Pick something awesome. I chose this line from my favorite song, so that my partner would think of me when she saw it. Yep, I’m that self-involved. A paint pen will make this so much easier and faster, I’m telling you. I did two coats of painted lyrics.
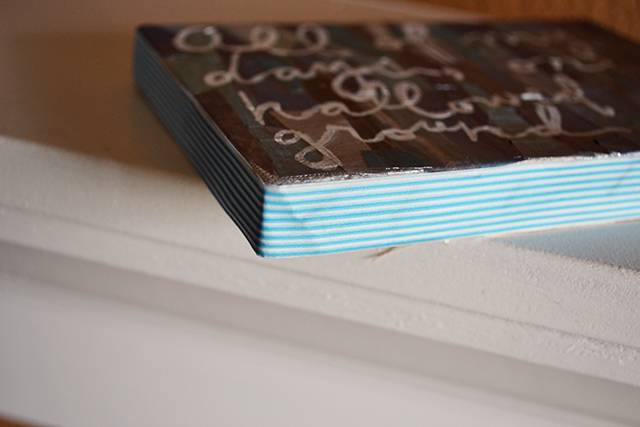
7. Washi tapes around the edges gives the collage a polished finish. You could paint them or collage them, as well.
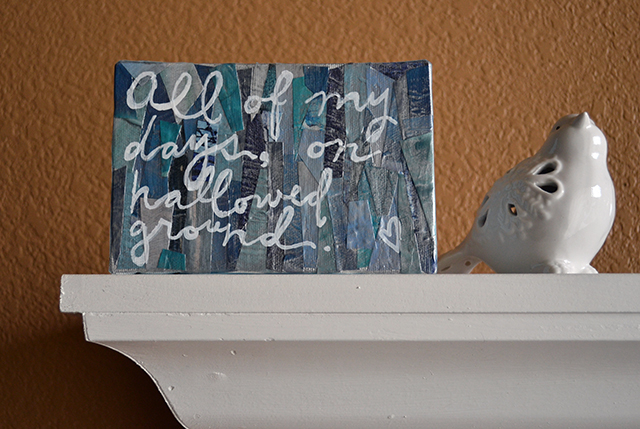
Not your average six-year-old’s collage, right? It’s hard for me to give this away. At least it was super easy to make, so now you can make a billion.
Hand-Carved Rubber Stamp
Carving your own rubber stamps doesn’t have to be difficult. Seriously, you can use your new stamp for just about anything. Like all the best artwork of my youth, I made mine to hang on the fridge. You could make a postcard, print or greeting card, or even stamp some fabric. Liiiiive it up.
Supplies Needed:
+ Rubber eraser, preferably the white, soft kind
+ Exacto knife
+ Paint
+ Your thing to be stamped (technical term)
Level of Difficulty: I really want to memorize all of the lyrics to Salt-N-Pepa’s “Shoop” but I think making this will be faster and/or a more productive use of my time.
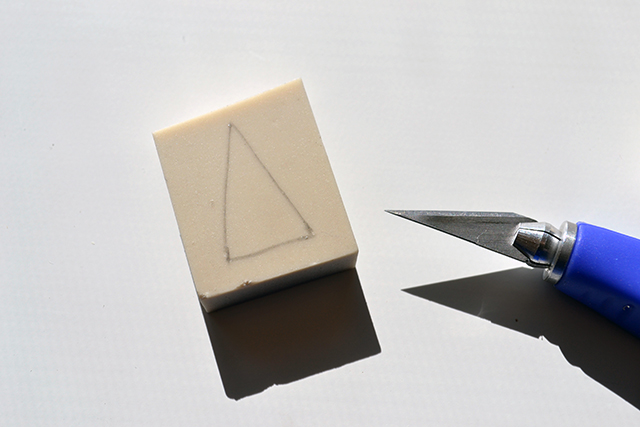
1. Draw your shape to be stamped onto your eraser, then cut your eraser down to a comparable size. You don’t want a gigantic stamp but you don’t want a tiny one, either.
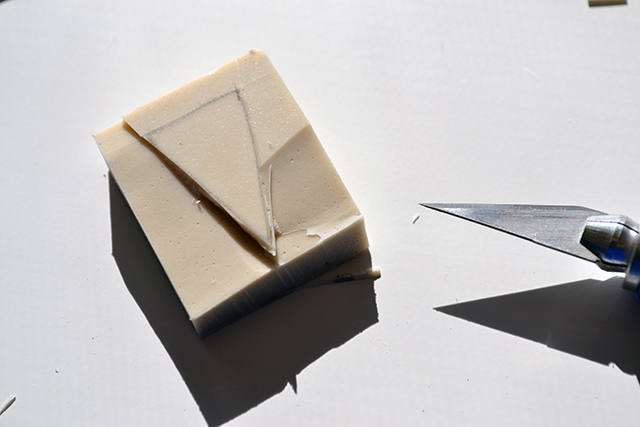
2. Cut out around your shape with small, shallow cuts.
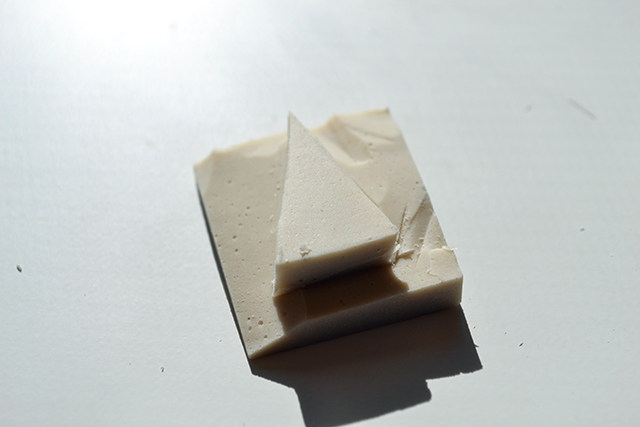
3. You can stop when you’ve cut about 1/8″ all around your shape.
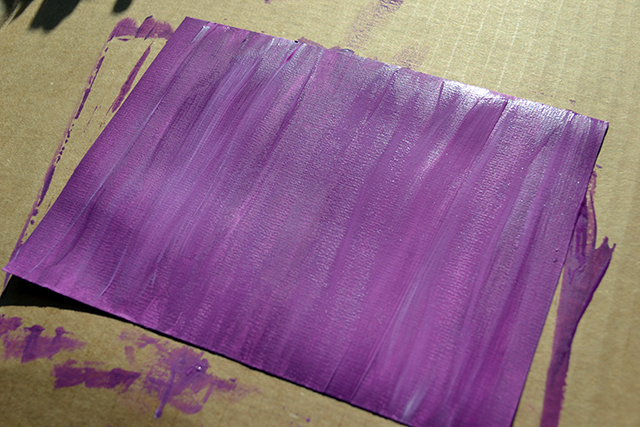
4. I painted a sheet of canvas paper with a random background. You can also leave the background plain, if you’d like.
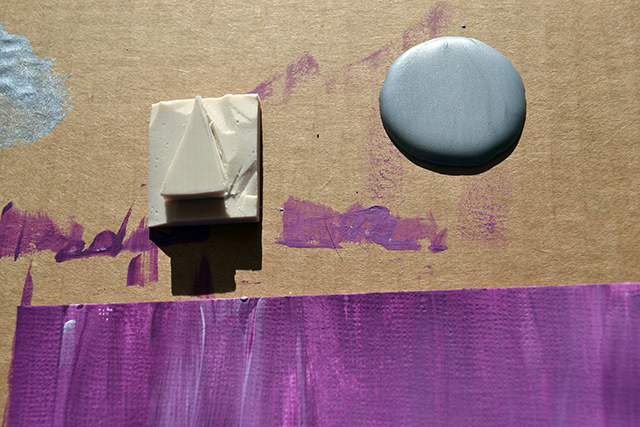
5. Pour a bit of paint onto your work area to dip the stamp in.
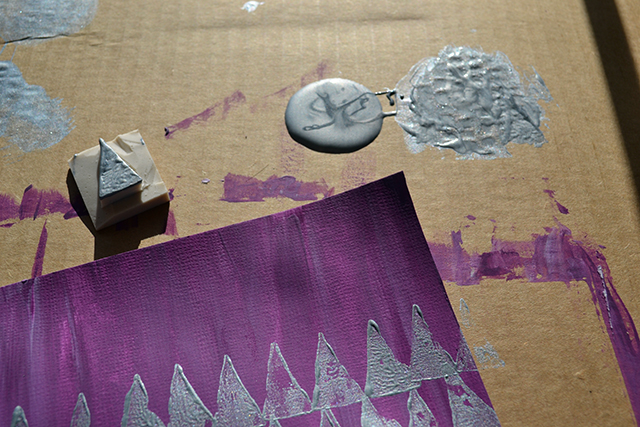
6. Go for it. Be as precise/charmingly not precise as you’d like.
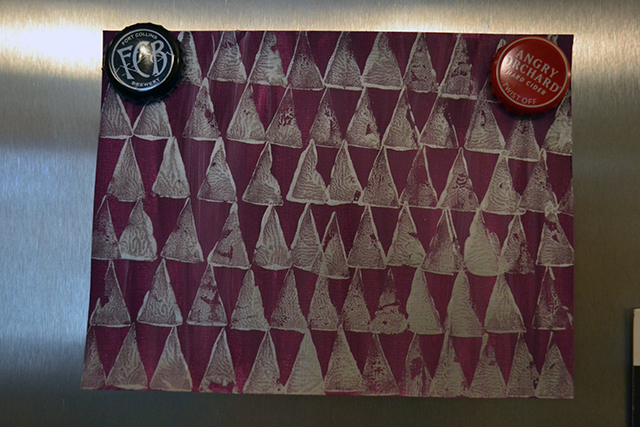
Let it dry, then hang it up. Mine’s on the fridge, which is the best place for awesome artwork.
What great crafts did you used to make as a kid?


Comments
“Level of Difficulty: I really want to memorize all of the lyrics to Salt-N-Pepa’s “Shoop” but I think making this will be faster and/or a more productive use of my time.”
Can I say that I adore the difficulty levels? I hope you listened to “Shoop” on repeat while you made this.
Omg YAY! I am mildly (except not really) embarrassed to say I LIVE for new editions of Make A Thing and I am so excited to go make a mod podgy thing for my (future ;) mother in law’s birthday!
Also, the difficulty levels make me lol and feel good about myself, so that’s a bonus.
i will probably never get around to doing any of these cool artsy things, but i’m now obsessed with the jezabels, so there’s that.
Mission accomplished.
Seeing craft projects on here that are similar concepts to pieces I’ve gotten credit for in college confirms my decision to go to art school. Crafts (mostly) all the time! Also, that Jezabels song is now on repeat.
I was weirdly obsessed with rubber stamps as a kid, had a whole collection of them
me too, i had lots of different colors of ink
“I really want to memorize all of the lyrics to Salt-N-Pepa’s “Shoop” but I think making this will be faster and/or a more productive use of my time.”
I hope this was a reference to Ellen’s “Here&Now”. If not, this: http://www.youtube.com/watch?v=fNvzHLYUlJ4
you can also make stamps out of potatoes! that’s probably my favorite craft activity to do with the kids I teach.
This seems like a really good way to make some of the more ambiguous Jezabels lyrics into classy home decorations and subsequently amazing sneaky gifts
I was going to read all of this article but I saw the first one and scrolled all the way down here to say YESSSSSSSSSSSSS JEZABELS
Dude, ever since you posted this article, I’ve been listening to ‘Sahara Mahala’ on repeat. Now it’s my favorite song, too, and it’s all your fault!