Are you really going to tell me that you don’t want melt in your mouth sugar cookies and cinnamon, coconut, and rum to wash it down with, right this very…
Every bite comes with sweet chunks of baked apple and cheddar that makes its presence known without overwhelm. These deserve to be a gay classic, like oversized flannel and journaling…
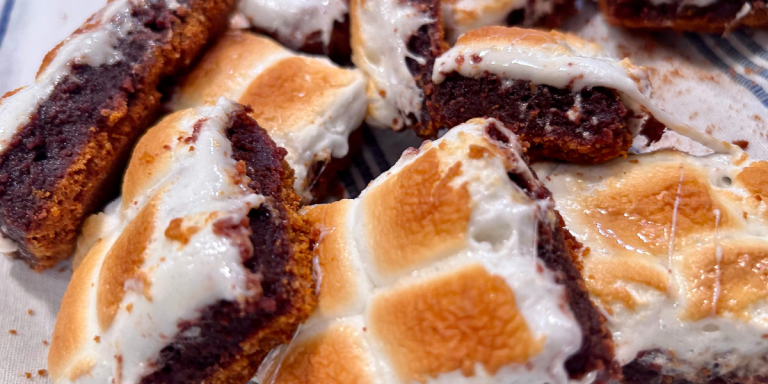
Three perfect layers: A toasted graham cracker crust, a warm unbelievably chocolate-y brownie, and melted caramelized marshmallow just this edge of dripping down the sides. How else should you spend…
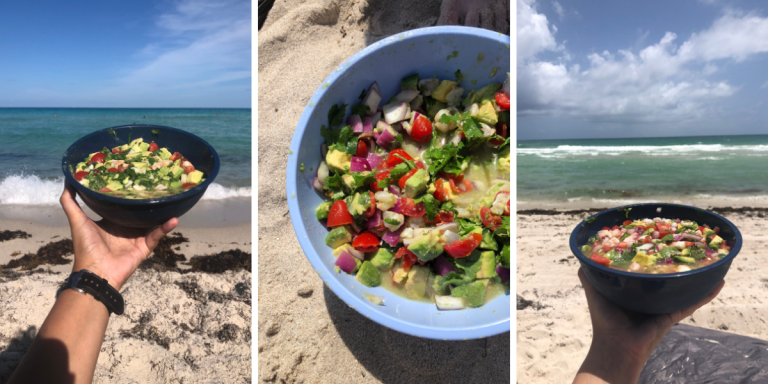
You can easily whip up this shrimp ceviche while getting ready for the beach, and by the time you’re all set up on the shore, it’ll be cured and ready…
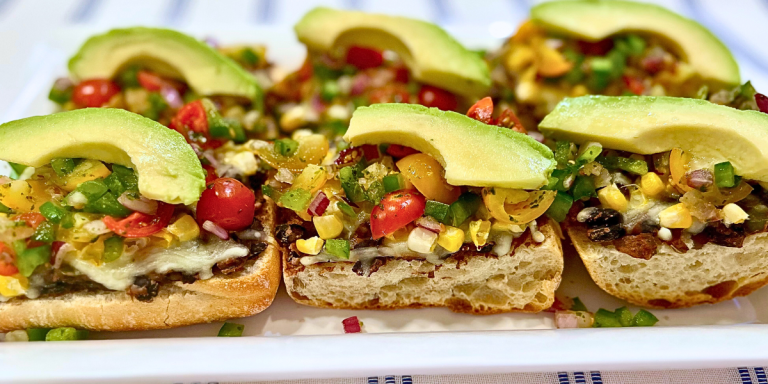
Crusty bread lightly buttered at its golden edges, saucy black beans seasoned in such a way you will dream about them long after they are gone, cheese to the brim,…
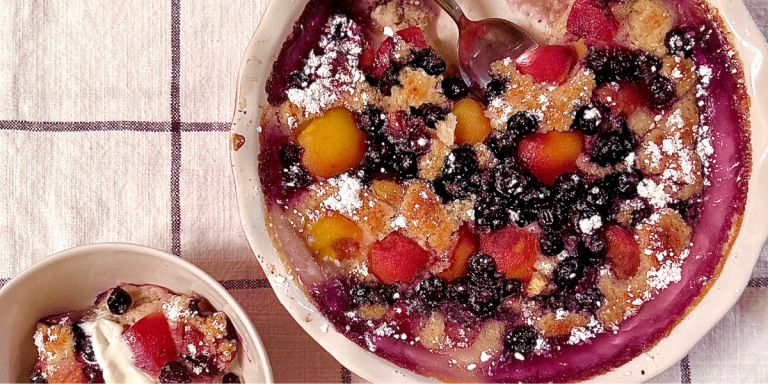
The best thing I can say is to cut right to the chase: this cobbler is messy, juicy, syrupy summer fruit nestled in a cloud-like topping that’s somewhere between a…
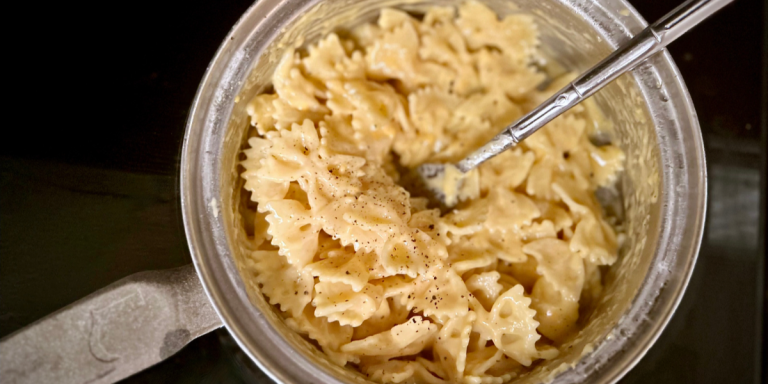
It’s a beautiful, rushed meeting of those nostalgic blue Kraft boxes from after school specials and the trendy adult cacio e pepes that have overtaken the menus of fancy Italian…
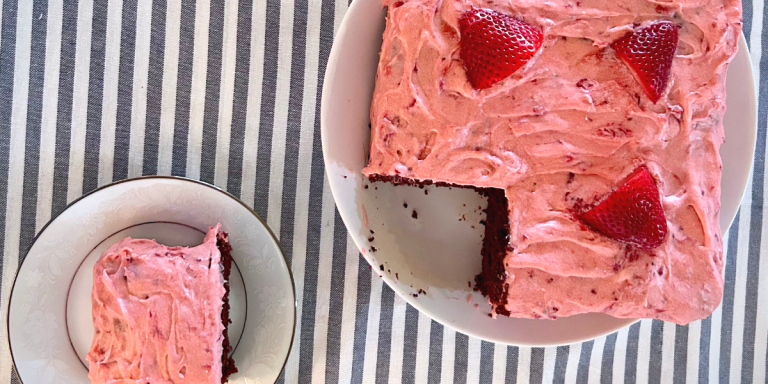
An hour. That’s all the time that stands between you and a fudgey, chocolatey, cake that’s just this side of a brownie and a strawberry frosting that tastes like summer…