food lists A Queer Powerlifter’s Guide to the Perfect Protein Bar Ranking some of the leading protein bar brands and flavors! Stef Rubino Apr 7, 2025
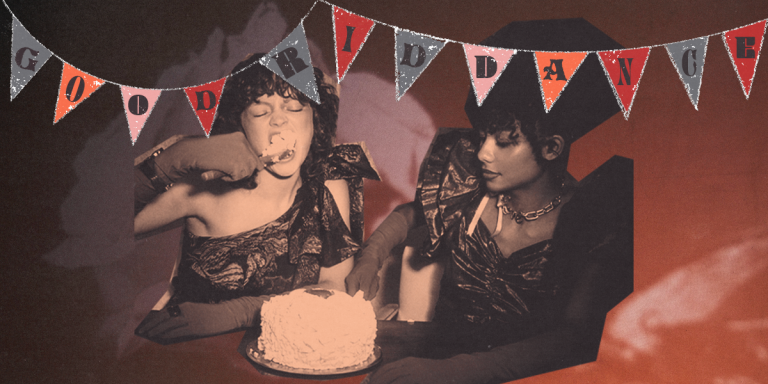
breakups Plan a Divorce Party for Your Bestie Sure, a divorce is a rupture, but it’s also a rebirth, and I think that’s worth celebrating! We celebrate so many other life transitions: new jobs, graduations, houses… why not a divorce? ashni — Feb 13, 2024
food and drink Uncommon Pairings: Anything in a Wine Glass Tastes Better I’m trying to drink less, and as a surprise to (probably) absolutely no one, it’s really hard. ashni — Jan 24, 2024
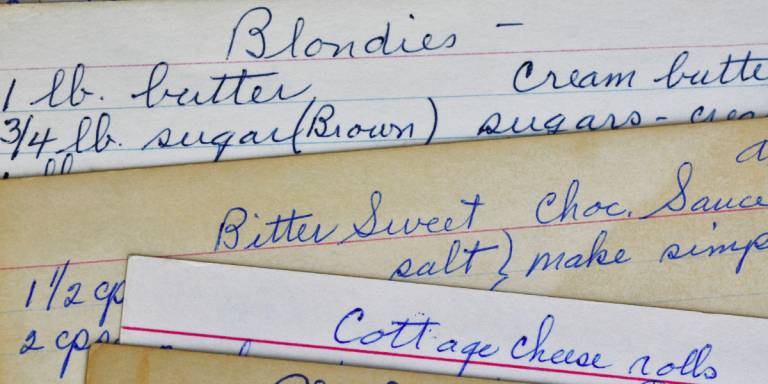
food and drink Confessions Of A Stress Baker Creaming together butter and sugar keeps me from picking at my cuticles until they bleed. Sa'iyda Shabazz — Jan 22, 2024
quizzes Quiz: What Sandwich Should You Make Right Now? Do you experience sandwich indecision? Generalized lunch indecision? Take this quiz! Kayla Kumari Upadhyaya — Jan 14, 2024
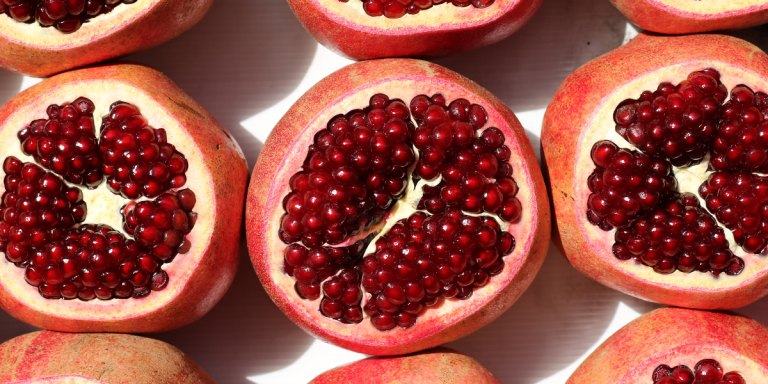
food and drink So You Bought a Pomegranate Make your own grenadine with fresh pomegranate juice! ashni — Jan 9, 2024
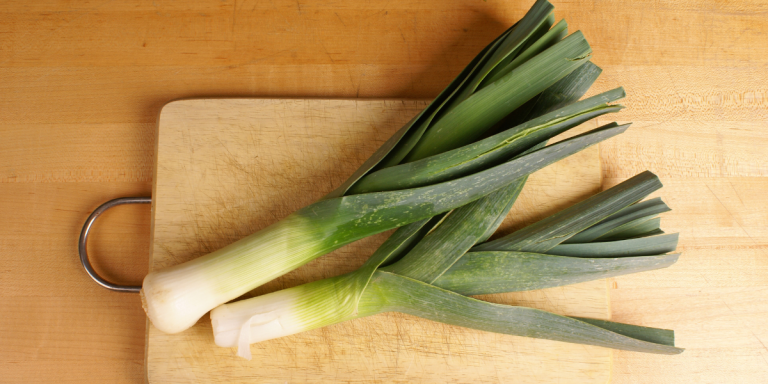
food and drink Let’s Get Really Into Leeks Leeks are a wildly underrated allium if you ask me. Kayla Kumari Upadhyaya — Jan 8, 2024
food lists 25 Dishes for Hosting a Fancy Gay Dinner Party That Are Low Effort and Cost Apps, soups/salads, mains, sides, and desserts that won’t break the bank or your back. Kayla Kumari Upadhyaya — Jan 4, 2024
food and drink Uncommon Pairings: Wines To Drink With Last-Minute Freezer Dinner Mozzarella sticks are extremely salty, and they require something big to cut through that salt. Enter: Cab Sauv. ashni — Dec 27, 2023