

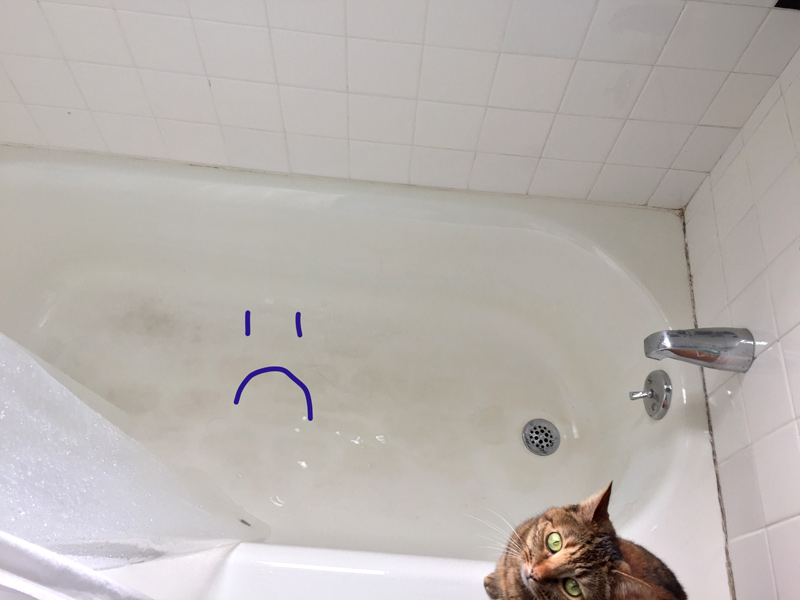
I am going to be honest with y’all: this month’s DIY project almost broke me. Even though I’m obviously not a professional of any kind, I have done a lot of random (and sometimes difficult) projects over the years and I generally feel confident about my ability level. Re-caulking my bathtub, however, was not only more work than I was anticipating, the work itself was also a lot fussier than I thought it would be.
To illustrate my struggles, here is a chronological list of all the moments I wished I had a Time-Turner so I could go back and plan a different DIY:
- Shopping for supplies, I had to ask a teenage boy at my local hardware store, “Excuse me, where can I find the caulk?” Those were not words I was expecting to say at this point in my life.
- Hunched over in my bathtub scraping out remnants of gross old caulk at 10:30pm on a Saturday night as I questioned my life choices.
- When I realized it was potentially a little too humid to be doing this project, on account of the fact that my tape was not sticking to anything.
- The moment right after I finished the project and had a minor breakdown because it looked like something a kindergartener did.
- Post-breakdown-and-angry-workout, kneeling in my bathtub on already bruised knees as I attempted to bathe without turning on the shower
:deep cleansing breath:
Anyway, it’s in the past now. I’m moving on. There are lessons to be learned here from my misfortune, probably, so this might end up reading more like a what not to do than a tutorial. Let’s get into it, okay?
What you’ll need:
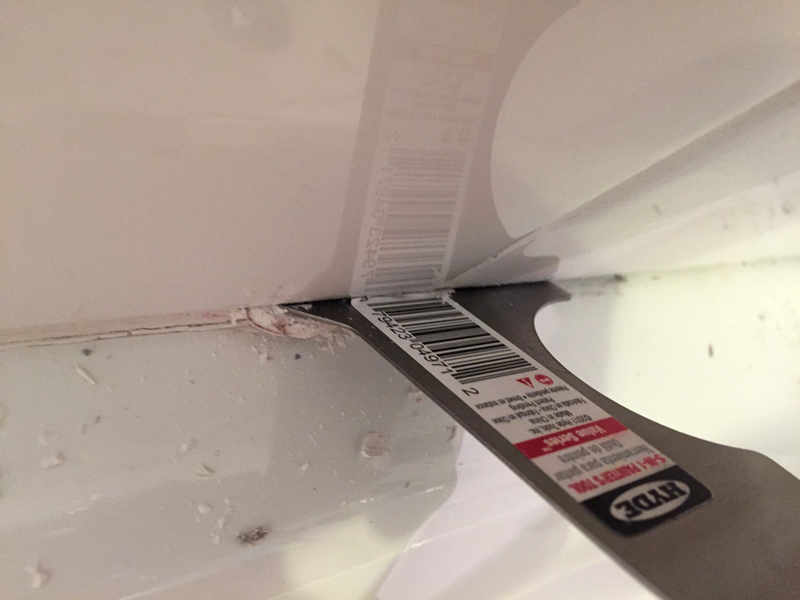
- A tool to scrape out the old caulk – I used a 5-in-1 painters tool, and the little sharp edge came in really handy. If you don’t have one of these, you could use a putty knife or something similar.
- Rags or an old sponge – to help clean out the gaps.
- Painter’s tape
- Caulk – I used silicone, because it’s flexible and stays waterproof longer than acrylic.
- Caulking gun – Make sure the caulk you buy fits in your gun.
- Utility knife or other blade – I keep a blade handy on just about any DIY project. You never know when you might need it.
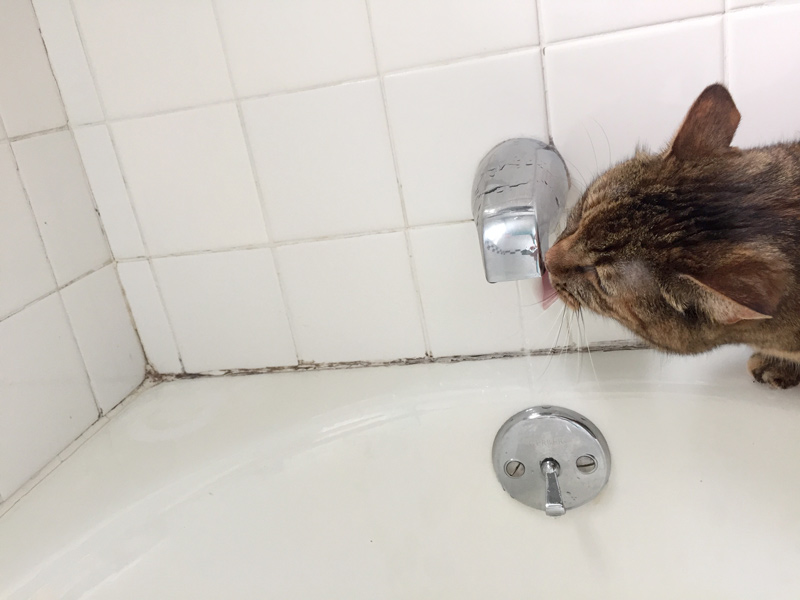
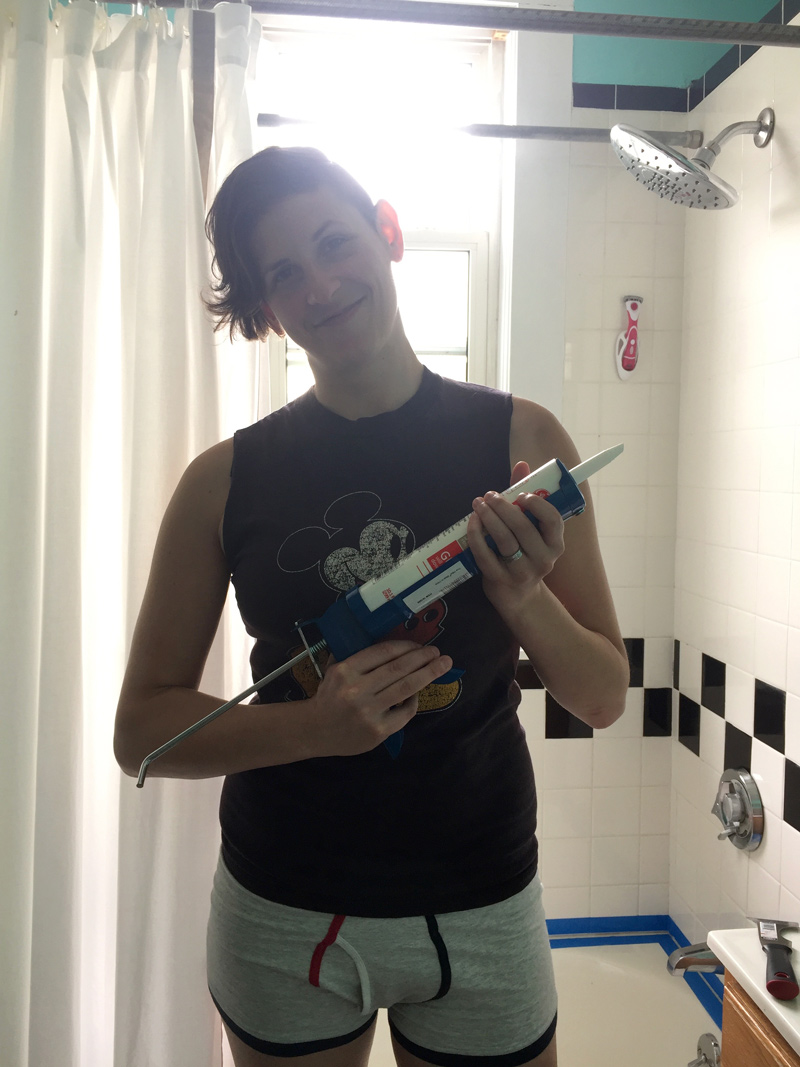
- (Optional) Very Helpful Assistant
What (or maybe what not) to do:
1. Are you sure you want to do this? Take a moment to think about it. Really, you’re sure? Okay, proceed to step 2 then.
2. Remove old, probably nasty caulk. This took a lot longer than I thought it would. I started with the grossest area, which actually was the easiest and quickest to remove. When I got to less moldy parts, the pointy end of my tool was really key. I basically just jammed it in and pried the caulk out. (P.S. If you read parts of this tutorial out loud it sounds filthy.)
3. Clean the surfaces really well. I used water and bleach to wipe down the seam and surrounding areas several times to make sure I got every last bit of caulk out. As I mentioned before, there are apparently products made specifically to remove silicone caulk, and I bet they’re really helpful.
4. Let it dry. I left the tub to dry overnight. In retrospect, I very strongly recommend saving this project for a humidity-free weekend for reasons that will become clear in step five.
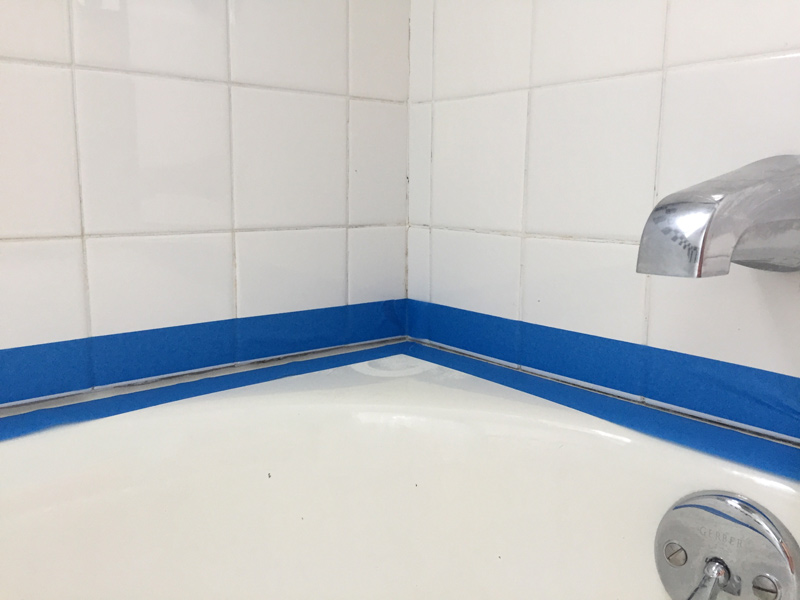
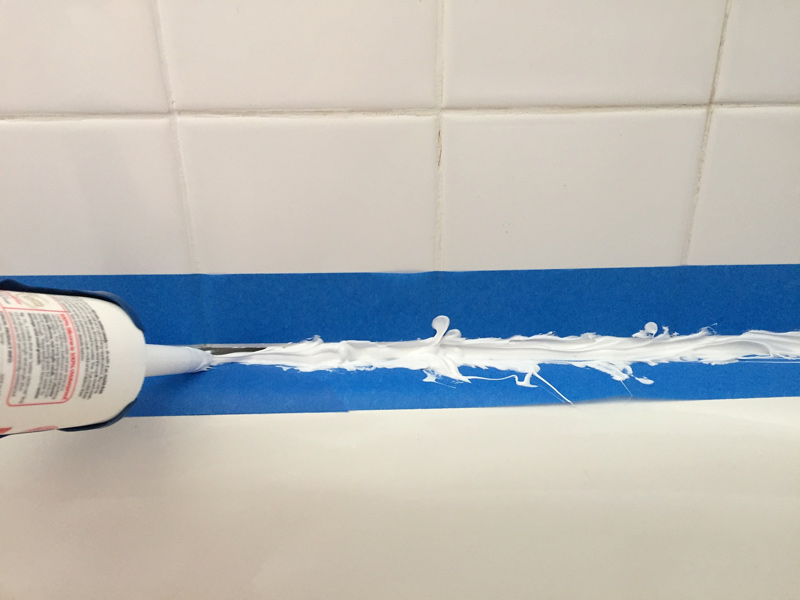
5. Tape off the seam. This one is really important! Caulk guns are somewhat difficult to wield, so taping off the area you want to caulk will, in theory, keep your lines neat and trim. Taping on tile is never the best, but I had an especially tough time getting mine to stay put and I’m assuming it had to do with the moisture in the air.
6. Prepare and load your caulking gun There are a few sub-steps to this one. First of all, you have to remove the little cap that will be on the caulk. It sounds easy, but this was weirdly difficult for me and I wish you better luck. Next, trim the tip at about a 45 degree angle – you can use your utility knife/blade or your caulking gun most likely has a built-in trimmer. Find the hole that’s near the trigger, insert the tip of your caulk in until you’ve reached the point you want to snip, and pull the trigger.
Ta da! Then, stick a long, thin pointy object down the tip of the caulk to pierce the opening. You can use a long nail, or, again, your caulking gun should have a built-in tool, this time along the bottom of the barrel. The last thing to do is spin the long metal bar in the caulking gun so it retracts out of the barrel, leaving an open gap to load the caulk.
7. ABC (Always Be Caulkin’) You might have to pull the trigger a few times to get the caulk going, but once it starts it should flow pretty well. If you find that not enough caulk is coming out, you can trim the tip and widen the hole. You want to fill all the gaps well, so don’t be stingy with the amount of caulk you use. Note: If you are not using silicone caulk, you should fill your tub with water at this stage so the caulk doesn’t crack or break later. Even though I was using silicone, I filled the tub partially because I figured it couldn’t hurt.
8. Smooth it out Try to work through step seven quickly, because you want to smooth the caulk out as soon after applying as you can. They sell tools for this, but I just dipped my fingertips in water and it worked fine. If you use this technique, I recommend either A) listening to your wife and wearing a disposable glove or B) realizing that water won’t remove silicone caulk. I had a moment of panic that my hands would never be clean again, but then my wife handed me a rag and everything was fine.
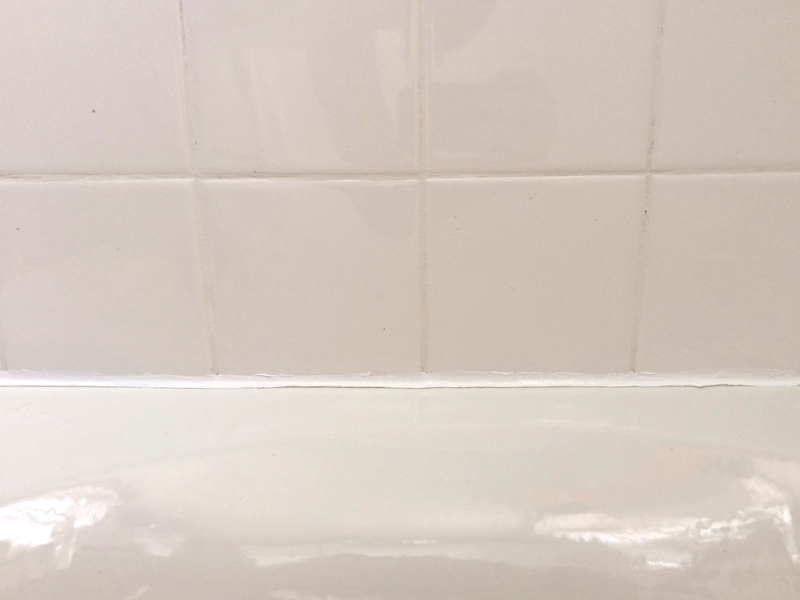
9. Remove the tape This is where it really went wrong for me. I do a lot of house painting, and I usually let the paint dry before removing the tape. DO NOT DO THIS. REMOVE THE TAPE ASAP. I left it on for a few hours before my wife asked about it and I realized my error. The caulk had already started to set and so pulling the tape off was more annoying than it should’ve been. I used my blade to trim the edges quite a bit.
10. (Optional) Cry in your bathtub I’m being a little dramatic, but if you are going to cry don’t turn the shower on. You should ideally let the caulk cure for 24 hours.
So there you have it. In the end, I’m not sure if I did this project or if this project did me, but I made it to the other side. As always, I welcome project feedback/tips and suggestions for future projects in the comments!


Comments
Oh dear… I bought the supplies for this project about six months ago and they have been sitting there taunting me while my caulk gets filthier and filthier, because I know all of the above crying frustration scenes are in my future. Thanks for a few key tips that might prevent at least one of them, I guess? Except I live in Louisiana so there is no such thing as a “humidity-free weekend”
At least I have many stupid dirty puns to look forward to.
The puns were honestly the highlight! Plus we also took some additional fun poses with the caulk gun.
Oh man, this is something I’ve been desperately needing to do for ages, but then also considering “shouldn’t I maybe just have a professional do this??” and, as great as this article was, I thiiiink it convinced me to go with the latter thing. But thank you for putting your body and emotions on the line to get us all together to that answer!!
(It does look great though! Def not something a kindergartner would do unless they’re weirdly a master DIY-er)
Thank you! In reality, I guess it’s not *that* bad. I’m a bit of a perfectionist and I really hate making stupid mistakes. Honestly, I would do it again now that I have the experience… and it would probably come out even better.
I love this column ao much!! Doesn’t help my drive to constantly try and fix everything in our house and drive my girlfriend nuts.
My wife has just started to embrace it and hope for the best ¯\_(ツ)_/¯
I have never been so relieved to not have a bathtub.
i kinda wanna do this to my current tub, but i’m moving out in a month and my apartment complex does NOT deserve the product my hard work.
As a renter, I struggle with this all the time! I honestly don’t even know how much $ and time I’ve put into this apartment. If you’re moving in a month, I definitely recommend not doing this one – wait to scope out the next place.
i have so many dirty jokes to make BUT I WON’T BECAUSE YOU’RE MY SESTRA
lookin’ good though :)
thanks for the giggles. you’re a caulk master!
The little tool that spreads the caulk is a life saver
You can also use a plastic spoon.
If you spray silicone caulk with water and some dishwashing liquid mixture before you smooth it, it is waaaay easier and you get less on you. Same goes if you use the smoothing tool.
ahhh I love a good caulking!
Seriously though, caulked a boat in my past and enjoyed every moment of it.
There’s an expiration date on caulk. Check the expiration date! I have caulked a bathtub three times… the first time was mostly successful, the second time I used the caulk left over from two years prior (because I bought three times as much as I needed) and the caulk never set up. Ever. It continued to be sticky and gross for two weeks (and what’s worse than sticky caulk? Mm-hmm, nothing) and then I had to swab it out with Q-tips and caulk a third time. NEVER. AGAIN.
I’m so glad you decided to do this tutorial. I had wanted to do something similar myself, but after seeing you do it I might just cough up the money to have someone who can do it for me. You are so brave, or maybe foolhardy, take your pick.
The further I get from the experience, the more okay the caulk seems to be. If you decide to try it, definitely look at some of the tips commented here and on the FB posting of this article. Also, take your time!
How ? is Jenna in this post? I’ve never been so interested in caulk.
This series is so fascinating
For your first time ever I think you did great Jenna! I have been caulking things professionally for many years now and I know how hard it is for people who’ve never done it. It sticks to everything and it’s easy to do too much. Personally I never use tape but learning the fine control of applying the bead does take time so for beginners I think it’s a good idea.
Thank you! Yeah, if I could go back in time I probably would’ve spent more time practicing with the caulk before I jumped in. But now I know!
Jenna, why are your articles so freaking hilarious AND useful at the same time?! I don’t even have a bathtub and yet, here I am, reading about caulking as if I were to do this tomorrow XD
Suggestion for future DIY: how to change a lighting fixture? I’ve had this old one for ages and would love to replace it, but most tutorials sound incomprehensible (and they’re not even half as funny as yours…)
There are caulk tubes that don’t need the full caulk gun, which is nice because it is less back strain. I suggest doing the removal and cleansing one day and the actual caulking the next and avoiding getting the bathroom too humid either of those days. Rubbing alcohol is a nice choice for the last cleaning before caulking because it evaporates faster than water.