

Feature Image via usesofherbs.com
I’m writing to you from bed. I’d planned on my third Homosteading piece to be about veggie gardens, or creating your own compost pile, but I’ve been unable to make it outside much this week. Somehow, in between training for a new job, planting kale and amaranth for my winter garden, and wrapping up the final touches on a recent project, I managed to catch myself an extremely unpleasant strain of strep throat.
As someone who has worked in healthcare in a peripheral and community-based sense for awhile now, I’m more than familiar with the go-to staples of a well-stocked first-aid closet. Though I’m more accustomed to making care packages for others than for myself, there are a few well-loved items that easy enough to make that I keep them in ready supply in my arsenal, ready to break out at any sign of bodily misery. When I can, I make or grow the ingredients myself, and when I can’t, I use local sources (or trade/forage for them amongst my community). Sustainability in medicine-making is important to me, and I believe it contributes to the health of the people I’m making remedies for.
1. Home-brewed Ginger Ale
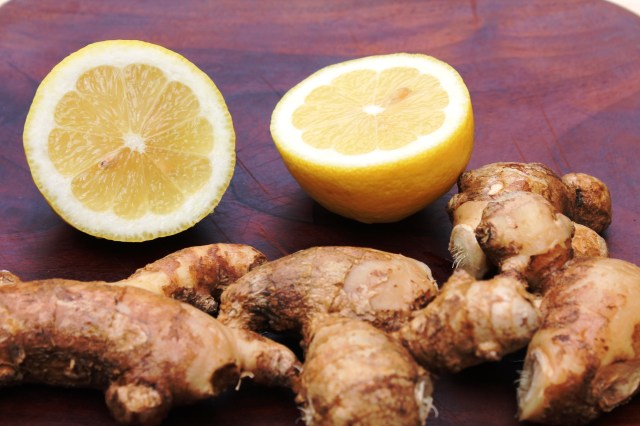
This is my signature sick-move. The recipe was first taken from Rebecca Katz’ The Cancer Fighting Kitchen, but it’s been modified so dramatically it’s not the same recipe anymore. Ginger calms both the stomach and the throat, making it a good home remedy for a variety of illnesses, and cinnamon stabilizes blood sugar, which can help with fatigue. Plus, it’s so delicious, you’ll wonder why you ever drank store-bought ginger ale in the first place.
Still utilizing the basic concept for creating any kind of root-based syrup, this recipe asks you to create a slow-simmering ginger concentration, that is then mixed with sparkling water and your choice of sweetener (optional).
You will need:
- 1 branch fresh ginger (about six inches long)
- 1 tablespoon whole cardamom pods
- 1 cinnamon stick
- 1 tablespoon whole cloves
- 5 whole peppercorns (optional)
- The juice of one half of a lemon
- Your choice of sweetener (I use honey, but you’re free to use whatever you like and adjust to taste)
- Sparkling water (unflavored)
Directions:
Slice ginger into one-inch thick slices. Add ginger and spices to a stock pot, and cover with six cups of water. Bring mixture to a slow boil, then lower heat to a simmer and allow to reduce until the water just covers the ingredients. Strain and allow to cool.
When mixing in the carbonation, I usually make single-servings so that I can let folks determine how gingery they’d like their ale to be. A good rule of thumb (barring taste) is ¼ ginger syrup to ¾ sparkling water, plus sweetener to taste.
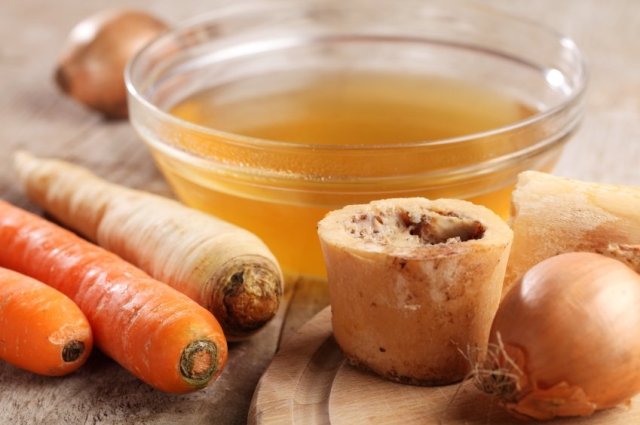
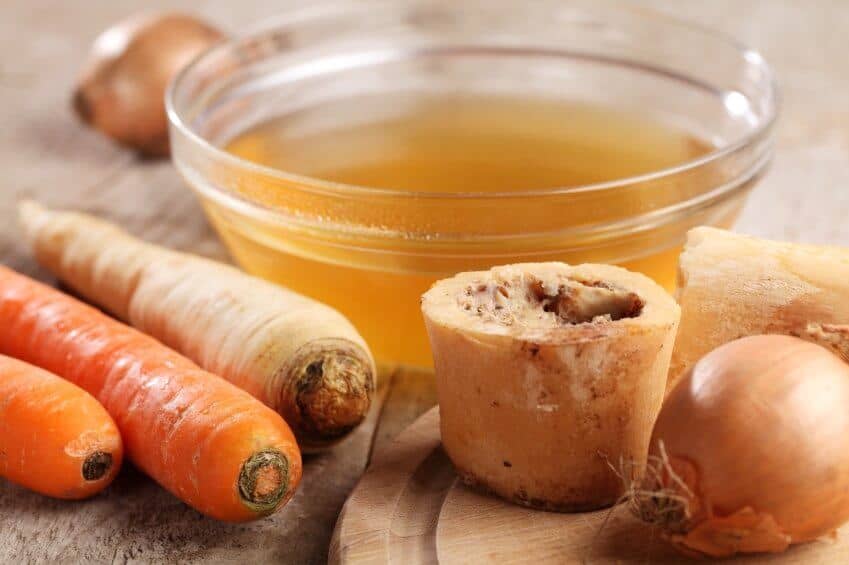
2. Magic Get Well Bone Broth
I believe in always having two things in my kitchen at all times: popcorn (it’s one of my favorite snacks) and broth. Popcorn can make you look like an unintentionally amazing host (“Wow, that’s exactly what I wanted while we watch Veronica Mars and talk about our terrible Ok Cupid experiences!”), and broth can add nutrient-rich flavor to teas, grains, and sauces with minimal effort of your part. Every week, I check out the contents of my crisper to see what vegetables (and sometimes fruit) I have left over to make stock. My roommate (who is a budding personal chef) suggested that we celebrate our shared love of stock by starting a scraps dish in the fridge for all our meat/bone cuttings, scrap vegetables, and herbs.
But my absolute favorite is bone broth. I get my bones (and all my meat) from Tara Firma Farms, which offers grass-fed and pasture-raised meat — essential for sustainability and also for the maximum absorption of nutrients. When we eat animals who have eaten well and been treated well, we are also eating the nutrients they absorbed. Bones are a particularly nutrient-rich part of the body, and the high collagen content of bone broth makes it excellent for boosting the immune system, and adding a healthy dose of phosphorus, calcium, and magnesium to the diet. Bones also have the excellent bonus of being inexpensive and easy to come by.
The recipe for making bone broth is simple, and a good rule of thumb is to use two pounds of bones for each gallon of water.
You will need:
- 2 lbs beef bones
- 1 gallon water
- 3 dried lemons (lemon juice works here if you can’t find dried)
- 3 cloves garlic
Bring ingredients to a boil in a stock pot, then lower heat and allow to simmer for one hour. Strain and deliver to all your sick buds, or store away and freeze for up to six months.
3. Aloe Green Tea
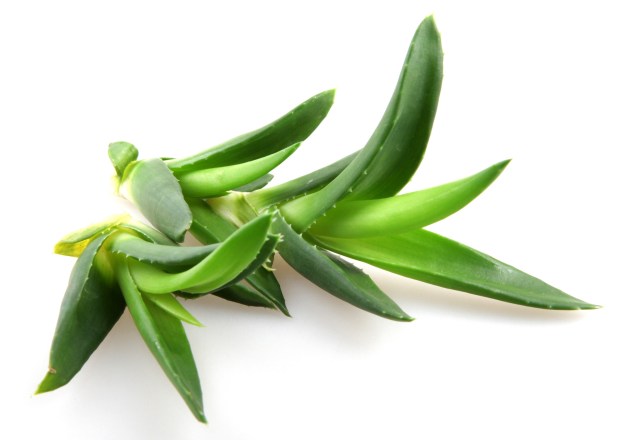
My friend R showed me this trick during this current bout of strep throat. I was over the moon, not only because the aloe tea did wonders for me, but also because there are forty million aloe plants in my front and back yard, and I was running out of ideas of what to do with them. Aloe soothes and coats the throat, and also cleanses out your system (so proceed with caution if you’re a person with a sensitive stomach). This one is definitely for flu and cold-type illnesses, and not those with a stomach bug!
You will need:
- 1 two-inch cutting of aloe
- 3 cups water
Slice the aloe down the middle and squeeze out the gushy insides. You can use this part as a hair conditioner, face wash, burn ointment, etc, but not for this tea! Set aide. Place the rest of the aloe in a small saucepan with the water and simmer for ten minutes. Allow to cool. Discard the aloe and drink the tea, or deliver it fresh to a pal in need. Voila!
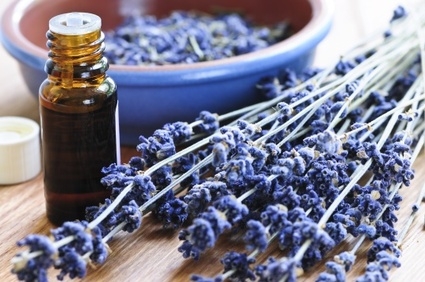
4. Herbal Sachet
Before making this section, check to see that you/your friend in question isn’t allergic or sensitive to any scents or herbs you might be using. Some folks are extremely affected by scents and smelling them could trigger up headaches, pain, or discomfort, which we definitely want to avoid!
The herbs here can be used in a bath, if the person who is ill isn’t running a fever. If they are, it can be placed on their pillow next to them, to help relieve congestion, headache, and/or just to soothe them. Everyone needs a little extra comfort when they’re sick!
You will need:
- Dried roses and/or rose water
- Eucalyptus leaves/oil
- Chamomile flowers
- Bougainvillea flowers (if they grow near you)
- Lavender flowers and stems
The roses, lavender, and chamomile create a soothing smell, the eucalyptus helps to break up congestion in the nasal passages and lungs, and bougainvillea is known to be an emotional-wellness flower, and aids in grief, distress, and mental exhaustion.
How to steam:
Using a mesh tea ball or piece of nylon (I sometimes cut the feet off of stockings I don’t use and wash them thoroughly), steam or steep herbs in hot water (not boiling!) for fifteen minutes. Then, create a steam tent for yourself using a towel and a bowl of herb water, steaming your nasal passages, lungs, and pores for as long as you can stand (no longer than 20 minutes).
Combine the above herbs in a cloth or paper bag with instructions, and you’re good to go!
5. Capsaicin Muscle Balm
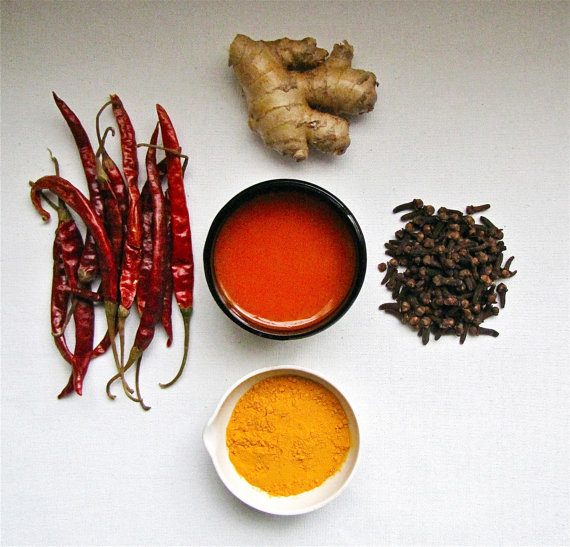
This last DIY care-component is for those who have undergone injury, or are just achy and sore from being bedridden. It’s important to note that this balm contains hot peppers, so proceed with caution! Don’t go touching your eyes or other sensitive areas after dealing with capsaicin. You may choose to wear gloves while mixing this balm, just to be safe.
You will need:
- 2 tablespoons cayenne powder
- 2 teaspoons ginger powder
- ½ cup coconut oil
Place cayenne, ginger, and coconut oil in a saucepan and gently heat until oil is melted. Be sure to make sure the mixture doesn’t scorch or boil, since inhaling the hot cayenne could cause you to cough! Once the oil is melted, remove from heat and allow to sit for a half hour. Do this two more times, then pour mixture into an airtight jar, seal, and allow to infuse for at least 24 hours before using. If you aren’t a fan of the oily texture of this balm, you may whip the concoction with 1 teaspoon arrowroot powder, or 1 teaspoon (non-GMO) cornstarch, or ¼ cups cocoa butter. Rub into any parts of the body that are experiencing soreness, avoiding sensitive areas and mucous membranes (like eyes, nose and mouth).
Enjoy, and feel better! Remember, caring for your community is caring for yourself, and making your own medicine allows you to know exactly what’s going into your body. Feel free to share your own remedies and modifications in the comments — I’m always looking to change up my first aid arsenal!


Comments
I want you on my survival squad when the apocalypse goes down.
Me too. You can pick me up in Brooklyn with a herbal sachet.
Consider it done.
You should write a book filled with your wisdom.
That’s on the horizon! Thank you <3
Currently in bed with a stomach bug and am on approximately my 17th pot of ginger tea. Here’s my favorite at home remedies:
For an upset stomach, I love to warm homemade almond milk in a saucepan and add either turmeric or anise powder to taste. Delicious.
If you’re having trouble with your bowel movements, taking a tablespoon of chia seeds soaked in water at night will help to make you more regular, as well as provide omega-3 fatty acids. If you like drinking chia seeds all day, I recommend adding them to tea (they’re like cheap boba!) or a water bottle with lime juice and a few drops of stevie (chia agua fresca!)
If you wanna clear out fast, I recommend a shot of ginger juice, lemon juice, and a couple drops of oregano oil. It’s quite the zinger.
When you’re feeling sick, you might find it difficult to eat. That’s where smoothies are a life saver. Be sure to throw in some fresh greens, vitamin c, and a hunk of ginger root!
Thank you SO MUCH for these tips! I’m totally adding these to my arsenal. I hope you feel better, & wish I could drop treats off at your door!
This is great info! I have tried a lot of home remedies for the cold/flu, but most of these are new to me!
<3 <3
Hurrah! This is great…I especially love the aloe tea, I’ve had so many aloe plants and never actually tried making the tea.
Another very simple one is rosemary (my absolute favourite herb) – it cures mild headaches like magic, just rub a couple of drops of the essential oil on your temples, drink rosemary tea or burn the oil.
I would love to see more herbalism on Autostraddle please!
More herbalism coming your way! Thanks for the rosemary tip!
This is so wonderful!!! I am cradling my tea at work right now wishing I was home watching Netflix. Damn cold. I will be definitely be trying #4 this weekend.
Side note, did anyone else get visions of Piper gnawing on a jalapeno for Red’s back balm?
That’s exactly what Rachel said!
I hope you feel better <3
Yes! More of this, please!
Where was this when I was hunched over the toilet? Great recipes
July, does the Ginger Ale keep or does it need to be used in a short time frame?
It keeps in the fridge for up to 10 days, but can be frozen for up to 12 months!
…I’m actually excited to get sick so I can try your recipe for homemade ginger ale. Freakin’ fantastic!
Unsaturated fatty acids play an important role in metabolism. They help to lose weight, keep the body in shape. With the use of “healthy” fats, the body’s need for other fats is reduced. You can find the best option for you here https://www.amazon.in/Prorganiq-Capsules-1000mg-Softgels-Supplement/dp/B0BM9TSZMS