
Ever since I took Heather’s beer workshop at A-camp 7.0, I’ve been filled with an evangelical zeal to preach the feminist gospel truth: women invented beer, we perfected it, and it is only due to organized patriarchal action that control of that enterprise was wrested from us in the Middle Ages! I’m ready to take back the heritage that is so rightfully ours, and one way I’m going to do that is by homebrewing my own goddamn beer. With my girlfriend. And her cat. Please join us.
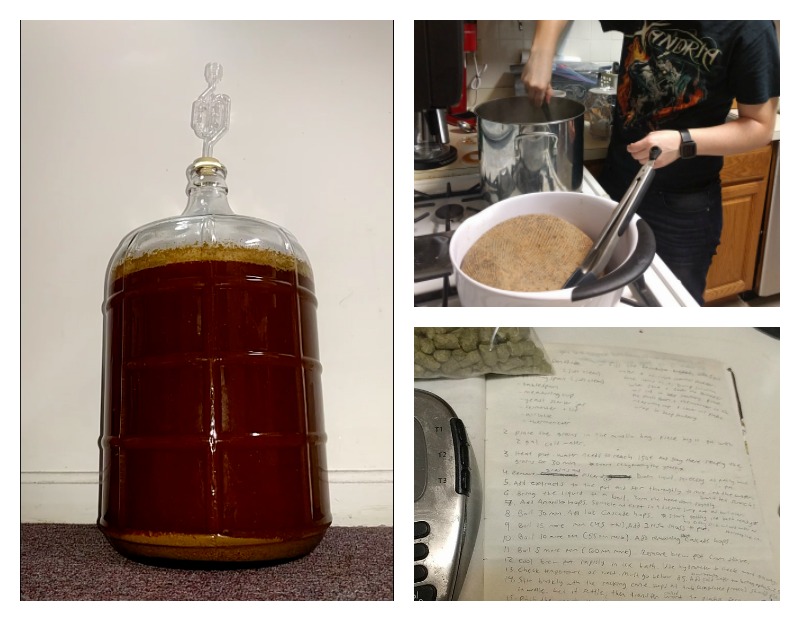
My partner and I made our first batch — an amber ale recipe via Barleycorn Craft Brew — last month, and I’m hoping we can get a porter started sometime after New Year’s. For our first attempt, I’d say we were very successful! Cons: got mansplained to at the homebrew store we went to before switching to Barleycorn; ran out of ice midway through the cooling step; wound up with slightly more sediment than desired in our final product. Pros: came out with a very drinkable amber ale at the end, entirely unremarkable except for the fact that we made it ourselves! And there was nothing wrong with it! And once we iron out those few process-related bumps in our next batch, we’re going to make ourselves some really weird beers, with lots of personality and pizzaz.
As described by Randy Mosher in Radical Brewing: Recipes, Tales & World-Altering Meditations In A Glass, brewing beer is about making choices:
Brewing is an art form. Color, texture, form, contrast, harmony, and surprise are all available for the artistic brewer to employ. Your audience has a specific set of senses with which to appreciate your art, as well as expectations that can be affected with names, packages, glassware, and the like. Your job as a brewer is to put them together into a coherent aesthetic experience.
So where to start? You can’t underestimate the value of the big idea. You should be able to describe your beer idea in a short phrase: “a milkshake-smooth strong porter,” for example. In this example, you might want to use raw wheat and oats, then lager for three months to take out every last kink. When you think about it this way, you end up making decisions that really add to the personality of the beer.
Easy as that! Once you get the basic steps down, there are no wrong choices. You just dream something up and make it happen. If it doesn’t work out, you pour it out and try again. Perfect activity for this winter, because why even go outside again, ever.
Here are some recipes I’ve been eyeing for inspiration.
1. Midwest Supplies’ Lemon Coriander Weiss
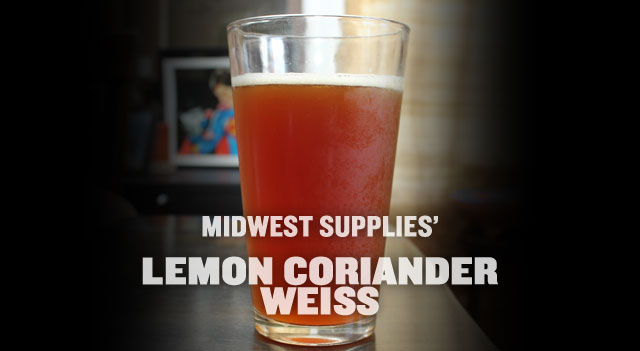
If you’ve never brewed beer before, this would be an easy way to get started! The ingredients are sold as a kit by Midwest Supplies, and the instructions online are very clear. They even sell a starter equipment kit to get you going.
2. Brooklyn Brew Shop Grapefruit Honey Ale
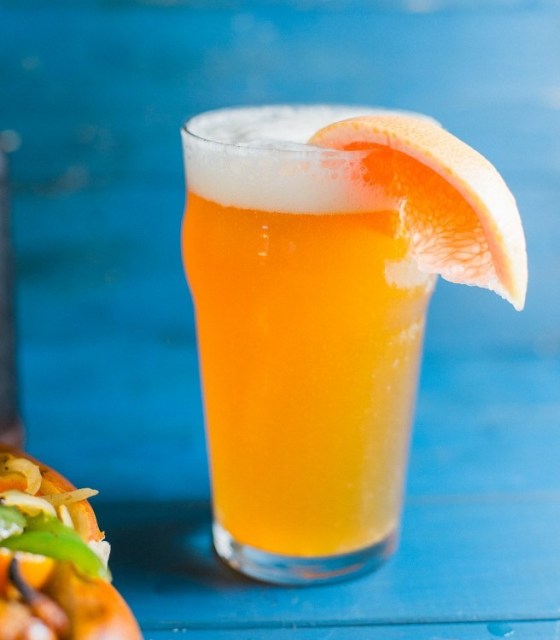
This one is also an ingredient kit that you can buy! Get an equipment kit and get in here!
3. Dandelion Beer
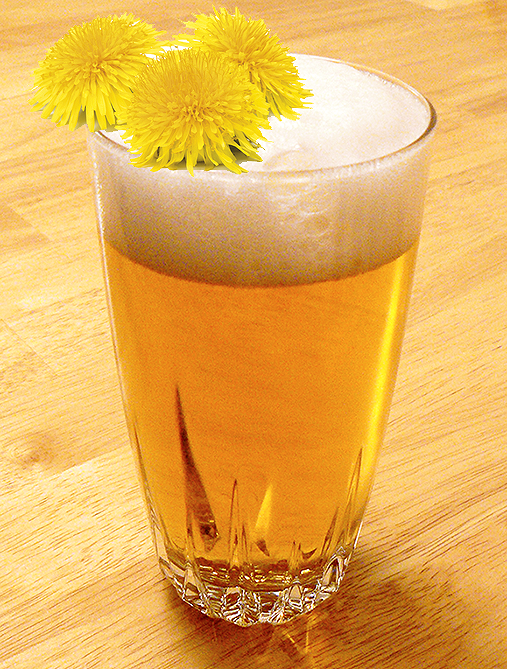
Made using real dandelions.
4. Guava Mango Hibiscus Wheat Ale
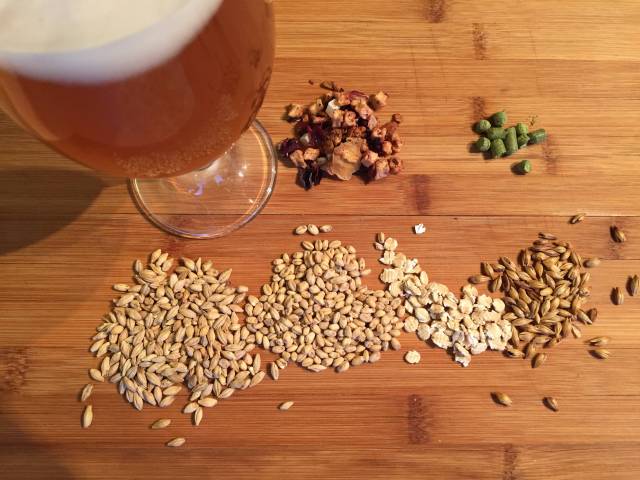
Tea beer!
5. Chocolate Pina Colada Stout
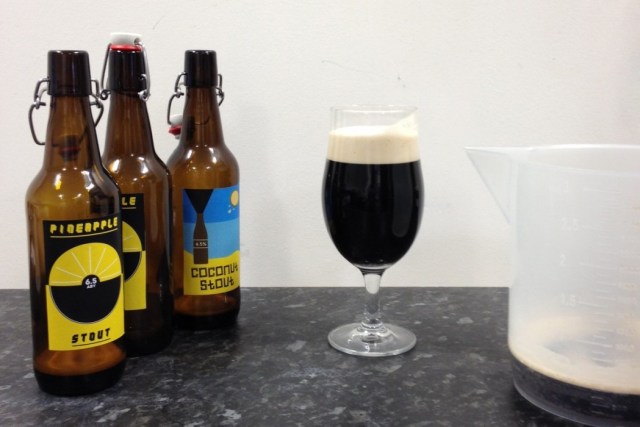
“A slightly bizarre blend of flavours with a massive nod to one of my favourite sweets as a kid – Pascalls Pineapple Lumps.”
6. Smoked Porter
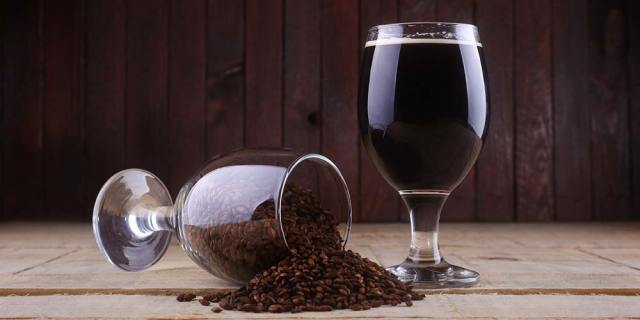
Would pair great with grilled foods.
7. Peanut Butter Jelly Beer
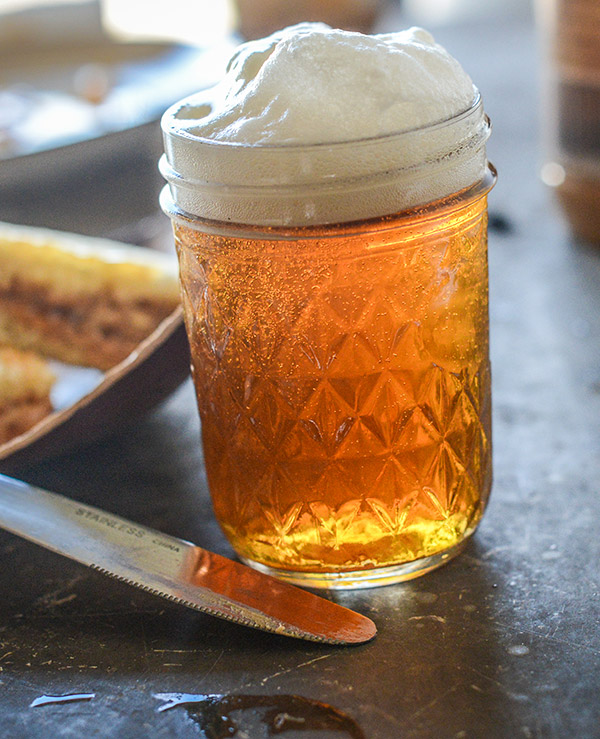
Ugh, so cute.
8. Watermelon Wheat Beer
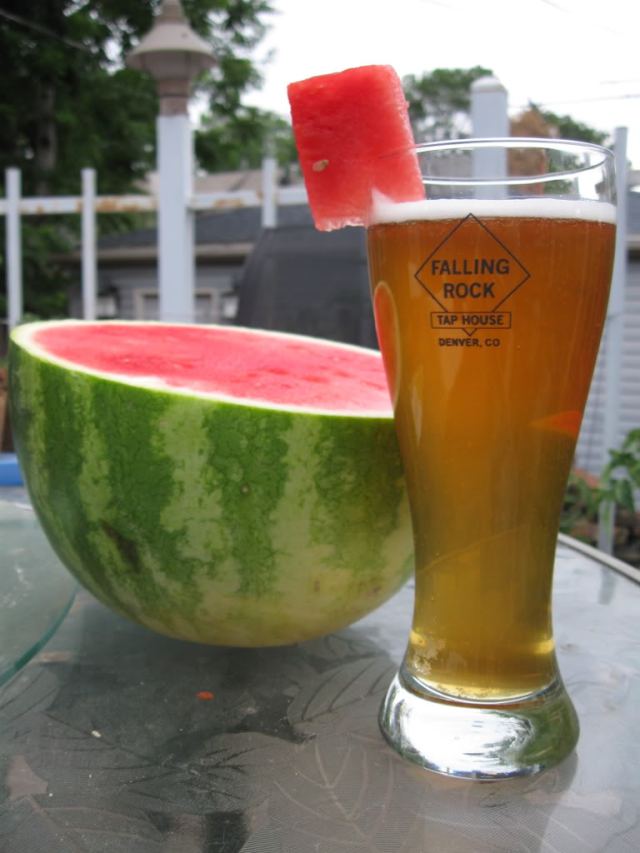
This one is also a good reference point for beginners, I think. The author has photos of every step along the way.
9. Fig Honey Anise Dark Sasion
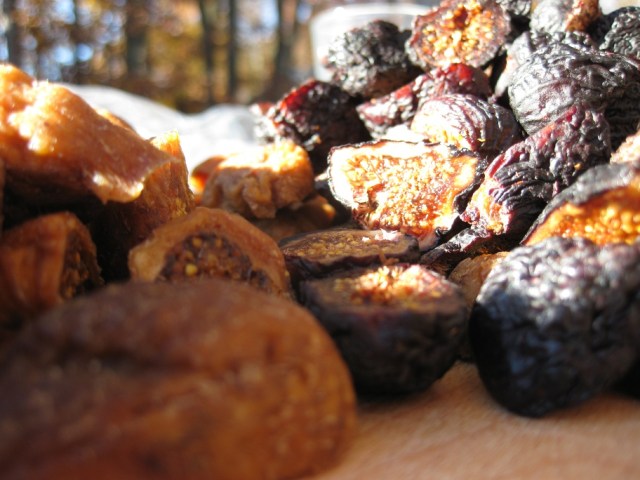
Saison doesn’t have to be light! You can make it dark!
10. Black IPA With “Black Fruit” Hops
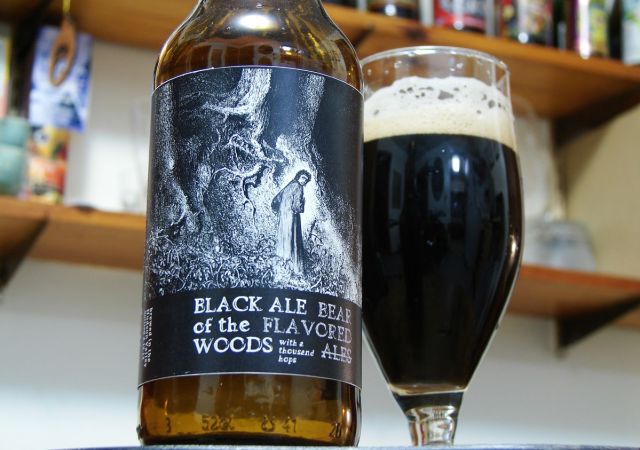
FYI, the full title of the post is “Brew-Day and Recipe: To Explore the Paradoxical Nature of the Black IPA is to Transgress the Threshold of Unutterable Madness.”
11. Pistachio Pale Ale
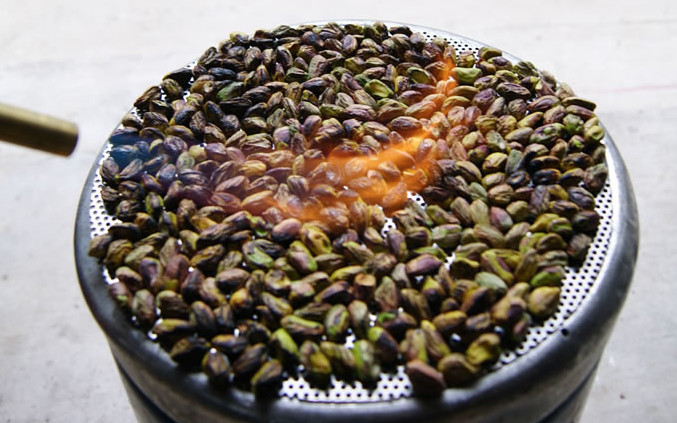
A citrusy pale ale using palisade hops with a smoky pistachio kick.
12. Roasted Pumpkin Beer
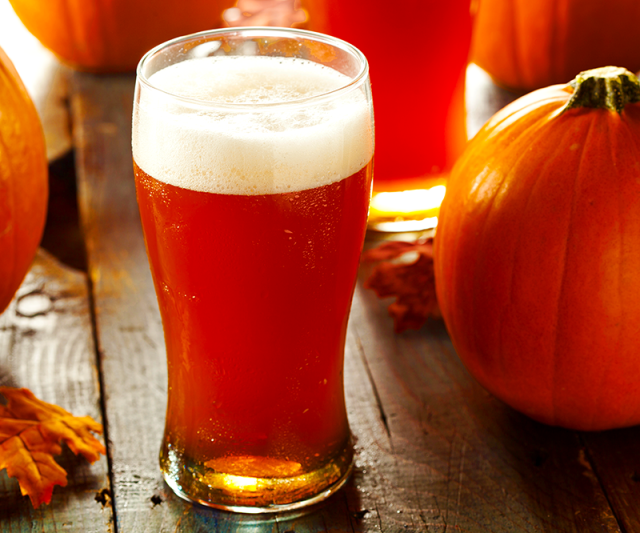
With options to use either a whole pumpkin vs. canned pumpkin, and all grain vs. partial mash. Suggested serving with a scoop of vanilla ice cream, for a pumpkin beer float.
13. Coconut Kava Porter
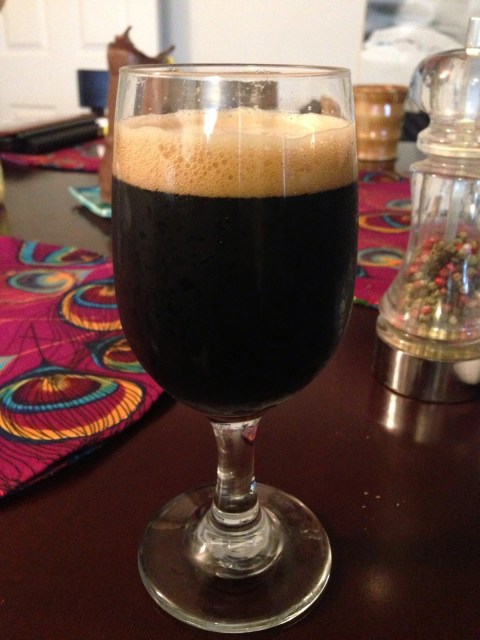
Pacific Islanders have been using Kava for centuries to calm nerves, relieve stress, and aid in relaxation. Which also happens to be what I use beer for.
14. Poblano Pepper Wit
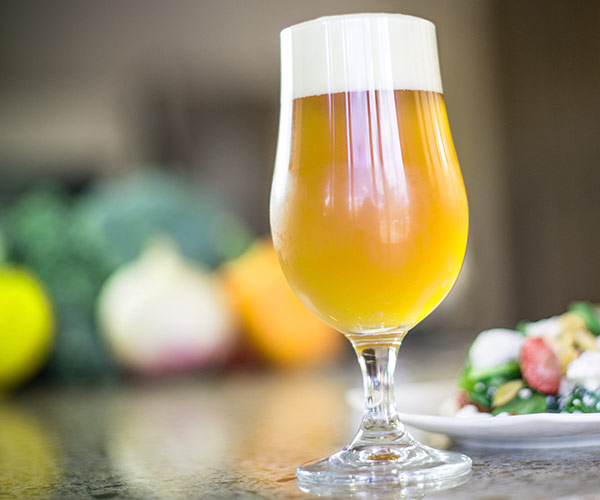
Spicy!
15. Coconut-Vanilla Milk Stout
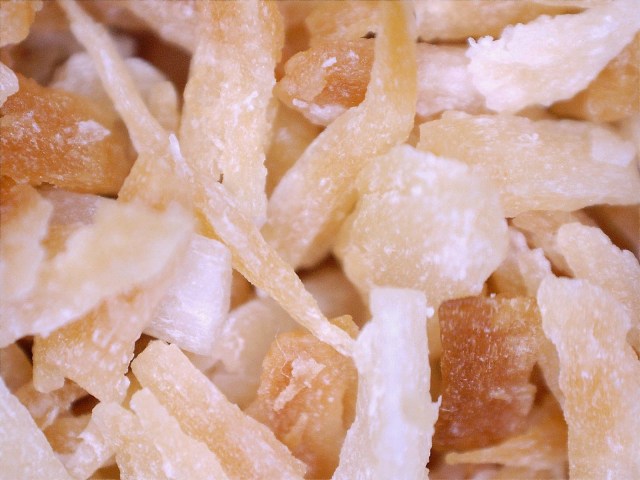
Sweet!
16. Chocolate Butternut Porter
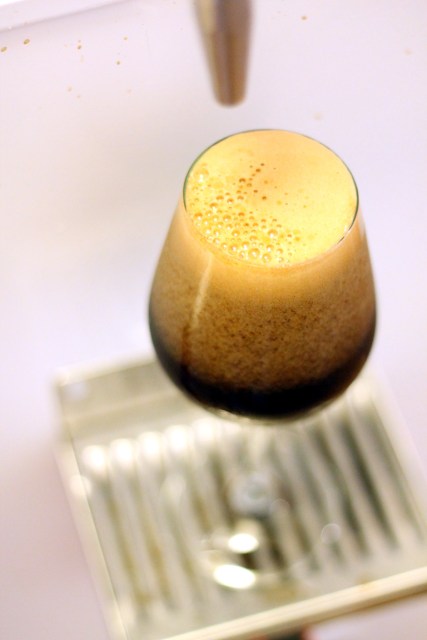
“I dumped the resulting ‘vegan brownie batter’ into the fermentor and pumped the cooled wort on top of it.”
17. Four Peppercorn Orange Saison
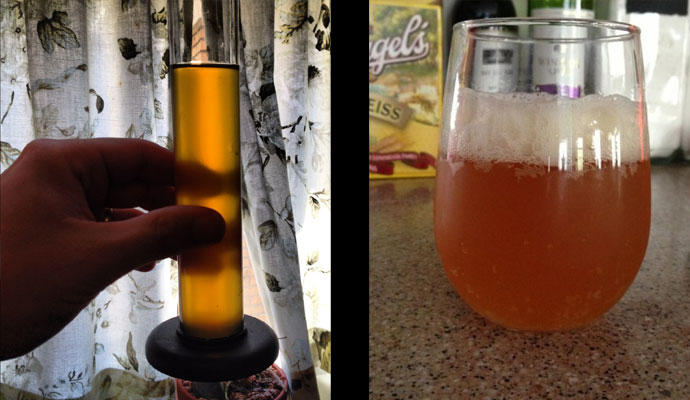
Uses black, white, green and pink peppercorns.
18. Maple Imperial Stout
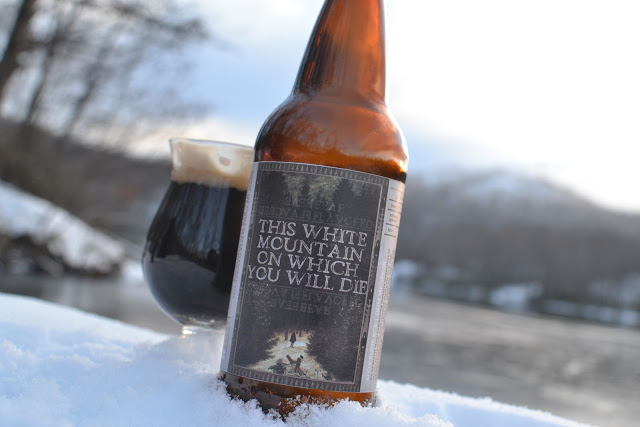
“At least in terms of beer, pumpkin and maple both come through extremely, teasingly subtle. In a market that really hasn’t had a whole lot of interest in subtle, that’s not gonna fly. But pumpkin has those spices to back it up, And man, those spices sure don’t have to be subtle. You can load up on the spices. Maple has no such cohort. It is a natural and independent flavor. It is pure of heart. Noble. Humble. And that is why I’ll keep chasing it.”
19. Andes Mint Chocolate Stout
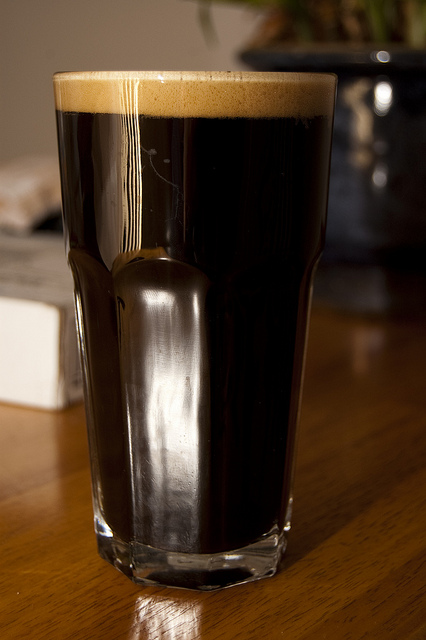
Do you want mint and chocolate in your beer? Maybe try this!
20. Banana Hefeweizen
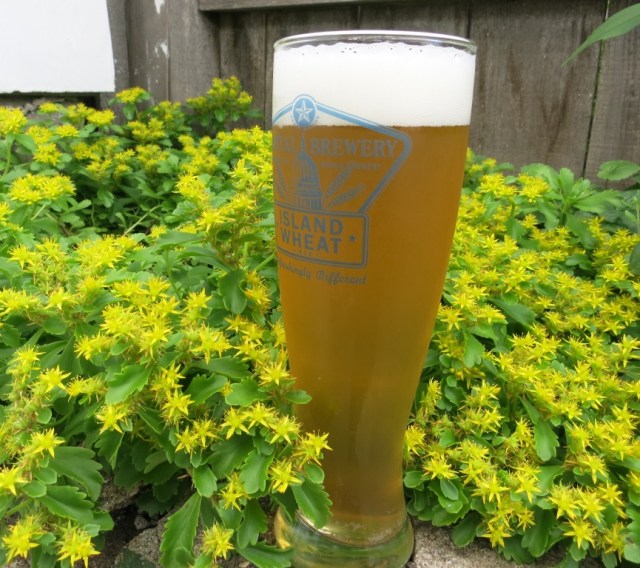
Not very banana-y, but that’s okay.
21. Cream Ale/American Pilsner
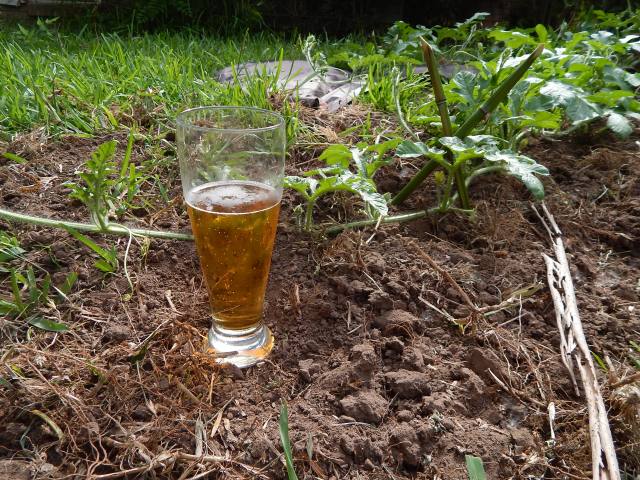
A “great post-gardening beer.”
22. Sage Beer
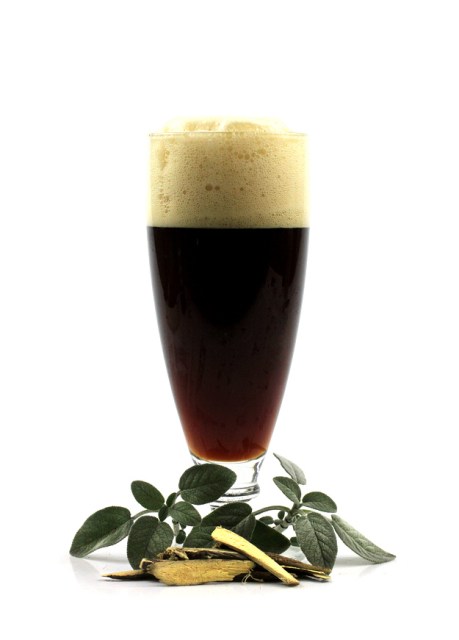
From the book Sacred and Herbal Healing Beers: The Secrets of Ancient Fermentation.
If you’re interested in attempting your own homebrew, check out SJ Sindu’s miniseries on Autostraddle, You Brew You, for a quick overview. The book I found most helpful in covering the basics of homebrewing was John J. Palmer’s How To Brew: Everything You Need To Know To Brew Beer Right The First Time.


Comments
I feel like all of these would be a punch in the face if I made them myself……
I think I know waht to give my enemies now…. punishment beer. Muhahahahahaha
Hah! DO IT.
those all look great and make me want to try brewing too!
i would also suggest others to try out honey beer, called ‘medalus’ here in latvia and probably elsewhere, nowadays many make it with sugar rather than honey so it can be vegan too. i absolutely love cranberry and cherry ‘honey’ beer, it tastes super sweet, but not in a sickening way, great for regular beer haters.
Neat! I’ve never had that before. I’ll keep an eye out.
I’ve brewed beer a few times (Blueberry Wheat, Strawberry Blonde, Pumpkin–with canned pumpkin, Wheat, and something else). It didn’t take me much to get started since I had all of the equipment from my mead-making and moonshine days. One thing I took away from it is that a bucket with a spighot and an auto-fill wand is a must if you’re going to be doing anything more than a gallon. After bottling up over a dozen cases of beer, I’ve decided that I’m going to hold off on doing it again until I move (which will be a couple of years) and have the space to set up a small keg system.
A great site to get supplies and beer ingredient kits is Northernbrewer.com.
Also, if you’re on Long Island, check out Arbor Wine and Beer in Islip (www.arborwine.com). It’s owned by two really nice, knowledgeable women. They have everything you’ll ever need there. They’re prices are also comparable to other online-only stores. If you go in with a recipe you got from the internet, they’ll help you pick out all the ingredients, crack the right weight of grains, etc., so all you have to do is get home and start boiling water.
I’ve been to the brew store in Port Jefferson and the bearded hipster ignored me for over 20 minutes while he talked music with another customer. Then he derided me for only brewing a gallon batch (my first batch). The store also has very little stock.
I’m looking at the wide mouth glass fermentor on Northern Brewer and wondering why they don’t all come in that shape. My carboy is so hard to clean, and it’s entirely unnecessary for that to be the case??
For 1 gallon, I just use 1 gallon glass jugs and clean them with big aquarium filter brushes. Anything larger goes in a bucket. They do sell giant bottle brushes for electric drills to clean carboys, or I’m sure there are lots of DIY on making cleaners. But, yeah, they are a PITA to clean and the Big Mouth Bubblers are expensive. Buckets are also a whole hell of a lot easier to lug around. If you go with the Big Mouth (or bucket), don’t use the one with the spigot for primary fermentation. The massive pressure build-up can blow out the spigot or start leaking. I only use them for bottling. Technically, you can use them in secondary fermentation, but there is also the chance of it leaking. So, the less time spent, the better. Life is so much easier to just sit the bucket on a high counter, jam a bottling wand onto the spigot, pull up a chair, and start bottling. Cut my bottling time down to a 1/4 when I’m doing it all by myself.
Also, you may want to start using a “blow-off tube” for the first week of fermentation. Sometimes fermentation can take off so wildly that it blows out the airlock and you get a geyser. It happened to me a lot when I was making mead and didn’t know about blow-off tubes. I’d get waken up at 4am by my mother and I’d have to clean out the kitchen cabinet and floor where I kept the mead. My first beer was 1 gallon and that night, I heard a whistling and a loud pop. I had a beer volcano. It was a vision straight from The Flying Spaghetti Monster’s heaven. That was when I started using blow-off tubes with every batch. It might not have happened to you, yet, but one day it will and it will be messy. Not to mention, the house will smell like sour beer for a week. 3-piece airlocks work great for blow-off tubes.
Just finishing up a batch of a very smooth chocolate coffee porter, that I’ve decided to age in some old scotch barrels I’ve got. Can very much recommend!
Nice!
I’ve been wanting to try home brewing, so I’m excited about this article. Once I actually get around to getting an equipment kit, I’ll have plenty of ideas to play with. :D
Best equipment choice stoneware plates for kitchen equipment